> For the complete documentation index, see [llms.txt](https://help.verkada.com/llms.txt). Markdown versions of documentation pages are available by appending `.md` to page URLs; this page is available as [Markdown](https://help.verkada.com/verkada-cameras/ja/fen-xi/people-analytics/occupancy-trends.md).
# 混雑傾向
混雑傾向を有効にして、組織周辺の人と車両を追跡します
混雑傾向は、組織に対して施設内の重要な場所における人の流れの推定値を提供します。これらの推定値は、人員配置の最適化、営業時間の調整、およびマーケティングや販促活動の成果の追跡に役立つ貴重な洞察をもたらします。
{% hint style="warning" %}
この機能は、CB53\*、CB63\*、\*CB52、\*CB62、CD32、CD42、CD43、CD52、CD53、CD62、CD63、CF81、CF83、CH52-E、CH53-E、CH63-E、CM42、CM42-S、CR63-E/TE、CY53-E、CY63-E モデルでのみ利用できます。
{% endhint %}
{% hint style="danger" %}
\* 混雑傾向を有効にするには、Bullet カメラと CR63-E/TE では LPR モードを無効にする必要があります。
{% endhint %}
***
### 設置ガイドライン
最適な性能を得るために、混雑傾向を有効にするカメラの設置時には、以下の設置ガイドラインを推奨します:
* 一方向の経路を選択してください。混雑傾向は、ドアや廊下などの場所で最も効果的に機能します。
* カメラはデジタルラインから8~12フィート(2.4~3.7m)離して設置してください。
* カメラは、デジタルラインの位置から垂直方向に40~60˚以内になるように配置してください。
* カメラとラインの間の遮蔽物や障害物を最小限に抑えてください。
* ラインの両側で十分な照明と視認性を確保してください。人物はラインの両側で少なくとも1秒間、視認できる必要があります。
***
## 混雑傾向を有効にする
{% stepper %}
{% step %}
**Verkada Command で、\[All Products] > \[Cameras] に移動します。**
{% endstep %}
{% step %}
**カメラを選択します。**
{% endstep %}
{% step %}
**カメラのライブフィードで、アナリティクスを選択します。**
{% endstep %}
{% step %}
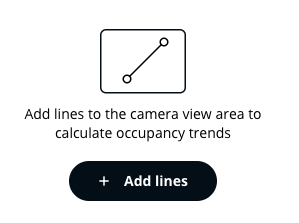
**混雑傾向 > ラインを追加 を選択します。**
{% endstep %}
{% step %}
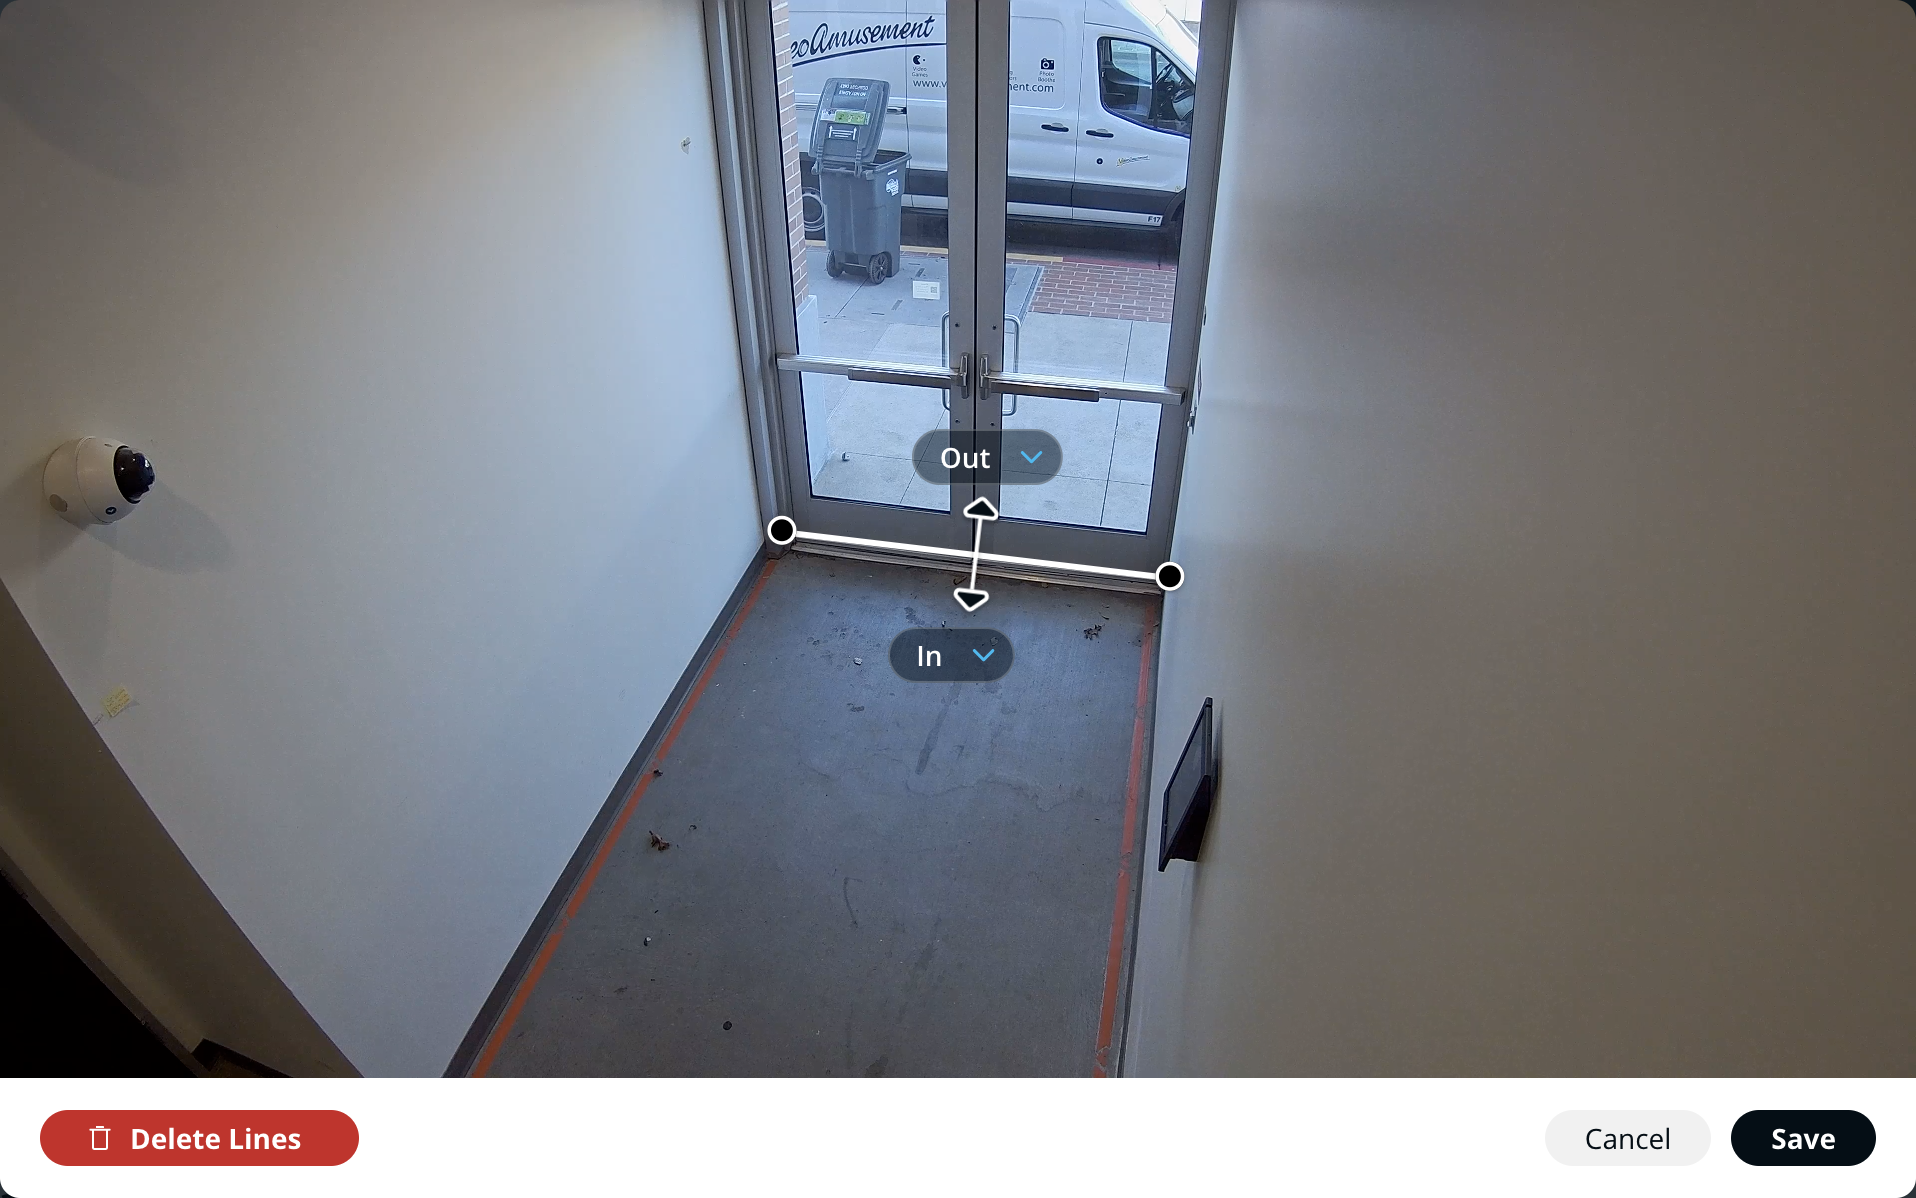
**カメラビュー上をクリックしてドラッグし、画面を横切るラインを描画します。**
{% hint style="info" %}
複数のラインを描画できますが、すべてのラインのデータは集計されます。
{% endhint %}
{% endstep %}
{% step %}
**(オプション)\[カスタムラインを追加] をクリックして、追加のプリセットを追加します。**
{% hint style="info" %}
これらのプリセットのデータは個別になります。
{% endhint %}
{% endstep %}
{% step %}
**\[保存] をクリックします。**
{% endstep %}
{% endstepper %}
***
## 混雑傾向を表示
{% stepper %}
{% step %}
**Verkada Command で、\[All Products] > \[Cameras] に移動します。**
{% endstep %}
{% step %}
**カメラを選択します。**
{% endstep %}
{% step %}
**カメラのライブフィードで、アナリティクス**  **> 混雑傾向。**
{% endstep %}
{% step %}
**(オプション)カメラフィードの左側で、カスタムラインプリセットを選択します。**
{% endstep %}
{% step %}
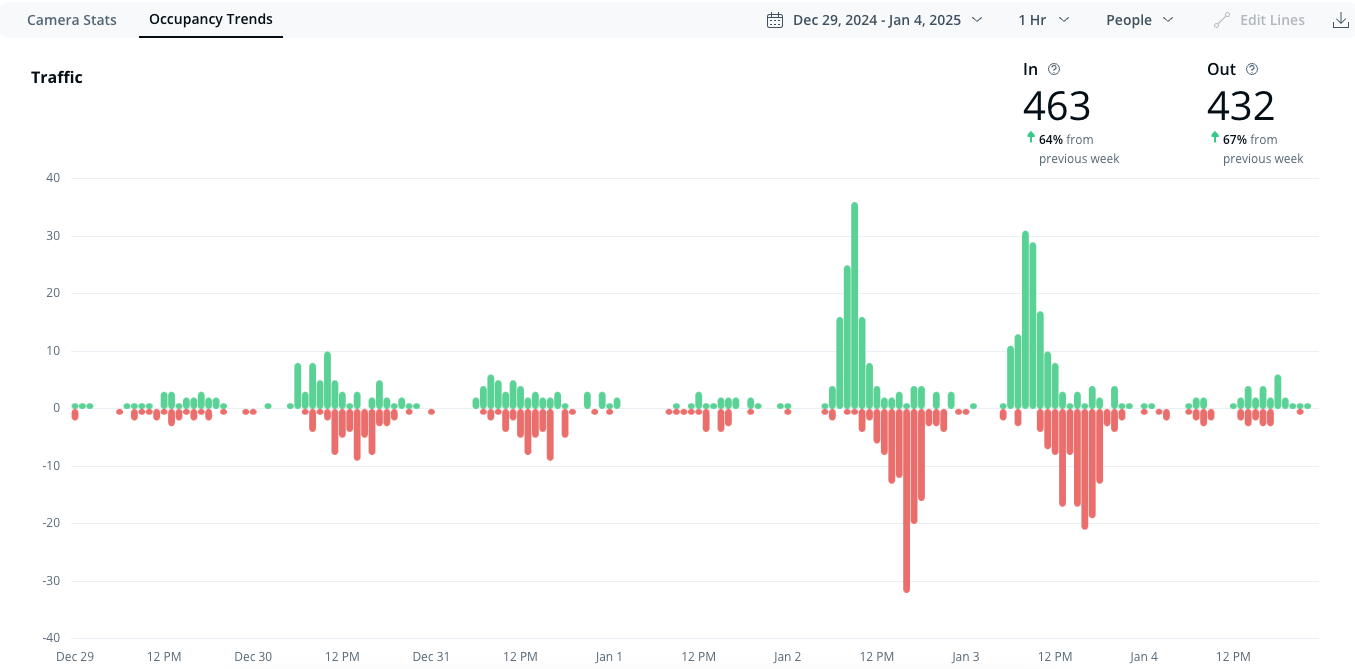
**このタブには、選択した期間の推定入場数と退場数がすべて表示されます。個々の棒にマウスオーバーすると、その期間の数値を確認できます。**
{% endstep %}
{% step %}
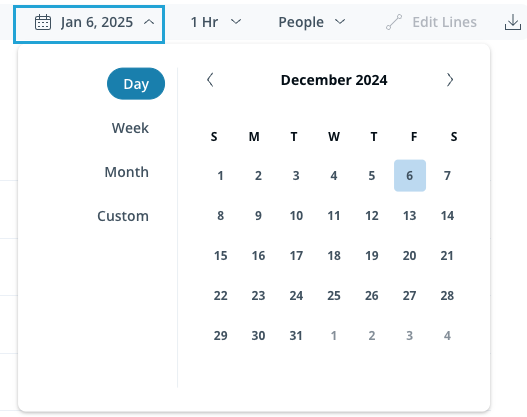
**日付範囲を選択して、プリセットを選ぶか、カスタム範囲を設定します。**
{% endstep %}
{% step %}
**期間のドロップダウンを選択して、グラフの各列が表す期間を選択します。**
{% endstep %}
{% endstepper %}
***
## 混雑傾向をエクスポート
混雑傾向の結果を .csv ファイルとしてエクスポートできます。
{% stepper %}
{% step %}
**Verkada Command で、\[All Products] > \[Cameras] に移動します。**
{% endstep %}
{% step %}
**カメラを選択します。**
{% endstep %}
{% step %}
**カメラのライブフィードで、アナリティクスを選択します。**
{% endstep %}
{% step %}
**右上の \[ダウンロード] をクリックします。**
{% endstep %}
{% endstepper %}
***
{% hint style="info" %}
**実際の動作をご覧になりますか?** こちらをご覧ください: [動画チュートリアル](https://www.youtube.com/watch?v=9ZyWLqvp0nY).
{% endhint %}
---
# Agent Instructions
This documentation is published with GitBook. GitBook is the documentation platform designed so that both humans and AI agents can read, navigate, and reason over technical content effectively. Learn more at gitbook.com.
## Querying This Documentation
If you need additional information that is not directly available in this page, you can query the documentation by asking a question.
Perform an HTTP GET request on the following URL with the `ask` and `goal` query parameters:
```
GET https://help.verkada.com/verkada-cameras/ja/fen-xi/people-analytics/occupancy-trends.md?ask=&goal=
```
`ask` is the immediate question: it should be specific, self-contained, and written in natural language.
`goal` is what the user is ultimately trying to achieve, the reason they need the answer. Sharing it helps GitBook give you a better, more relevant answer. A goal is most helpful when it describes the outcome the user wants rather than restating the question. For example, with `ask=how do I create an API token`, a goal like `automate deployments from our CI pipeline` lets GitBook tailor the answer to that use case.
The response will contain a direct answer to the question and relevant excerpts and sources from the documentation.
Use this mechanism when the answer is not explicitly present in the current page, you need clarification or additional context, or you want to retrieve related documentation sections.
**> 混雑傾向。**
{% endstep %}
{% step %}
**(オプション)カメラフィードの左側で、カスタムラインプリセットを選択します。**
{% endstep %}
{% step %}
**このタブには、選択した期間の推定入場数と退場数がすべて表示されます。個々の棒にマウスオーバーすると、その期間の数値を確認できます。**
{% endstep %}
{% step %}
**日付範囲を選択して、プリセットを選ぶか、カスタム範囲を設定します。**
{% endstep %}
{% step %}
**期間のドロップダウンを選択して、グラフの各列が表す期間を選択します。**
{% endstep %}
{% endstepper %}
***
## 混雑傾向をエクスポート
混雑傾向の結果を .csv ファイルとしてエクスポートできます。
{% stepper %}
{% step %}
**Verkada Command で、\[All Products] > \[Cameras] に移動します。**
{% endstep %}
{% step %}
**カメラを選択します。**
{% endstep %}
{% step %}
**カメラのライブフィードで、アナリティクスを選択します。**
{% endstep %}
{% step %}
**右上の \[ダウンロード] をクリックします。**
{% endstep %}
{% endstepper %}
***
{% hint style="info" %}
**実際の動作をご覧になりますか?** こちらをご覧ください: [動画チュートリアル](https://www.youtube.com/watch?v=9ZyWLqvp0nY).
{% endhint %}
---
# Agent Instructions
This documentation is published with GitBook. GitBook is the documentation platform designed so that both humans and AI agents can read, navigate, and reason over technical content effectively. Learn more at gitbook.com.
## Querying This Documentation
If you need additional information that is not directly available in this page, you can query the documentation by asking a question.
Perform an HTTP GET request on the following URL with the `ask` and `goal` query parameters:
```
GET https://help.verkada.com/verkada-cameras/ja/fen-xi/people-analytics/occupancy-trends.md?ask=&goal=
```
`ask` is the immediate question: it should be specific, self-contained, and written in natural language.
`goal` is what the user is ultimately trying to achieve, the reason they need the answer. Sharing it helps GitBook give you a better, more relevant answer. A goal is most helpful when it describes the outcome the user wants rather than restating the question. For example, with `ask=how do I create an API token`, a goal like `automate deployments from our CI pipeline` lets GitBook tailor the answer to that use case.
The response will contain a direct answer to the question and relevant excerpts and sources from the documentation.
Use this mechanism when the answer is not explicitly present in the current page, you need clarification or additional context, or you want to retrieve related documentation sections.