> For the complete documentation index, see [llms.txt](https://help.verkada.com/llms.txt). Markdown versions of documentation pages are available by appending `.md` to page URLs; this page is available as [Markdown](https://help.verkada.com/verkada-cameras/ja/she-ding/view-and-edit-camera-settings/change-fisheye-view-modes.md).
# Fisheyeビューの表示モードを変更する
最適な表示体験のために、Fisheyeカメラの表示モードを変更します
ほとんどのFisheyeカメラは3つの表示モードをサポートしています: [パノラマ](#panoramic-mode), [4分割](#four-way-split-mode)、および [パン・チルト・ズーム](#pan-tilt-zoom-mode)。設置場所に最適な表示モードに変更できます。
{% hint style="danger" %}
必要です [サイト管理者](/verkada-cameras/ja/hajimeni/roles-and-permissions-for-cameras.md) Fisheyeカメラの表示モードを変更する権限。
{% endhint %}
***
### 表示モードと機能の互換性
| | | | |
| --------------- | ------------------------------- | ------------------------------- | ------------------------------------- |
| | [**180°パノラマ**](#panoramic-mode) | [**4分割**](#four-way-split-mode) | [**パン・チルト・ズーム**](#pan-tilt-zoom-mode) |
| **プライバシーゾーン\*** | ✅ | ✅ | ✅ |
| **人物分析** | ✅ | ✅ | ✅ |
| **車両分析** | ✅ | ✅ | ✅ |
| **人数カウント**† | ✅ | ✅ | |
| **車両カウント** | ✅ | ✅ | |
| **音声** | ✅ | ✅ | ✅ |
| **モーション検索** | ✅ | ✅ | ✅ |
| **モーション通知** | ✅ | ✅ | ✅ |
| **群衆通知** | ✅ | ✅ | ✅ |
{% hint style="success" %}
* \*プライバシー領域を設定するには、Fisheyeはパン・チルト・ズーム(PTZ)モードにする必要があります。設定後、構成したプライバシー領域はパノラマモードと4分割モードに引き継がれます。
* †Fisheyeは人数カウントをサポートしていますが、 **しません** 混雑傾向はサポートしていません。
{% endhint %}
***
## パノラマモード
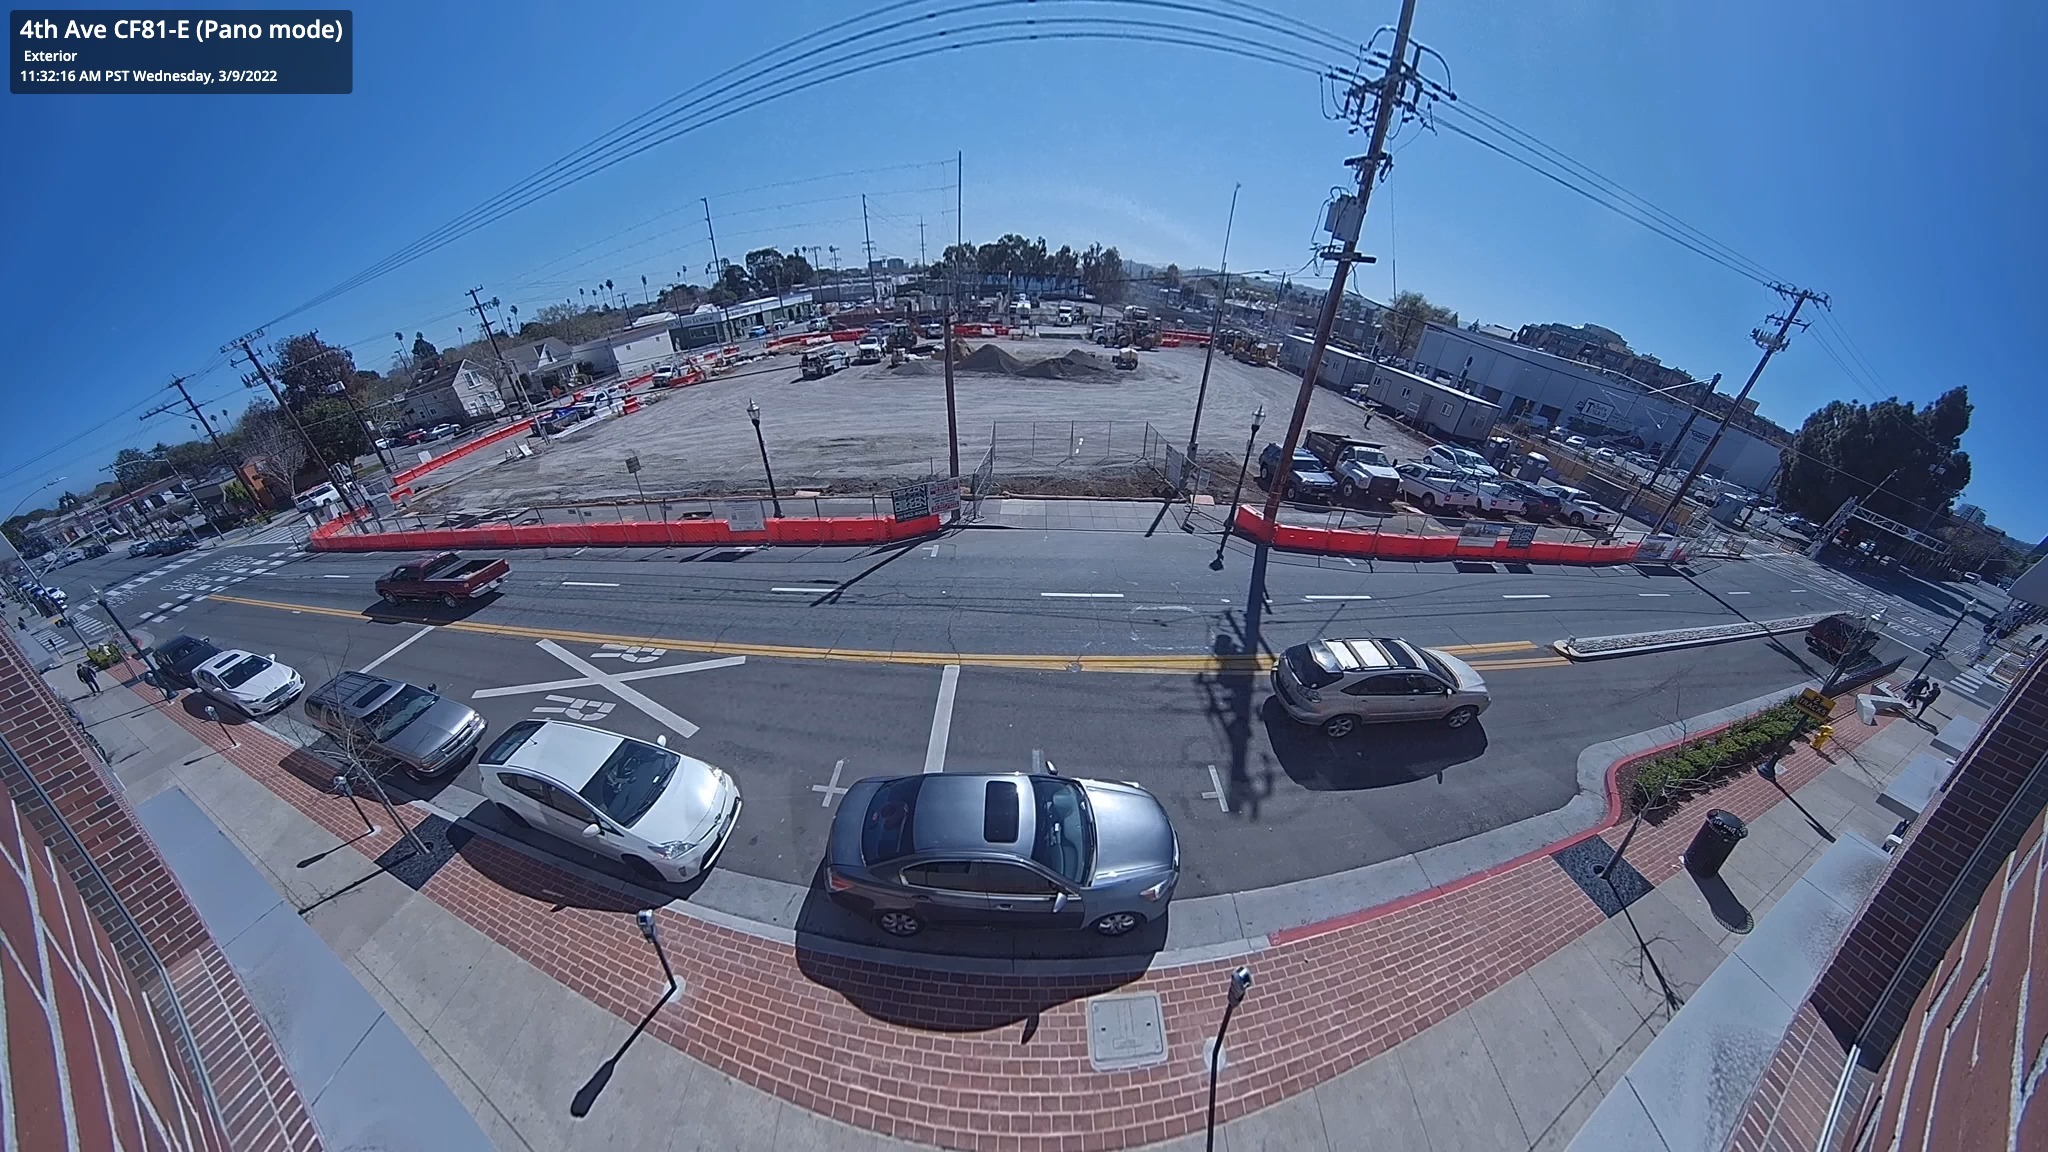
パノラマモードでは、カメラは180°の水平視野を提供し、壁面設置に最適です。
{% stepper %}
{% step %}
**Verkada Command で、\[All Products] > \[Cameras] に移動します。**
{% endstep %}
{% step %}
**更新したいカメラを選択します。**
{% endstep %}
{% step %}
**右下の[Settings]をクリックします。**
{% endstep %}
{% step %}
**[一般]>[Fisheyeモード]の下で、** :pencil-line:**.**
{% endstep %}
{% step %}
**[表示モードを設定]で[パノラマ]を選択し、[保存]をクリックします。**
{% endstep %}
{% endstepper %}
### パノラマの傾きを編集
視野を最適化するために、パノラマビューの傾きを変更できます。
{% hint style="danger" %}
あなたは **できません** D80のパノラマの傾きを編集します。
{% endhint %}
{% stepper %}
{% step %}
**Verkada Command で、\[All Products] > \[Cameras] に移動します。**
{% endstep %}
{% step %}
**更新したいカメラを選択します。**
{% endstep %}
{% step %}
**映像の左下で、SQ/HQのドロップダウンをクリックして[傾きの編集]を選択します。**
{% endstep %}
{% step %}
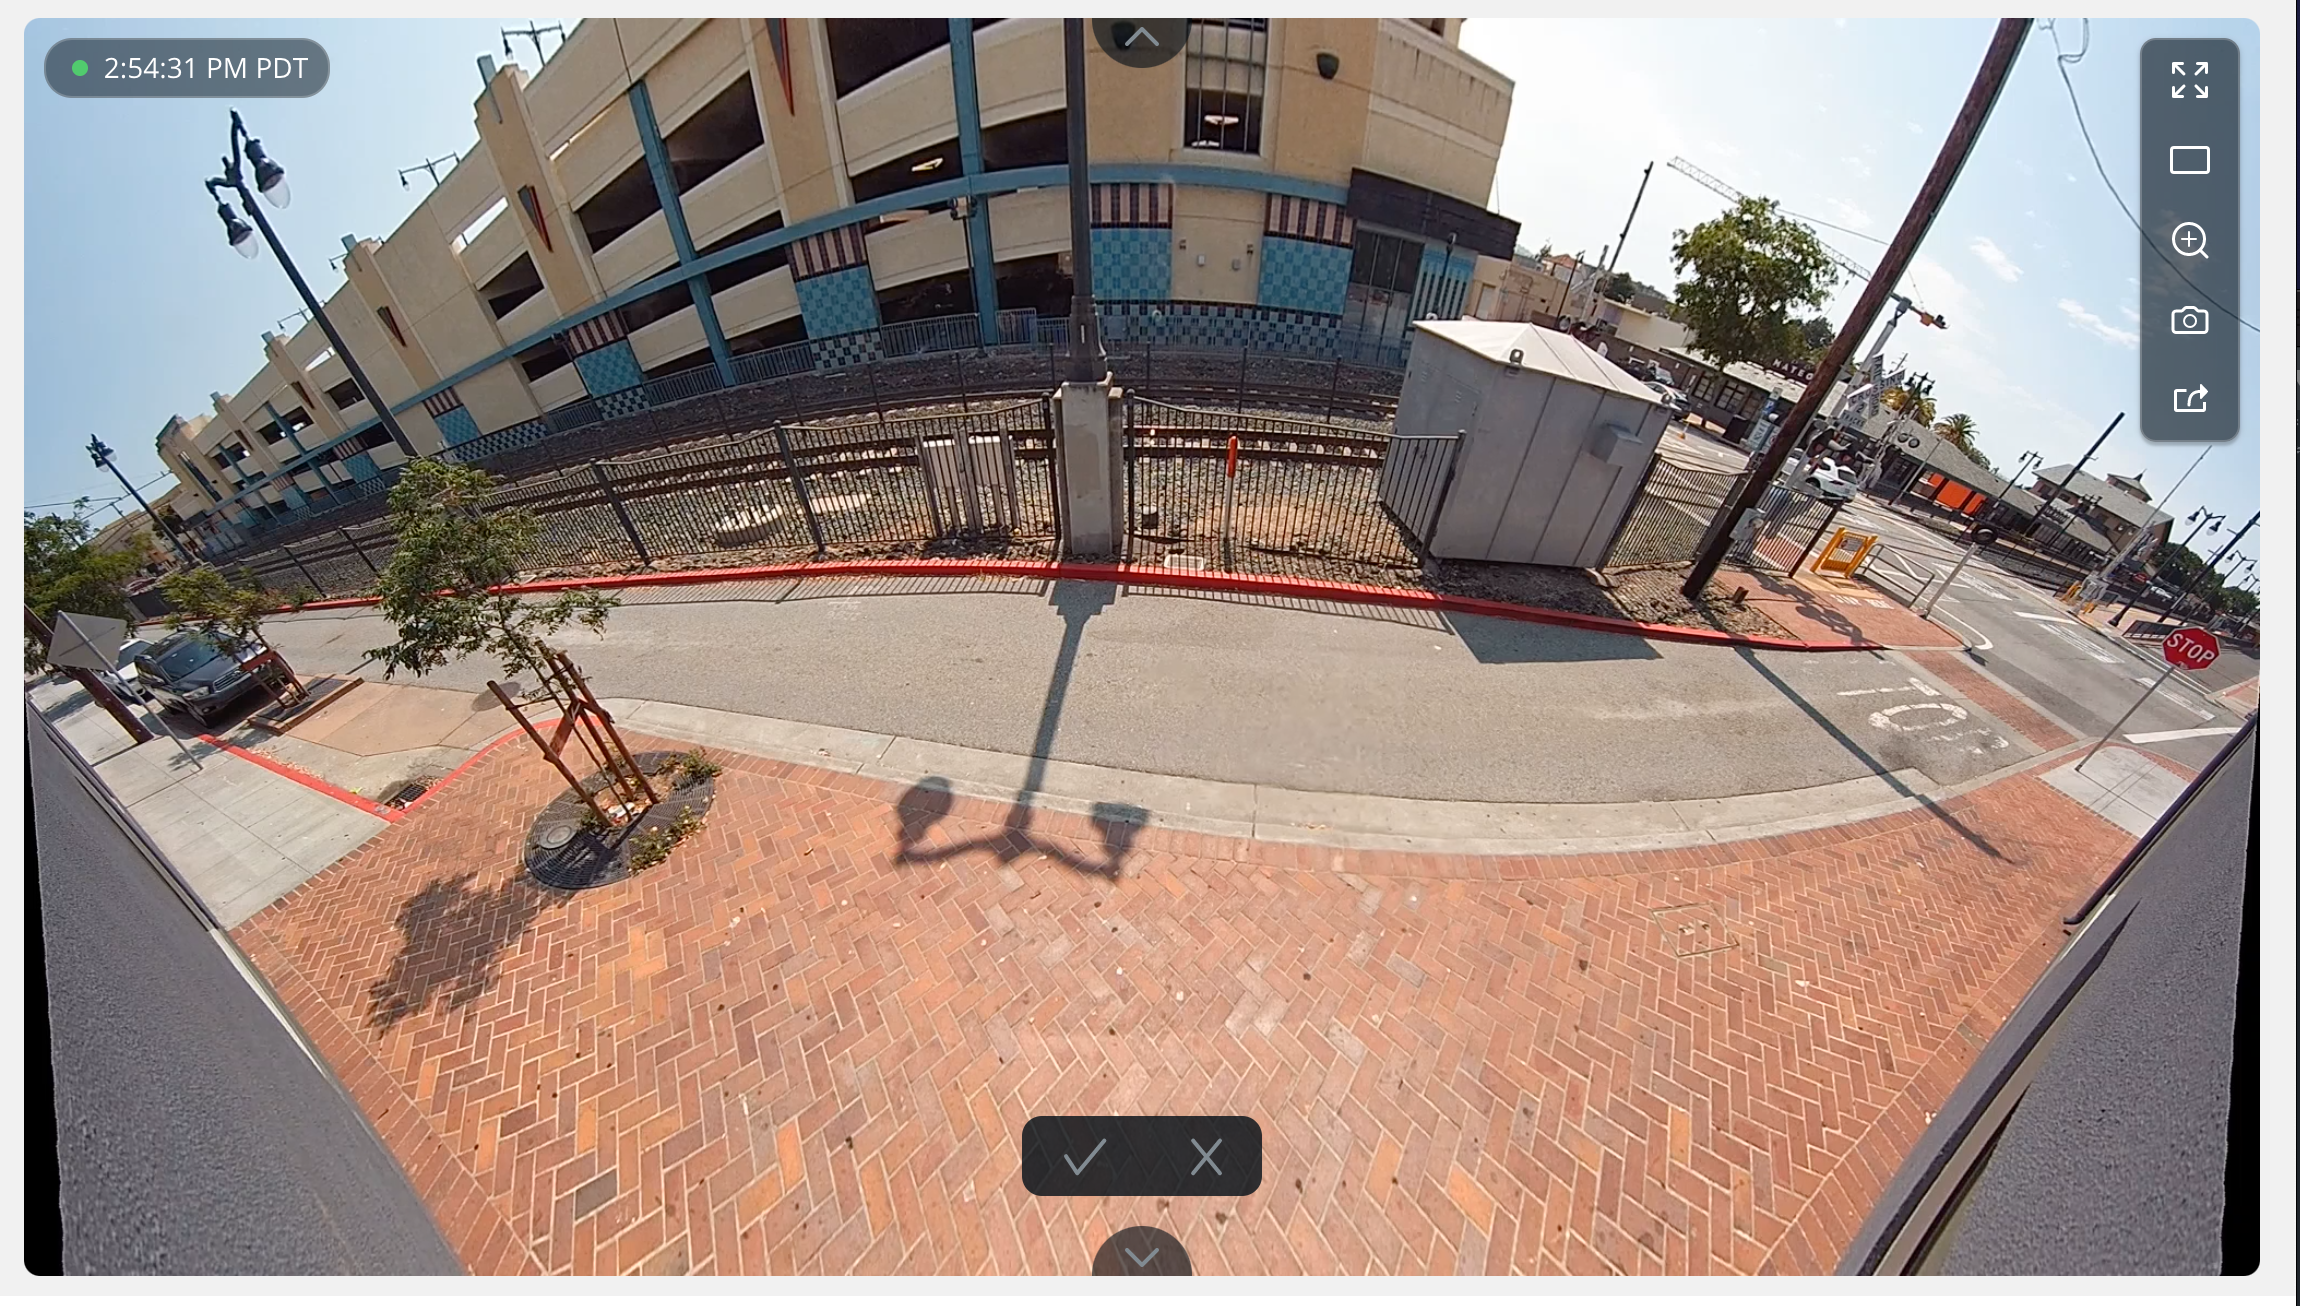
**タイル上に矢印が表示され、編集モードになっていることを確認できるはずです。矢印をクリックしてタイルの位置を変更します。**
{% endstep %}
{% step %}
**変更を確認または削除するには、画面下部の をクリックするか、 をクリックします。**
{% endstep %}
{% endstepper %}
***
## 4分割モード
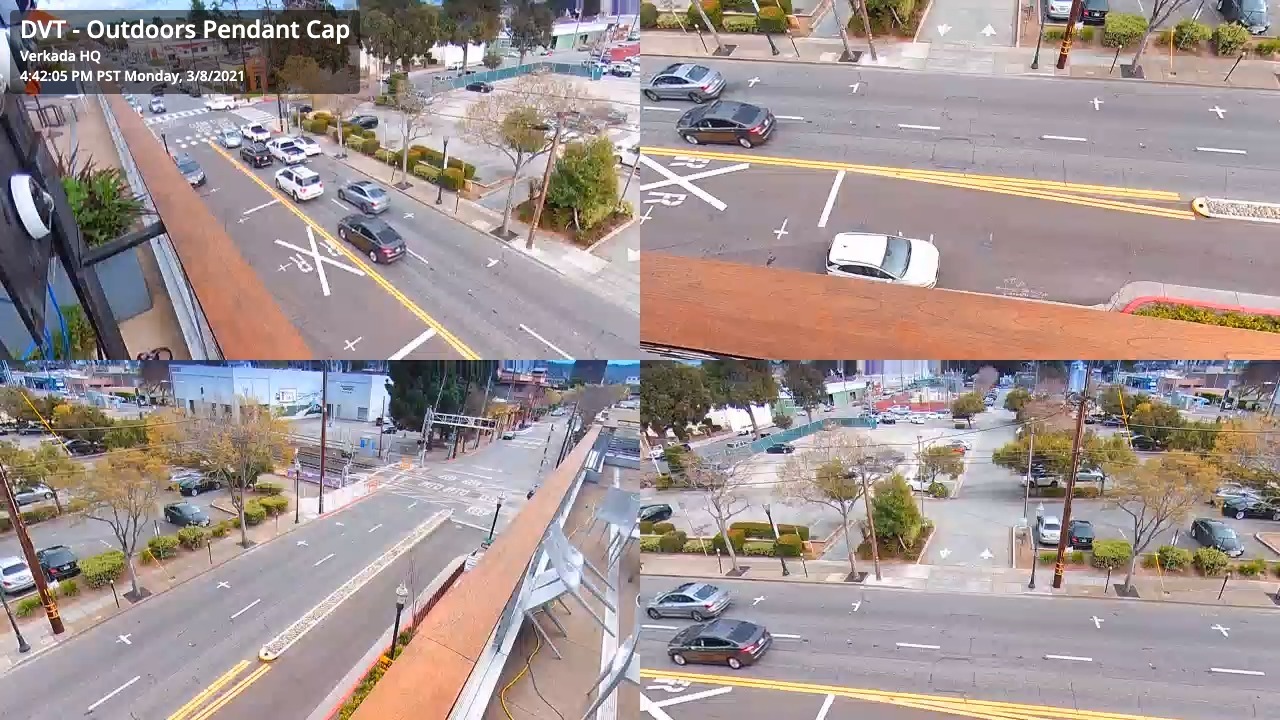
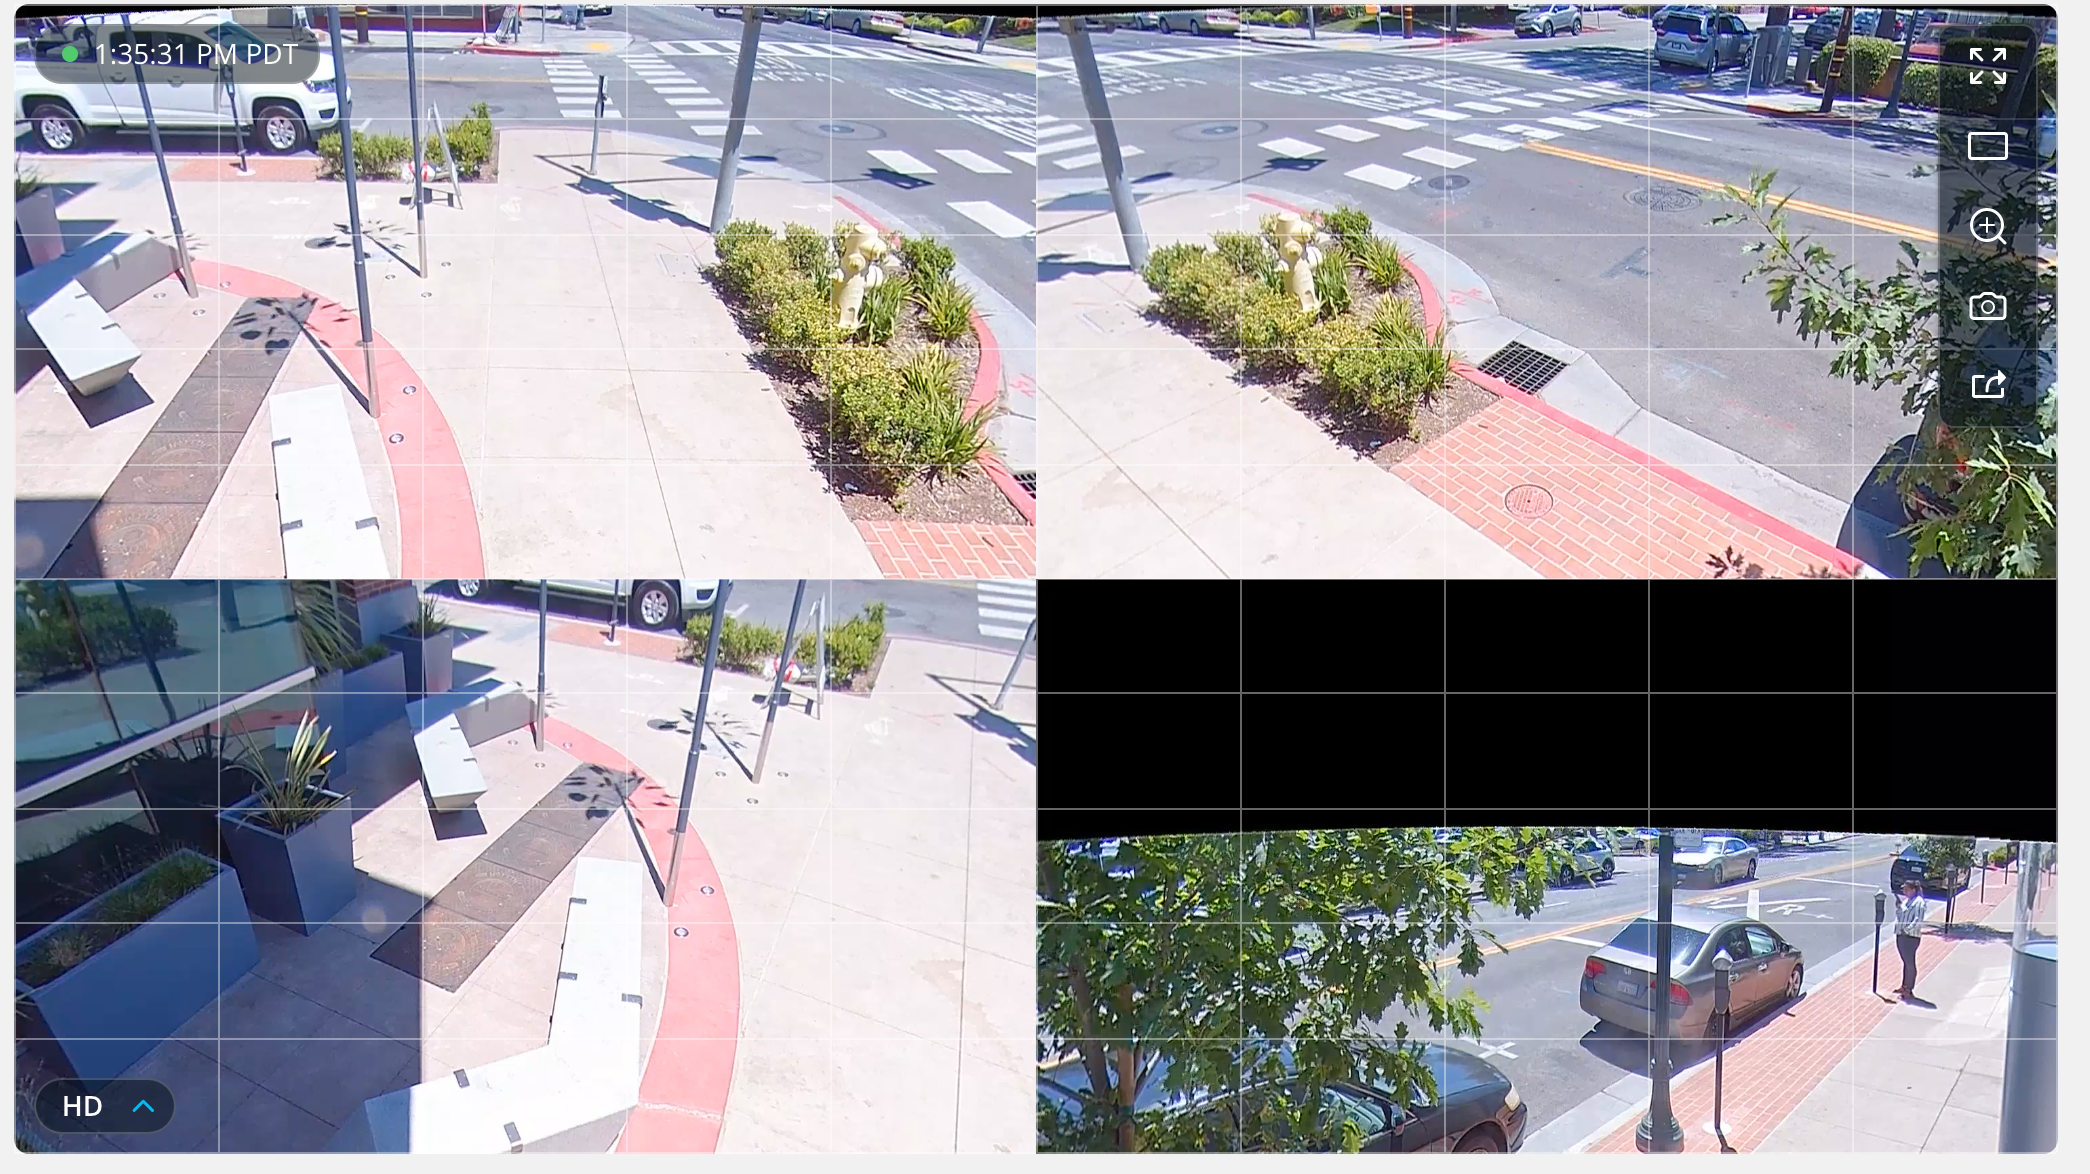
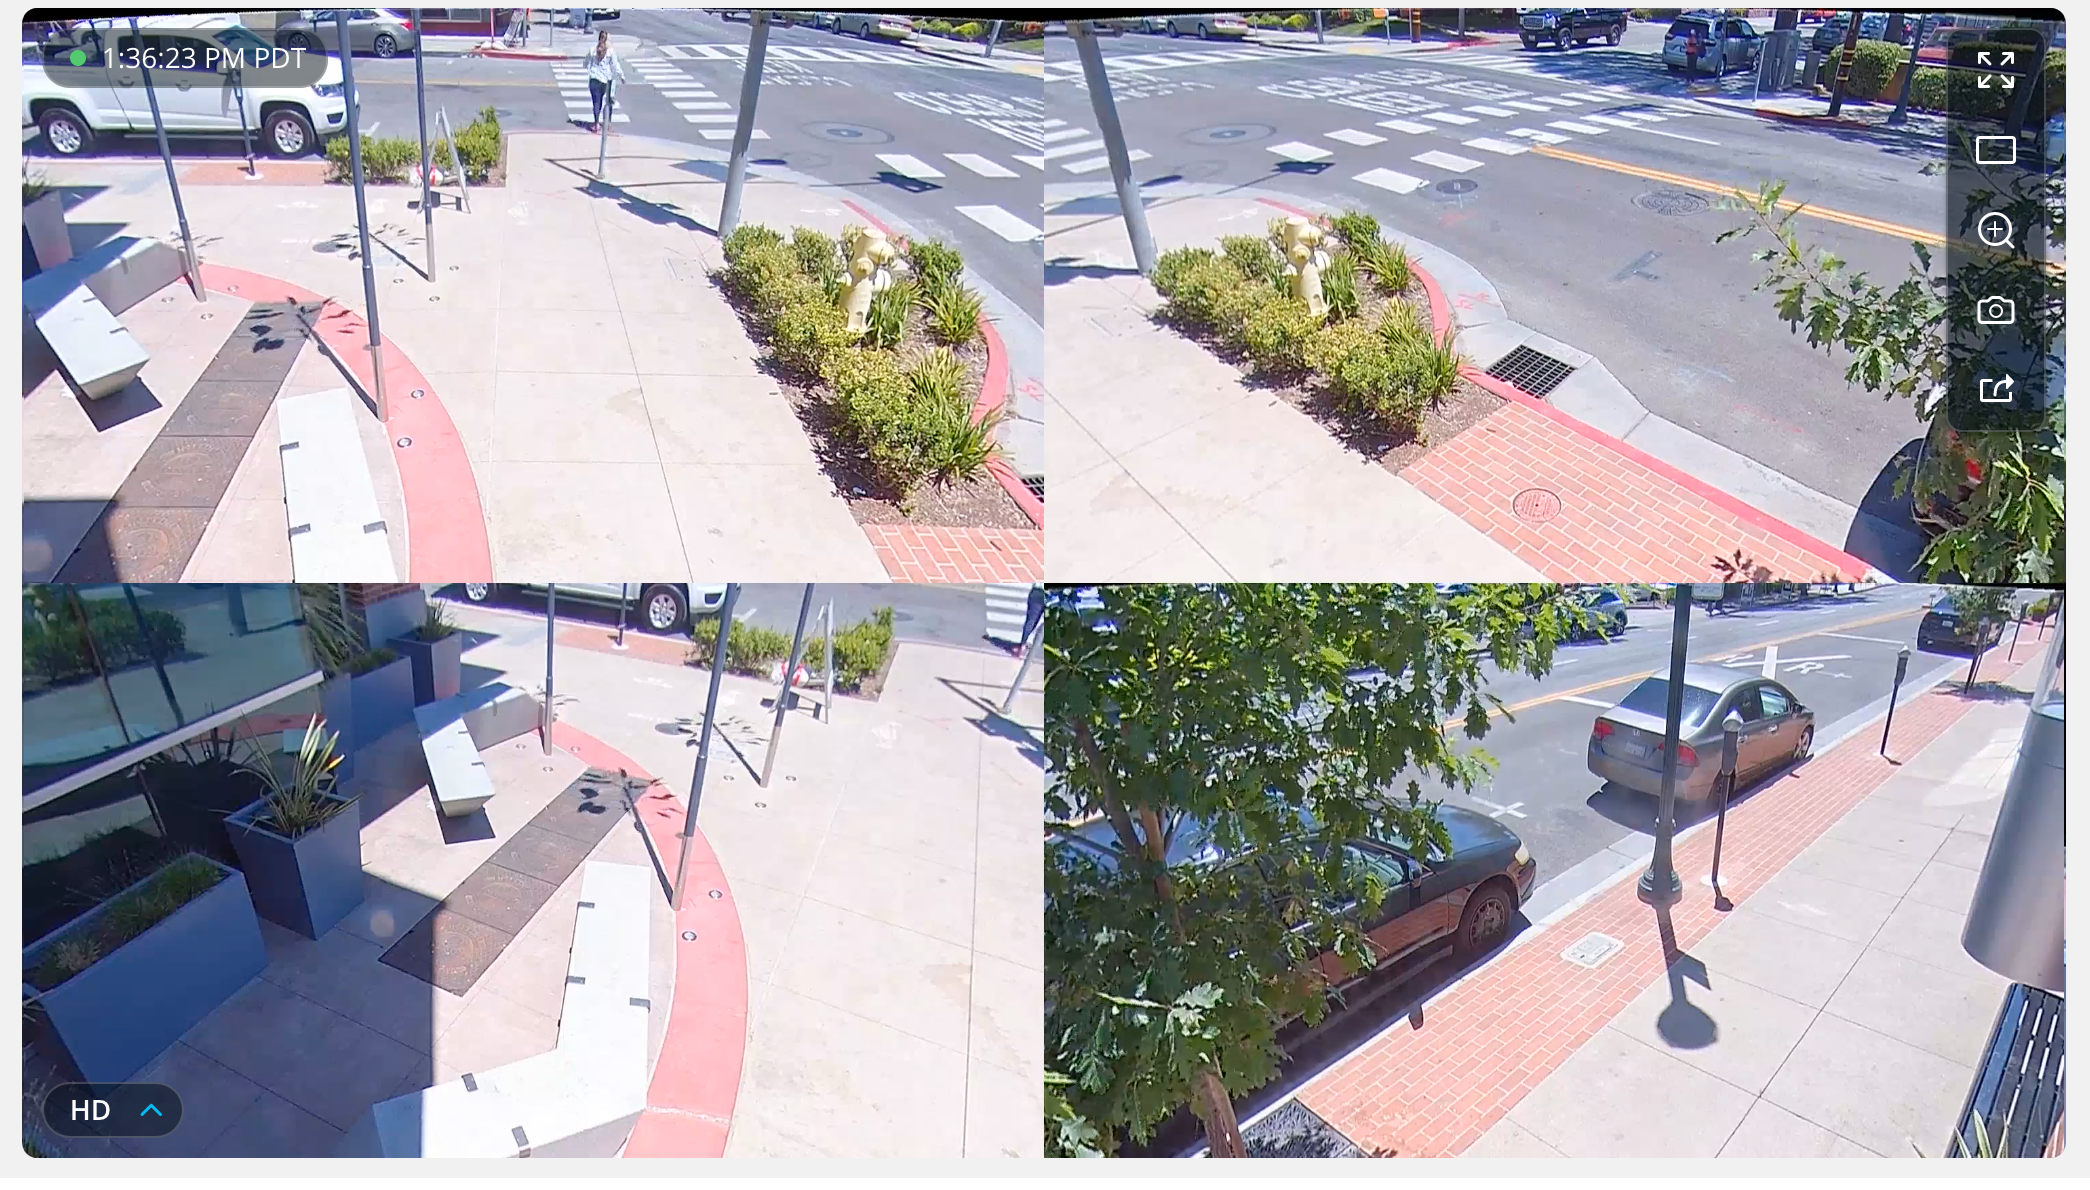
4分割モードでは、パノラマビューが360°ビュー用に4つのセクションに分割され、主にカメラが天井に取り付けられている場合に使用されます。この表示モードは、屋外の角、廊下の交差点の監視、または複数のカメラを1台で置き換える用途に最適です。
{% stepper %}
{% step %}
**Verkada Command で、\[All Products] > \[Cameras] に移動します。**
{% endstep %}
{% step %}
**更新したいカメラを選択します。**
{% endstep %}
{% step %}
**右下の[Settings]をクリックします。**
{% endstep %}
{% step %}
**[一般]>[Fisheyeモード]の下で、** :pencil-line:**.**
{% endstep %}
{% step %}
**[表示モードを設定]で[4分割]を選択し、[保存]をクリックします。**
{% endstep %}
{% endstepper %}
### 4分割パネルを編集
4分割ビュー内のパネルを更新して、各視野を最適化できます。
{% hint style="danger" %}
あなたは **できません** D80の4分割パネルを編集します。
{% endhint %}
{% stepper %}
{% step %}
**Verkada Command で、\[All Products] > \[Cameras] に移動します。**
{% endstep %}
{% step %}
**更新したいカメラを選択します。**
{% endstep %}
{% step %}
**映像の左下で、SQ/HQのドロップダウンをクリックして[パネルビューの編集]を選択します。**
{% endstep %}
{% step %}
**編集モードになっていることを確認するために、タイル上に矢印が表示されているはずです。矢印をクリックしてタイルの位置を変更します。**
{% endstep %}
{% step %}
**タイルを物理カメラレンズの視野外に向けると、画像が歪んで表示されます。**
{% endstep %}
{% step %}
**画質を回復するには、タイルを反対方向に向けます。**
{% endstep %}
{% step %}
**変更を確認または削除するには、画面下部の をクリックするか、 をクリックします。**
{% endstep %}
{% endstepper %}
***
## パン・チルト・ズームモード
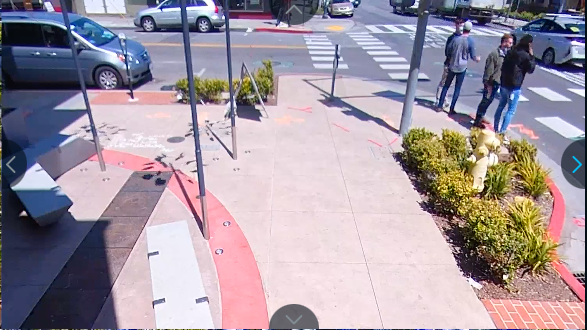
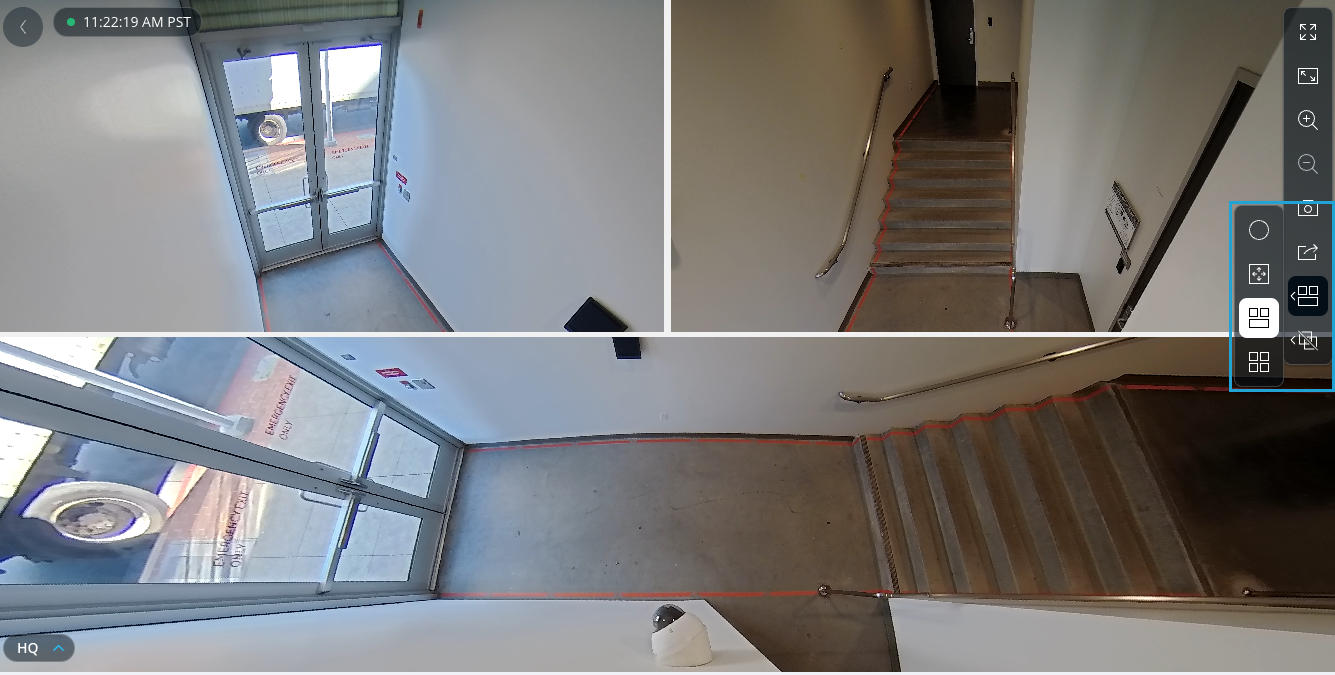
パン・チルト・ズームモードでは、ビデオフィードを360°ビューまたはさまざまな角度のタイルビューとして表示でき、デジタルPTZ機能で映像を探索できます。
{% hint style="danger" %}
D80は **対応していません** パン・チルト・ズームモードをサポートします。
{% endhint %}
{% stepper %}
{% step %}
**Verkada Command で、\[All Products] > \[Cameras] に移動します。**
{% endstep %}
{% step %}
**更新したいカメラを選択します。**
{% endstep %}
{% step %}
**右下の[Settings]をクリックします。**
{% endstep %}
{% step %}
**[一般]>[Fisheyeモード]の下で、** :pencil-line:**.**
{% endstep %}
{% step %}
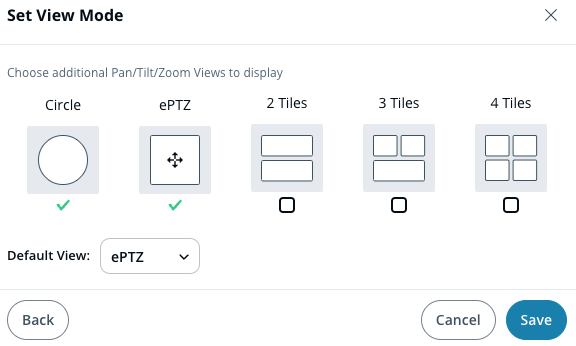
**[表示モードを設定]で[パン/チルト/ズーム]を選択し、[次へ]をクリックします。**
{% endstep %}
{% step %}
**任意のタイルビューを使用するには、該当するチェックボックスをオンにして[保存]します。**
{% endstep %}
{% endstepper %}
### 取り付け位置を設定する
カメラをPTZモードに変更したら、デジタルPTZの正しい操作を有効にするため、取り付け位置を設定する必要があります。
{% stepper %}
{% step %}
**Verkada Command で、\[All Products] > \[Cameras] に移動します。**
{% endstep %}
{% step %}
**更新したいカメラを選択します。**
{% endstep %}
{% step %}
**右下の[Settings]をクリックします。**
{% endstep %}
{% step %}
**[一般]>[取り付け位置]の下で、** :pencil-line:**.**
a. 次を選択します。 **壁に取り付け** または **天井に取り付け**、カメラの取り付け場所に応じて。\
b. **保存します。**
{% endstep %}
{% endstepper %}
### タイルのデフォルトホーム位置を設定する
各タイルのホーム位置を編集して、それぞれのタイルのデフォルト表示を設定できます。
{% hint style="danger" %}
このメニュー項目を表示するには、カメラがタイルビューになっている必要があります。
{% endhint %}
{% stepper %}
{% step %}
**Verkada Command で、\[All Products] > \[Cameras] に移動します。**
{% endstep %}
{% step %}
**更新したいカメラを選択します。**
{% endstep %}
{% step %}
**映像の左下で、SQ/HQのドロップダウンをクリックして[ホーム位置の編集]を選択します。**
a. カメラのタイルビューを必要な表示にドラッグします。\
b. **保存します。**
{% endstep %}
{% endstepper %}
### タイルビューの向きを変更する
任意のタイルビューで、各タイルの向きを変更できます。
{% hint style="danger" %}
このメニューにタイルオプションが表示されるのは、 [カメラをPTZモードに設定したときに選択した場合のみです。](#h_66f2331ef2)
{% endhint %}
{% stepper %}
{% step %}
**Verkada Command で、\[All Products] > \[Cameras] に移動します。**
{% endstep %}
{% step %}
**表示するカメラを選択します。**
{% endstep %}
{% step %}
**右側のナビゲーションで、PTZアイコンからいずれかのタイルビューを選択します。**
{% endstep %}
{% step %}
**タイルをクリックして全画面表示にします。**
{% endstep %}
{% step %}
**クリックしてドラッグし、画像を必要な表示に移動します。**
{% endstep %}
{% step %}
**希望の角度になったら、クリックして全タイルビューに戻ります。**
{% endstep %}
{% endstepper %}
---
# Agent Instructions
This documentation is published with GitBook. GitBook is the documentation platform designed so that both humans and AI agents can read, navigate, and reason over technical content effectively. Learn more at gitbook.com.
## Querying This Documentation
If you need additional information that is not directly available in this page, you can query the documentation by asking a question.
Perform an HTTP GET request on the following URL with the `ask` and `goal` query parameters:
```
GET https://help.verkada.com/verkada-cameras/ja/she-ding/view-and-edit-camera-settings/change-fisheye-view-modes.md?ask=&goal=
```
`ask` is the immediate question: it should be specific, self-contained, and written in natural language.
`goal` is what the user is ultimately trying to achieve, the reason they need the answer. Sharing it helps GitBook give you a better, more relevant answer. A goal is most helpful when it describes the outcome the user wants rather than restating the question. For example, with `ask=how do I create an API token`, a goal like `automate deployments from our CI pipeline` lets GitBook tailor the answer to that use case.
The response will contain a direct answer to the question and relevant excerpts and sources from the documentation.
Use this mechanism when the answer is not explicitly present in the current page, you need clarification or additional context, or you want to retrieve related documentation sections.