> For the complete documentation index, see [llms.txt](https://help.verkada.com/llms.txt). Markdown versions of documentation pages are available by appending `.md` to page URLs; this page is available as [Markdown](https://help.verkada.com/verkada-cameras/ja/she-ding/view-and-edit-camera-settings/camera-shortcuts.md).
# カメラのショートカット
隣接するカメラフィード間を切り替えるショートカットを設定する
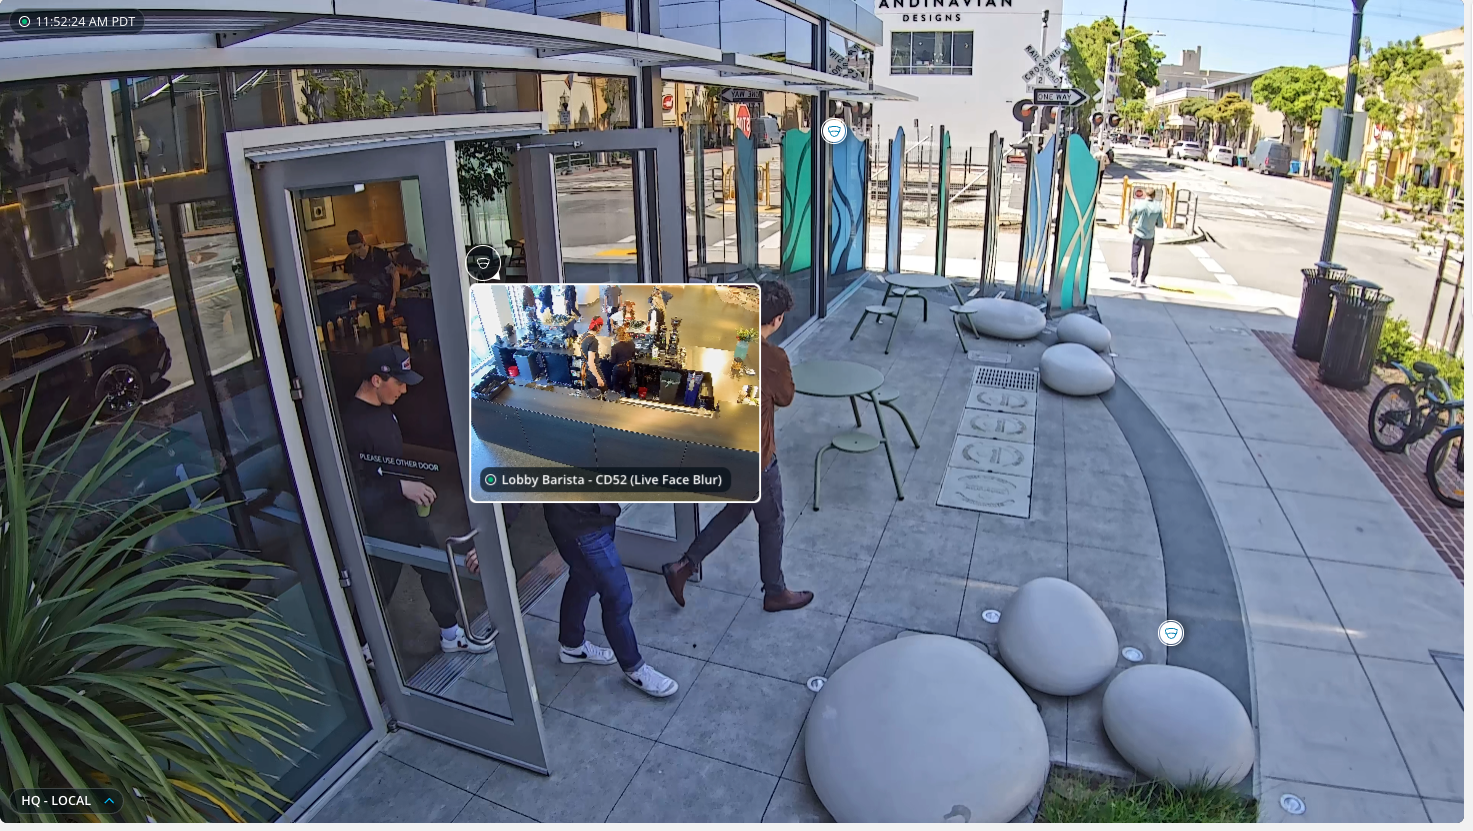
ショートカットは隣接するカメラフィード間をシームレスに移動できるため、複数のカメラをまたいで移動中の対象をすばやく追跡でき、ライブおよび履歴の調査の効率を高めます。ナビゲーション用ショートカットはカメラフィード上に直接表示され、ホバーするとプレビューを表示し、1回クリックするだけで切り替えられます。調整可能なプレビューウィンドウは、重要な詳細が見えなくならないように位置を変更できます。双方向機能により、ユーザーはカメラビュー間を簡単に移動できます。
***
## ショートカットを管理する
{% hint style="danger" %}
次の権限が必要です [組織管理者またはサイト管理者](/command/ja/yzto/roles-and-permissions-for-command.md) ショートカットを作成、編集、削除する権限。
{% endhint %}
### ショートカットの作成と編集
{% stepper %}
{% step %}
**Verkada Command で、\[All Products] > \[Cameras] に移動します。**
{% endstep %}
{% step %}
**カメラを選択します。**
{% endstep %}
{% step %}
**カメラフィードの右側のサイドバーで、[Camera Overlays]>[Shortcuts]>[Setup]をクリックします。**
{% endstep %}
{% step %}
**カメラビュー上のポイントを選択してショートカットを配置し、リンクする近くのカメラを選択します。**
{% endstep %}
{% step %}
**次のカメラフィードでクリックしたポイントが、ショートカットのもう一方の端が配置される場所です。すべてのショートカットは双方向のため、両方のカメラにショートカットが配置されます。**
{% endstep %}
{% step %}
**ショートカットを配置したら、両端の位置を微調整し、追加のショートカットを追加できます。**
{% endstep %}
{% endstepper %}
***
## ショートカットを表示
### ライブプレーヤー
{% stepper %}
{% step %}
**Verkada Command で、\[All Products] > \[Cameras] に移動します。**
{% endstep %}
{% step %}
**カメラを選択します。**
{% endstep %}
{% step %}
**セットアップされたショートカットを表示するには、ライブプレーヤーにマウスオーバーします。**
{% endstep %}
{% step %}
**ショートカットにマウスオーバーすると、リンクされたカメラのライブフィードのプレビューが表示されます。**
{% endstep %}
{% step %}
**ショートカットをクリックすると、リンクされたカメラのライブビューに切り替わります。**
{% endstep %}
{% endstepper %}
#### 履歴プレーヤー
{% stepper %}
{% step %}
**Verkada Command で、\[All Products] > \[Cameras] に移動します。**
{% endstep %}
{% step %}
**カメラを選択し、履歴プレーヤーを開きます。**
{% endstep %}
{% step %}
**セットアップされたショートカットを表示するには、履歴プレーヤーにマウスオーバーします。**
{% endstep %}
{% step %}
**ショートカットにマウスオーバーすると、リンクされたカメラの履歴が表示されます。**
{% endstep %}
{% step %}
**ショートカットをクリックすると、リンクされたカメラの履歴プレーヤーに切り替わります。**
{% endstep %}
{% step %}
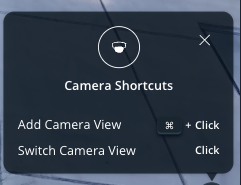
**⌘(Mac)またはCtrl(PC)を押しながらショートカットをクリックすると、履歴プレーヤーにカメラビューを追加できます。**
{% endstep %}
{% endstepper %}
#### グリッドプレーヤー
{% stepper %}
{% step %}
**Verkada Command で、\[All Products] > \[Cameras] に移動します。**
{% endstep %}
{% step %}
**左側のナビゲーションで、[グリッド]>[対象のグリッド]を選択します。**
{% endstep %}
{% step %}
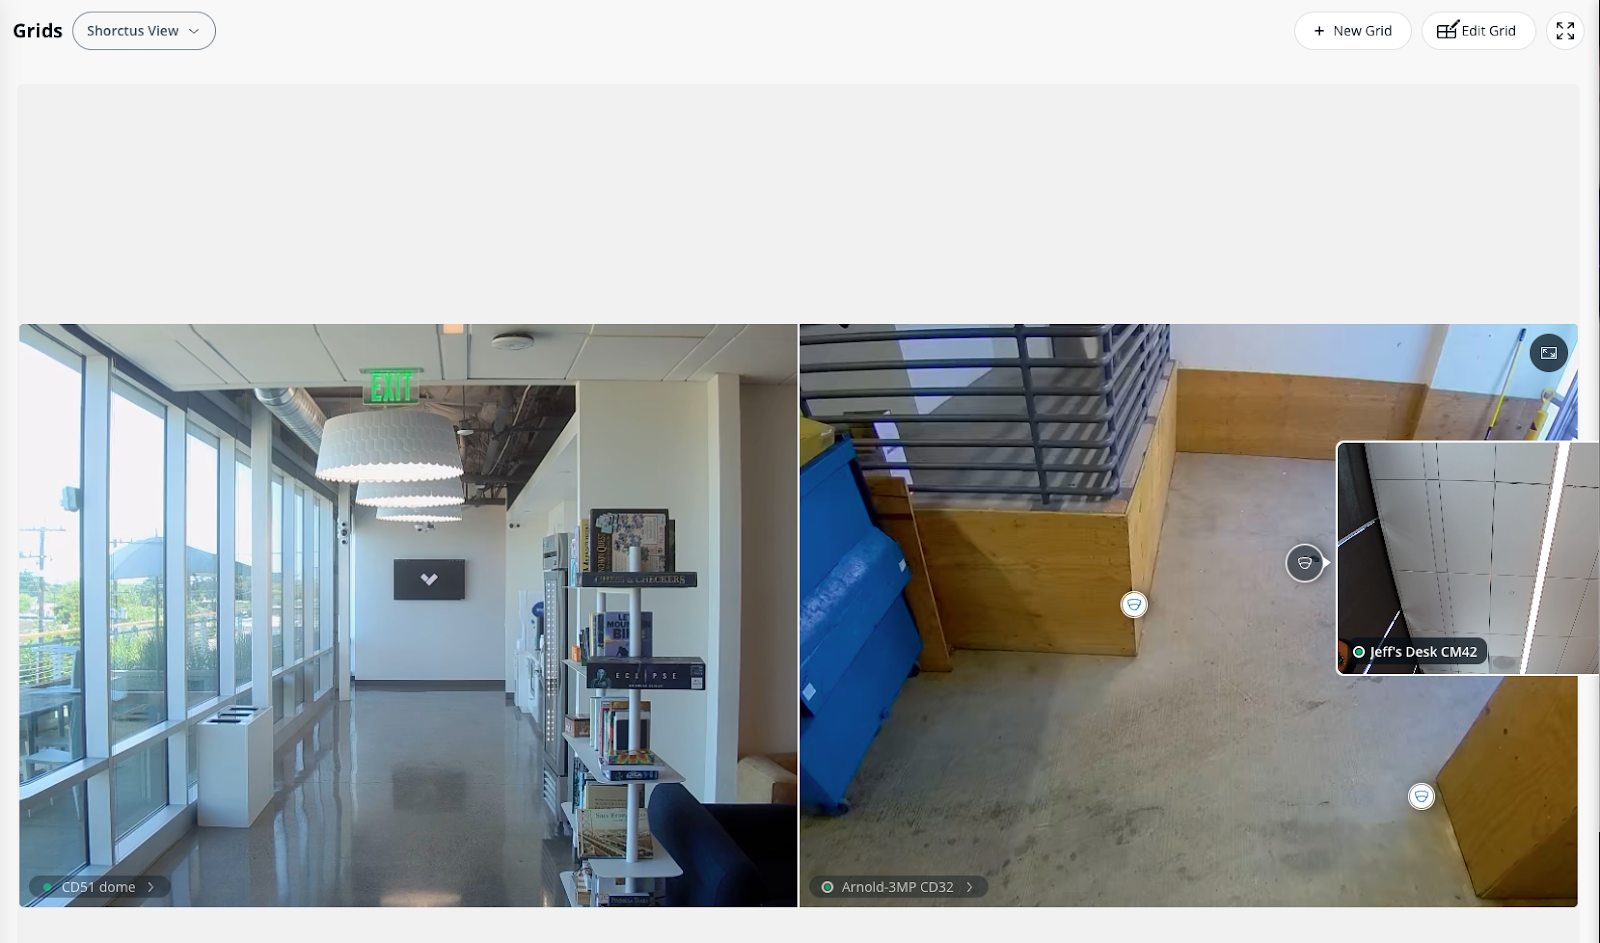
**グリッド上のカメラにマウスオーバーすると、セットアップされたショートカットを表示できます。**
{% endstep %}
{% step %}
**ショートカットにマウスオーバーすると、リンクされたカメラのライブフィードのプレビューが表示されます。**
{% endstep %}
{% step %}
**ショートカットをクリックすると、リンクされたカメラを表示できます。**
a. 以前表示していたグリッドに戻るには、グリッド上の任意の場所(ショートカットアイコンを除く)をクリックします。\
b. また、 **X** を右上隅でクリックして元のグリッドに戻ることもできます。
{% endstep %}
{% endstepper %}
***
{% hint style="info" %}
**実際の動作をご覧になりますか?** こちらをご覧ください: [動画チュートリアル](https://www.youtube.com/watch?v=cWScbxb5ZK8).
{% endhint %}
---
# Agent Instructions
This documentation is published with GitBook. GitBook is the documentation platform designed so that both humans and AI agents can read, navigate, and reason over technical content effectively. Learn more at gitbook.com.
## Querying This Documentation
If you need additional information that is not directly available in this page, you can query the documentation by asking a question.
Perform an HTTP GET request on the following URL with the `ask` and `goal` query parameters:
```
GET https://help.verkada.com/verkada-cameras/ja/she-ding/view-and-edit-camera-settings/camera-shortcuts.md?ask=&goal=
```
`ask` is the immediate question: it should be specific, self-contained, and written in natural language.
`goal` is what the user is ultimately trying to achieve, the reason they need the answer. Sharing it helps GitBook give you a better, more relevant answer. A goal is most helpful when it describes the outcome the user wants rather than restating the question. For example, with `ask=how do I create an API token`, a goal like `automate deployments from our CI pipeline` lets GitBook tailor the answer to that use case.
The response will contain a direct answer to the question and relevant excerpts and sources from the documentation.
Use this mechanism when the answer is not explicitly present in the current page, you need clarification or additional context, or you want to retrieve related documentation sections.