> For the complete documentation index, see [llms.txt](https://help.verkada.com/llms.txt). Markdown versions of documentation pages are available by appending `.md` to page URLs; this page is available as [Markdown](https://help.verkada.com/verkada-cameras/fr/configuration/view-and-edit-camera-settings/take-a-screenshot-of-video-feed.md).
# Prendre un instantané du flux vidéo
Apprenez à prendre un instantané des flux vidéo en direct et des enregistrements vidéo historiques
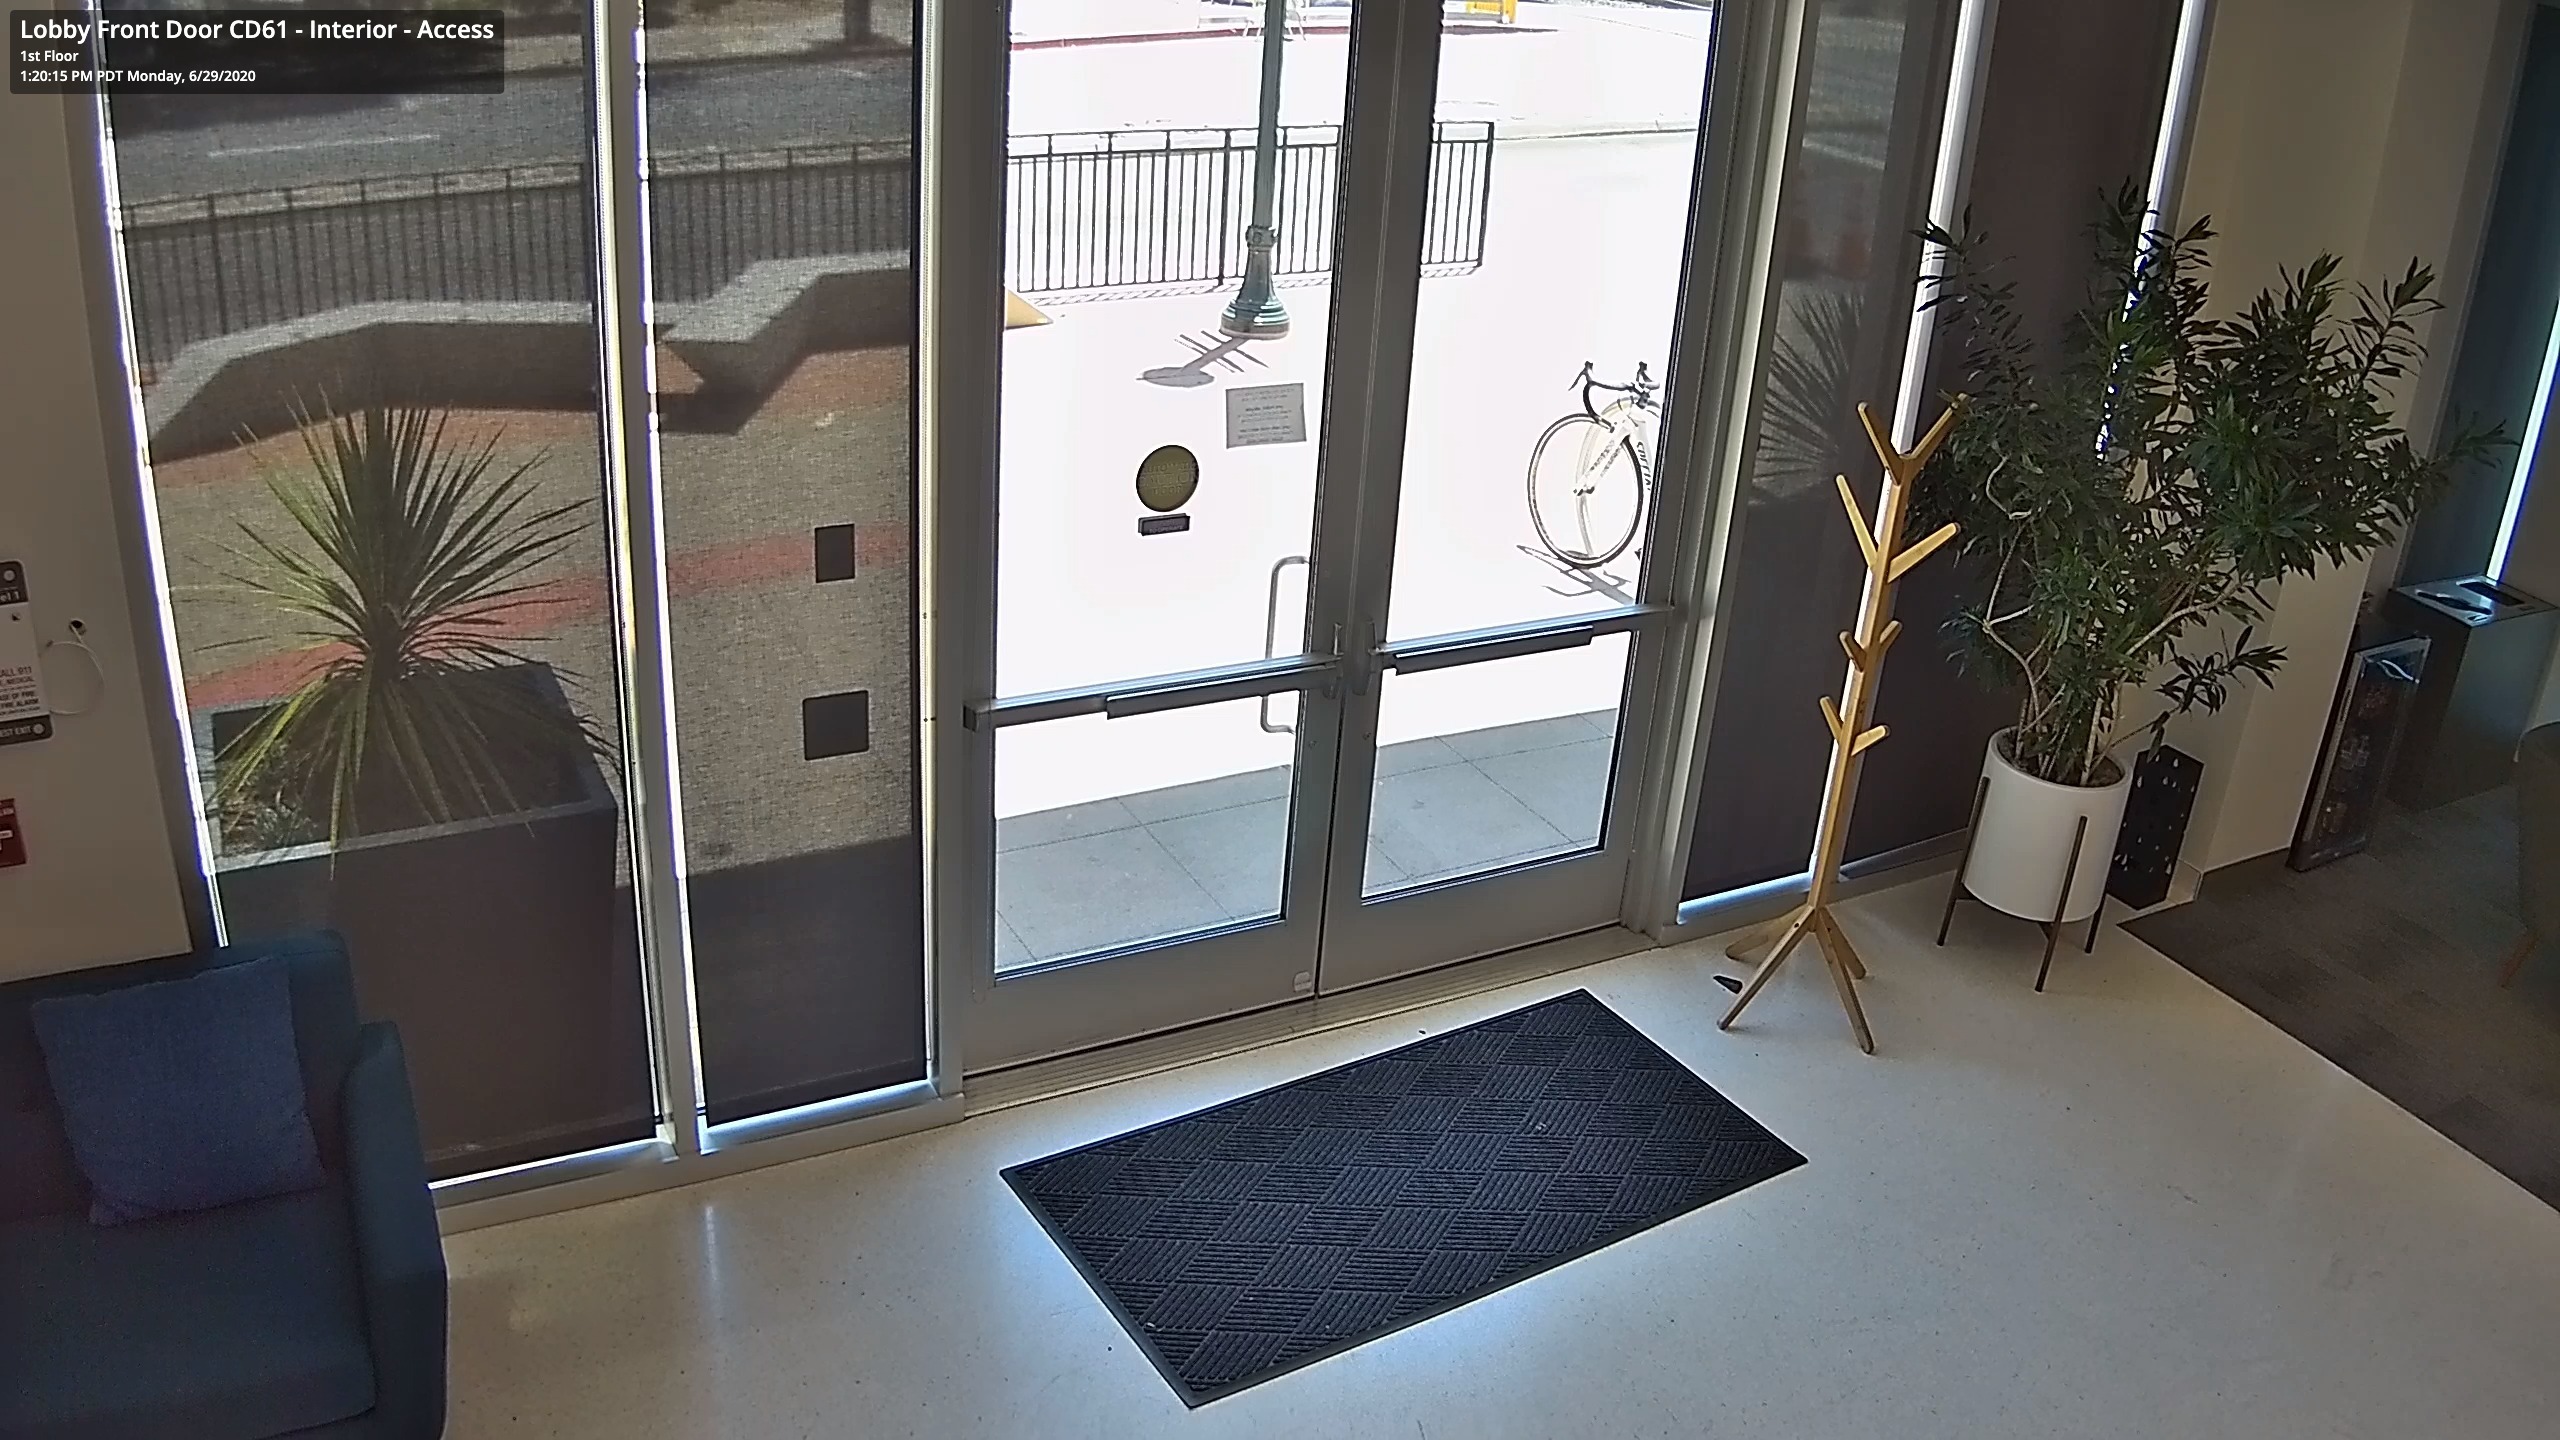
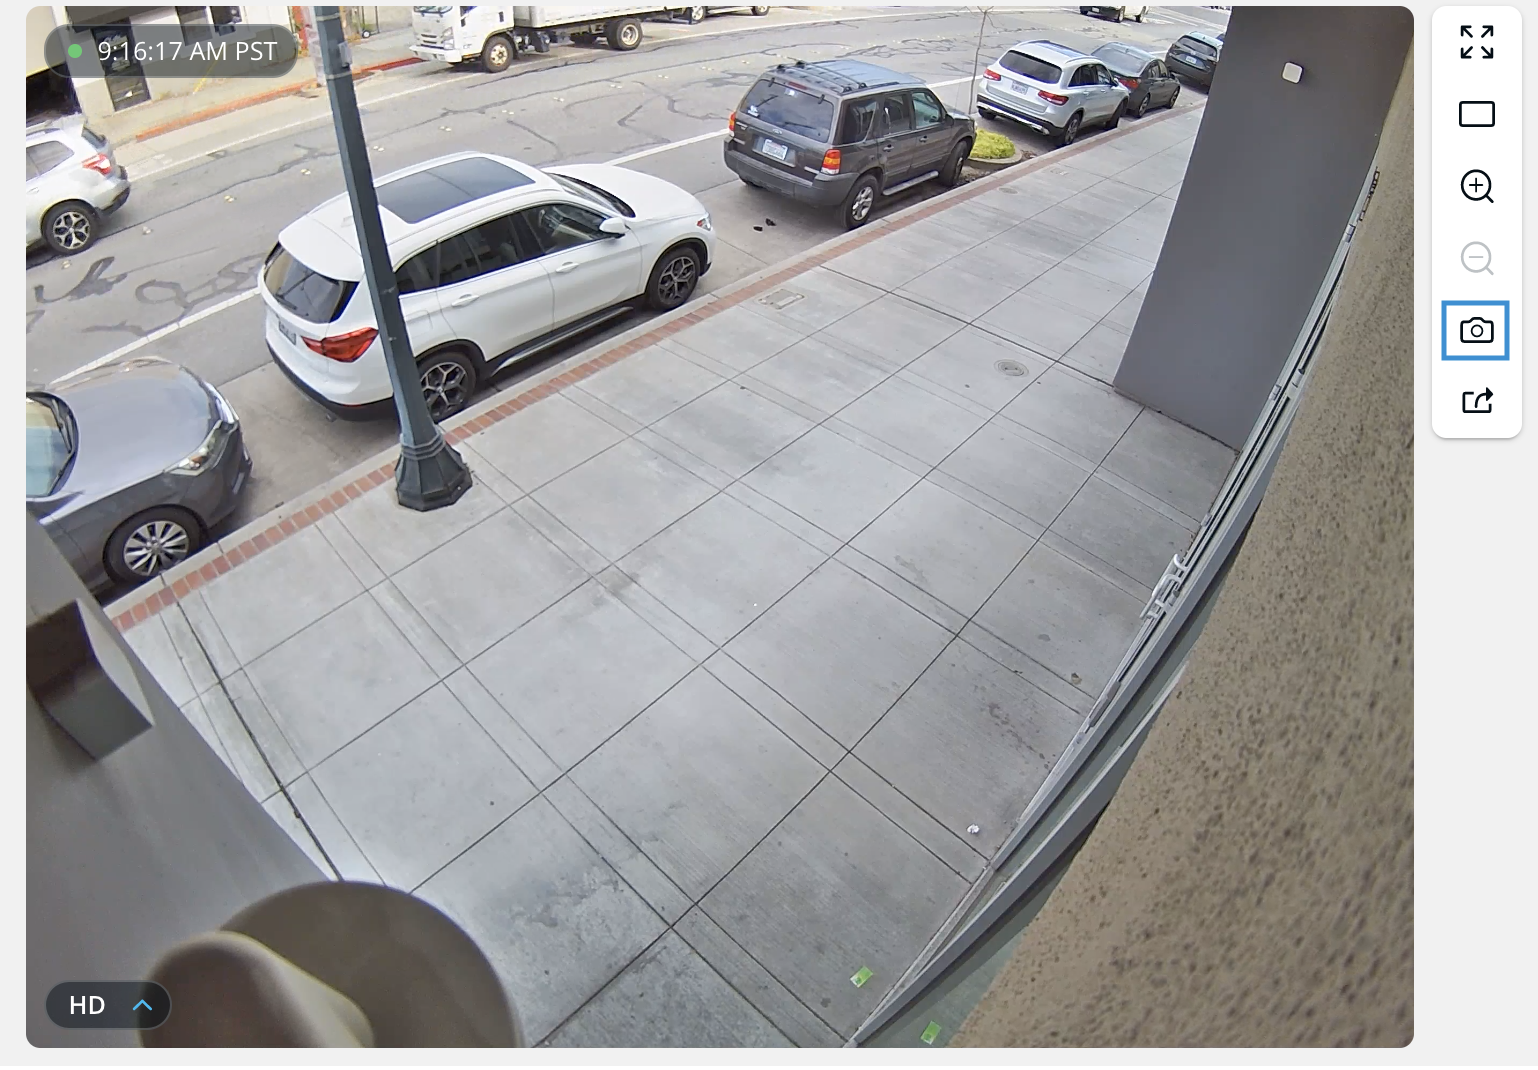
Les caméras Verkada incluent un outil d’instantané qui peut être très utile pour capturer une image fixe de quelque chose qui se passe sur un flux en direct à diffuser ou dans une vidéo historique.
L’instantané est automatiquement téléchargé sur votre appareil sous forme de fichier .jpg, que vous pouvez ouvrir et partager. L’instantané inclut le nom de la caméra, la date et l’heure dans le coin supérieur gauche.
***
## Prendre un instantané
### Flux en direct
{% stepper %}
{% step %}
**Dans Verkada Command, accédez à Tous les produits > Caméras.**
{% endstep %}
{% step %}
**Sélectionnez une caméra.**
{% endstep %}
{% step %}
**À droite du flux vidéo, cliquez** :camera: **pour prendre un instantané.**
{% endstep %}
{% endstepper %}
### Enregistrement historique
{% stepper %}
{% step %}
**Dans Verkada Command, accédez à Tous les produits > Caméras.**
{% endstep %}
{% step %}
**Sélectionnez une caméra et cliquez sur Historique.**
{% endstep %}
{% step %}
**Sélectionnez le segment d’enregistrement que vous souhaitez consulter.**
{% endstep %}
{% step %}
**En bas à droite, cliquez sur** :camera: **pour prendre un instantané.**
{% endstep %}
{% endstepper %}
### Application Command
{% stepper %}
{% step %}
**Ouvrez l’application Verkada Command.**
{% endstep %}
{% step %}
**Appuyez sur une caméra pour ouvrir la vue.**
{% endstep %}
{% step %}
**Appuyez sur le flux en direct et faites défiler jusqu’à l’heure à laquelle vous souhaitez prendre un instantané.**
{% endstep %}
{% step %}
**En haut à droite, cliquez sur** :ellipsis: **> Prendre un instantané.**
Sélectionnez si vous souhaitez enregistrer l’image sur votre appareil ou la partager avec un contact.
{% endstep %}
{% endstepper %}
---
# Agent Instructions
This documentation is published with GitBook. GitBook is the documentation platform designed so that both humans and AI agents can read, navigate, and reason over technical content effectively. Learn more at gitbook.com.
## Querying This Documentation
If you need additional information that is not directly available in this page, you can query the documentation by asking a question.
Perform an HTTP GET request on the following URL with the `ask` and `goal` query parameters:
```
GET https://help.verkada.com/verkada-cameras/fr/configuration/view-and-edit-camera-settings/take-a-screenshot-of-video-feed.md?ask=&goal=
```
`ask` is the immediate question: it should be specific, self-contained, and written in natural language.
`goal` is what the user is ultimately trying to achieve, the reason they need the answer. Sharing it helps GitBook give you a better, more relevant answer. A goal is most helpful when it describes the outcome the user wants rather than restating the question. For example, with `ask=how do I create an API token`, a goal like `automate deployments from our CI pipeline` lets GitBook tailor the answer to that use case.
The response will contain a direct answer to the question and relevant excerpts and sources from the documentation.
Use this mechanism when the answer is not explicitly present in the current page, you need clarification or additional context, or you want to retrieve related documentation sections.