> For the complete documentation index, see [llms.txt](https://help.verkada.com/llms.txt). Markdown versions of documentation pages are available by appending `.md` to page URLs; this page is available as [Markdown](https://help.verkada.com/incident-response/ja/hajimeni/get-started-with-incident-response.md).
# インシデント対応を始める
Verkada Workplace のインシデント対応機能について学ぶ
Incident Response は、インシデント発生時に人々の安否と所在を追跡するのに役立ちます。これにより、オーガナイゼーション' は従業員や来訪者の所在確認ができ、学校では生徒を保護者と再会させることができます。
{% hint style="danger" %}
Incident Response は、Verkada Guest のあるサイトでのみ利用できます。
{% endhint %}
***
## Incident Response を設定する
{% hint style="danger" %}
必要なもの **組織管理者** Incident Response を構成する権限。
{% endhint %}
### 初期サイト
{% stepper %}
{% step %}
**Verkada Command で、[すべての製品] > Workplace の Incident Response に移動します。**
{% endstep %}
{% step %}
**[既存の Guest サイトをインポート]をクリックします。**
{% endstep %}
{% step %}
**サイトを選択 > サイトをインポート。**
{% endstep %}
{% endstepper %}
### 追加のサイト
Incident Response 用の最初の Workplace サイトを設定した後、追加のサイトを構成できます。
{% stepper %}
{% step %}
**Verkada Command で、[すべての製品] > Workplace の Incident Response に移動します。**
{% endstep %}
{% step %}
**左側のナビゲーションで、[Incident Response 設定]をクリックします。**
{% endstep %}
{% step %}
**上部で、オーガナイゼーション' > サイトを選択します。**
{% endstep %}
{% step %}
**[サイトをインポート]をクリックします。**
{% endstep %}
{% endstepper %}
***
## 対応テンプレート
Workplace サイト管理者は、さまざまな種類のインシデントに対する対応テンプレートを作成できます。対応テンプレートでは次を定義します:
* 避難者として所在確認が必要な人
* 避難者に割り当てられるステータス
* 避難者を在席としてマークできる場所
学校では、再会用の対応テンプレートを構成し、保護者フォームを設定します。
{% hint style="warning" %}
詳細は [対応テンプレートを作成](/incident-response/ja/she-ding/create-response-templates.md) をご覧ください。
{% endhint %}
***
## Workplace の従業員
Incident Response サイトに割り当てられた従業員は、そのサイトで進行中の任意の対応に参加できます。従業員は、そのサイトのすべての Workplace 製品(Guest、Mailroom、Incident Response)で共有されます。
{% hint style="danger" %}
* 必要なもの **Workplace サイト管理者** サイトレベルの従業員リストを管理する権限。
* 必要なもの **組織管理者** オーガナイゼーション' レベルの従業員リストを管理する権限。
{% endhint %}
{% stepper %}
{% step %}
**Verkada Command で、[すべての製品] > Workplace の Incident Response に移動します。**
{% endstep %}
{% step %}
**左側のナビゲーションで、[Incident Response 設定]をクリックします。**
{% endstep %}
{% step %}
**上部で、サイト > 従業員を選択します。**
{% endstep %}
{% step %}
**[従業員リストを管理]を選択します。**
{% endstep %}
{% endstepper %}
{% hint style="warning" %}
詳細は [Guest でホストリストを管理](/guest/ja/she-ding/manage-host-lists-in-guest.md) をご覧ください。
{% endhint %}
***
## 対応を開始
{% hint style="danger" %}
次の **Workplace サイト管理者** ロールまたは[ 明示的な権限](/command/ja/yzto/roles-and-permissions-for-command/custom-roles.md#workplace) Command から対応を開始するには。
{% endhint %}
{% stepper %}
{% step %}
**Verkada Command で、[すべての製品] > Workplace の Incident Response に移動します。**
{% endstep %}
{% step %}
**Incident Response ホームで、[対応を開始]をクリックします。**
{% endstep %}
{% step %}
**対応テンプレートを選択します。**
{% hint style="warning" %}
対応の開始時点では、すべての避難者は **不明** のステータスと所在です。
{% endhint %}
{% endstep %}
{% step %}
**[開始]をクリックします。**
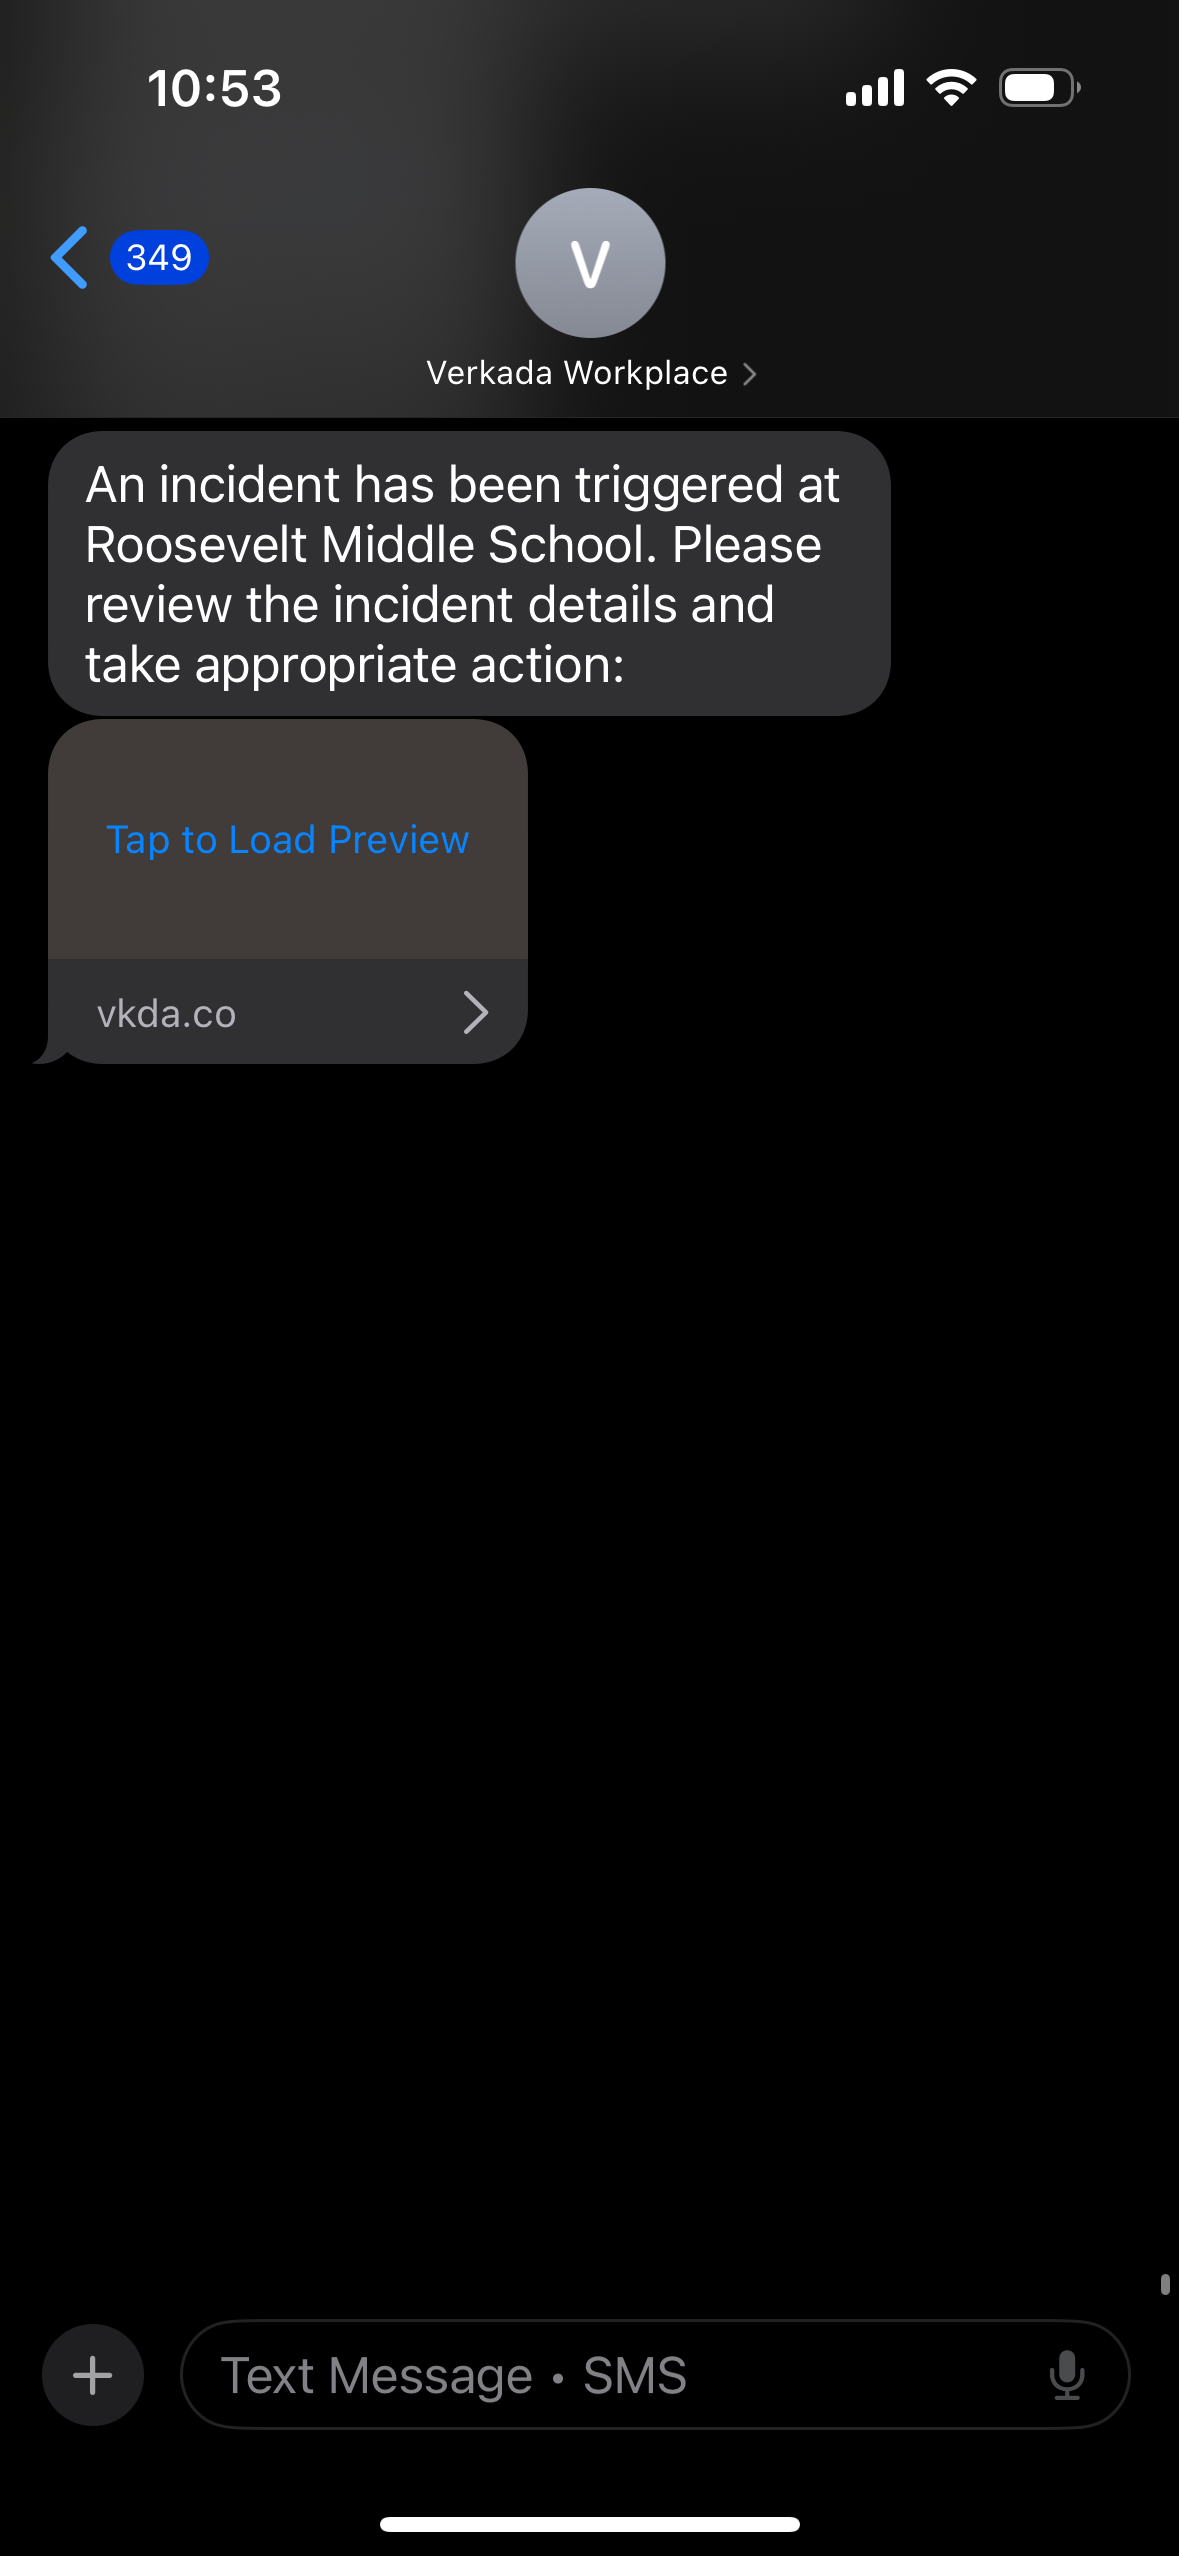
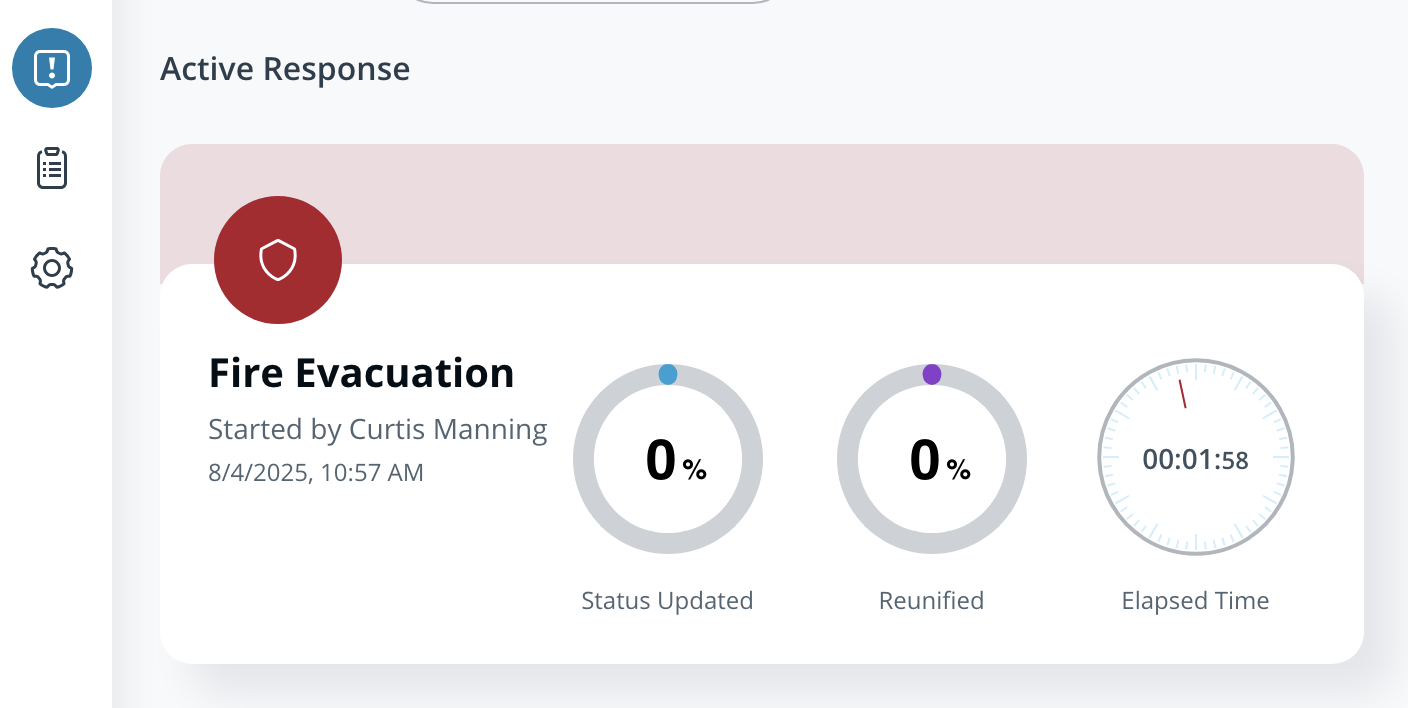
実際の対応が開始されると、すべての従業員に、次へのマジックリンクを含む通知が届きます [Incident Response ポータル](/incident-response/ja/hajimeni/incident-response-portal.md).
{% endstep %}
{% endstepper %}
***
## 対応を終了
{% hint style="danger" %}
次の **Workplace サイト管理者** ロールまたは[ 明示的な権限](/command/ja/yzto/roles-and-permissions-for-command/custom-roles.md#workplace) 対応を終了するには。
{% endhint %}
{% stepper %}
{% step %}
**Verkada Command で、[すべての製品] > Workplace の Incident Response に移動します。**
{% endstep %}
{% step %}
**Incident Response ホームで、[進行中の対応]をクリックします。**
{% endstep %}
{% step %}
**右上で、[終了]をクリックします。**
{% endstep %}
{% step %}
**確認メニューで、[インシデントを終了]を選択します。**
{% endstep %}
{% endstepper %}
対応を終了すると、Incident Response ポータルでそれ以上変更できなくなります。通知が有効な実際の対応と訓練では、対応が終了するとすべての従業員に通知されます。
---
# Agent Instructions
This documentation is published with GitBook. GitBook is the documentation platform designed so that both humans and AI agents can read, navigate, and reason over technical content effectively. Learn more at gitbook.com.
## Querying This Documentation
If you need additional information that is not directly available in this page, you can query the documentation by asking a question.
Perform an HTTP GET request on the following URL with the `ask` and `goal` query parameters:
```
GET https://help.verkada.com/incident-response/ja/hajimeni/get-started-with-incident-response.md?ask=&goal=
```
`ask` is the immediate question: it should be specific, self-contained, and written in natural language.
`goal` is what the user is ultimately trying to achieve, the reason they need the answer. Sharing it helps GitBook give you a better, more relevant answer. A goal is most helpful when it describes the outcome the user wants rather than restating the question. For example, with `ask=how do I create an API token`, a goal like `automate deployments from our CI pipeline` lets GitBook tailor the answer to that use case.
The response will contain a direct answer to the question and relevant excerpts and sources from the documentation.
Use this mechanism when the answer is not explicitly present in the current page, you need clarification or additional context, or you want to retrieve related documentation sections.