> For the complete documentation index, see [llms.txt](https://help.verkada.com/llms.txt). Markdown versions of documentation pages are available by appending `.md` to page URLs; this page is available as [Markdown](https://help.verkada.com/guest/ja/she-ding/guest-events/create-guest-events-with-calendar-shortcuts.md).
# カレンダーショートカットで Guest イベントを作成
お好みのカレンダーアプリケーションから訪問者イベントを調整
ゲストイベントでは、参加者情報を事前に収集することでチェックインを効率化できます。カレンダーアプリケーションまたは従業員ポータルで [my.verkada.com](https://my.verkada.com).
{% hint style="danger" %}
主催者のメールアドレス **必要があります** ゲストを招待するには、ホストに紐づいている必要があります。Verkada Command にアクセスできないホストでも、 [Verkada Command](/command/ja/hajimeni/get-started-with-verkada-command.md) ゲストを招待できます [my.verkada.com](https://my.verkada.com).
{% endhint %}
***
## 招待アドレスを取得
{% hint style="danger" %}
次のものを作成する必要があります: [ゲストタイプ](/guest/ja/she-ding/configure-guest-types.md) ゲストイベントを作成する前に。
{% endhint %}
カレンダーアプリケーションからゲストイベントを作成するには、招待アドレスを招待先として追加する必要があります。各招待アドレスは、ゲストタイプとサイトごとに一意で、Command または従業員ポータルで確認できます。
### Command
{% stepper %}
{% step %}
**Verkada Commandでは、All Products > Workplace >**  **Guest。**
{% endstep %}
{% step %}
**左側のナビゲーションで、[Events]を選択します。**
{% endstep %}
{% step %}
**右上で、[カレンダー経由で招待]をクリックします。**
{% endstep %}
{% step %}
**[招待するゲストタイプを選択]ドロップダウンをクリックし、このイベントのゲストタイプを選択します。**
{% endstep %}
{% step %}
**[招待アドレスをコピー]をクリックし、そのアドレスをカレンダーイベントの招待先の 1 つとして貼り付けます。**
{% endstep %}
{% endstepper %}
### 従業員ポータル
{% stepper %}
{% step %}
**ご利用の** [**my.verkada.com**](https://my.verkada.com) **アカウントにログインします。**
{% endstep %}
{% step %}
**右上で、[> ゲストを招待]をクリックします。**
{% endstep %}
{% step %}
**左側で、[ゲストを招待]をクリックします。**
{% endstep %}
{% step %}
**[カレンダーショートカット]をクリックします。**
{% endstep %}
{% step %}
**左側で、ゲストサイトを選択します。**
{% endstep %}
{% step %}
**右側で、[変更]をクリックしてゲストタイプを選択します。**
{% endstep %}
{% endstepper %}
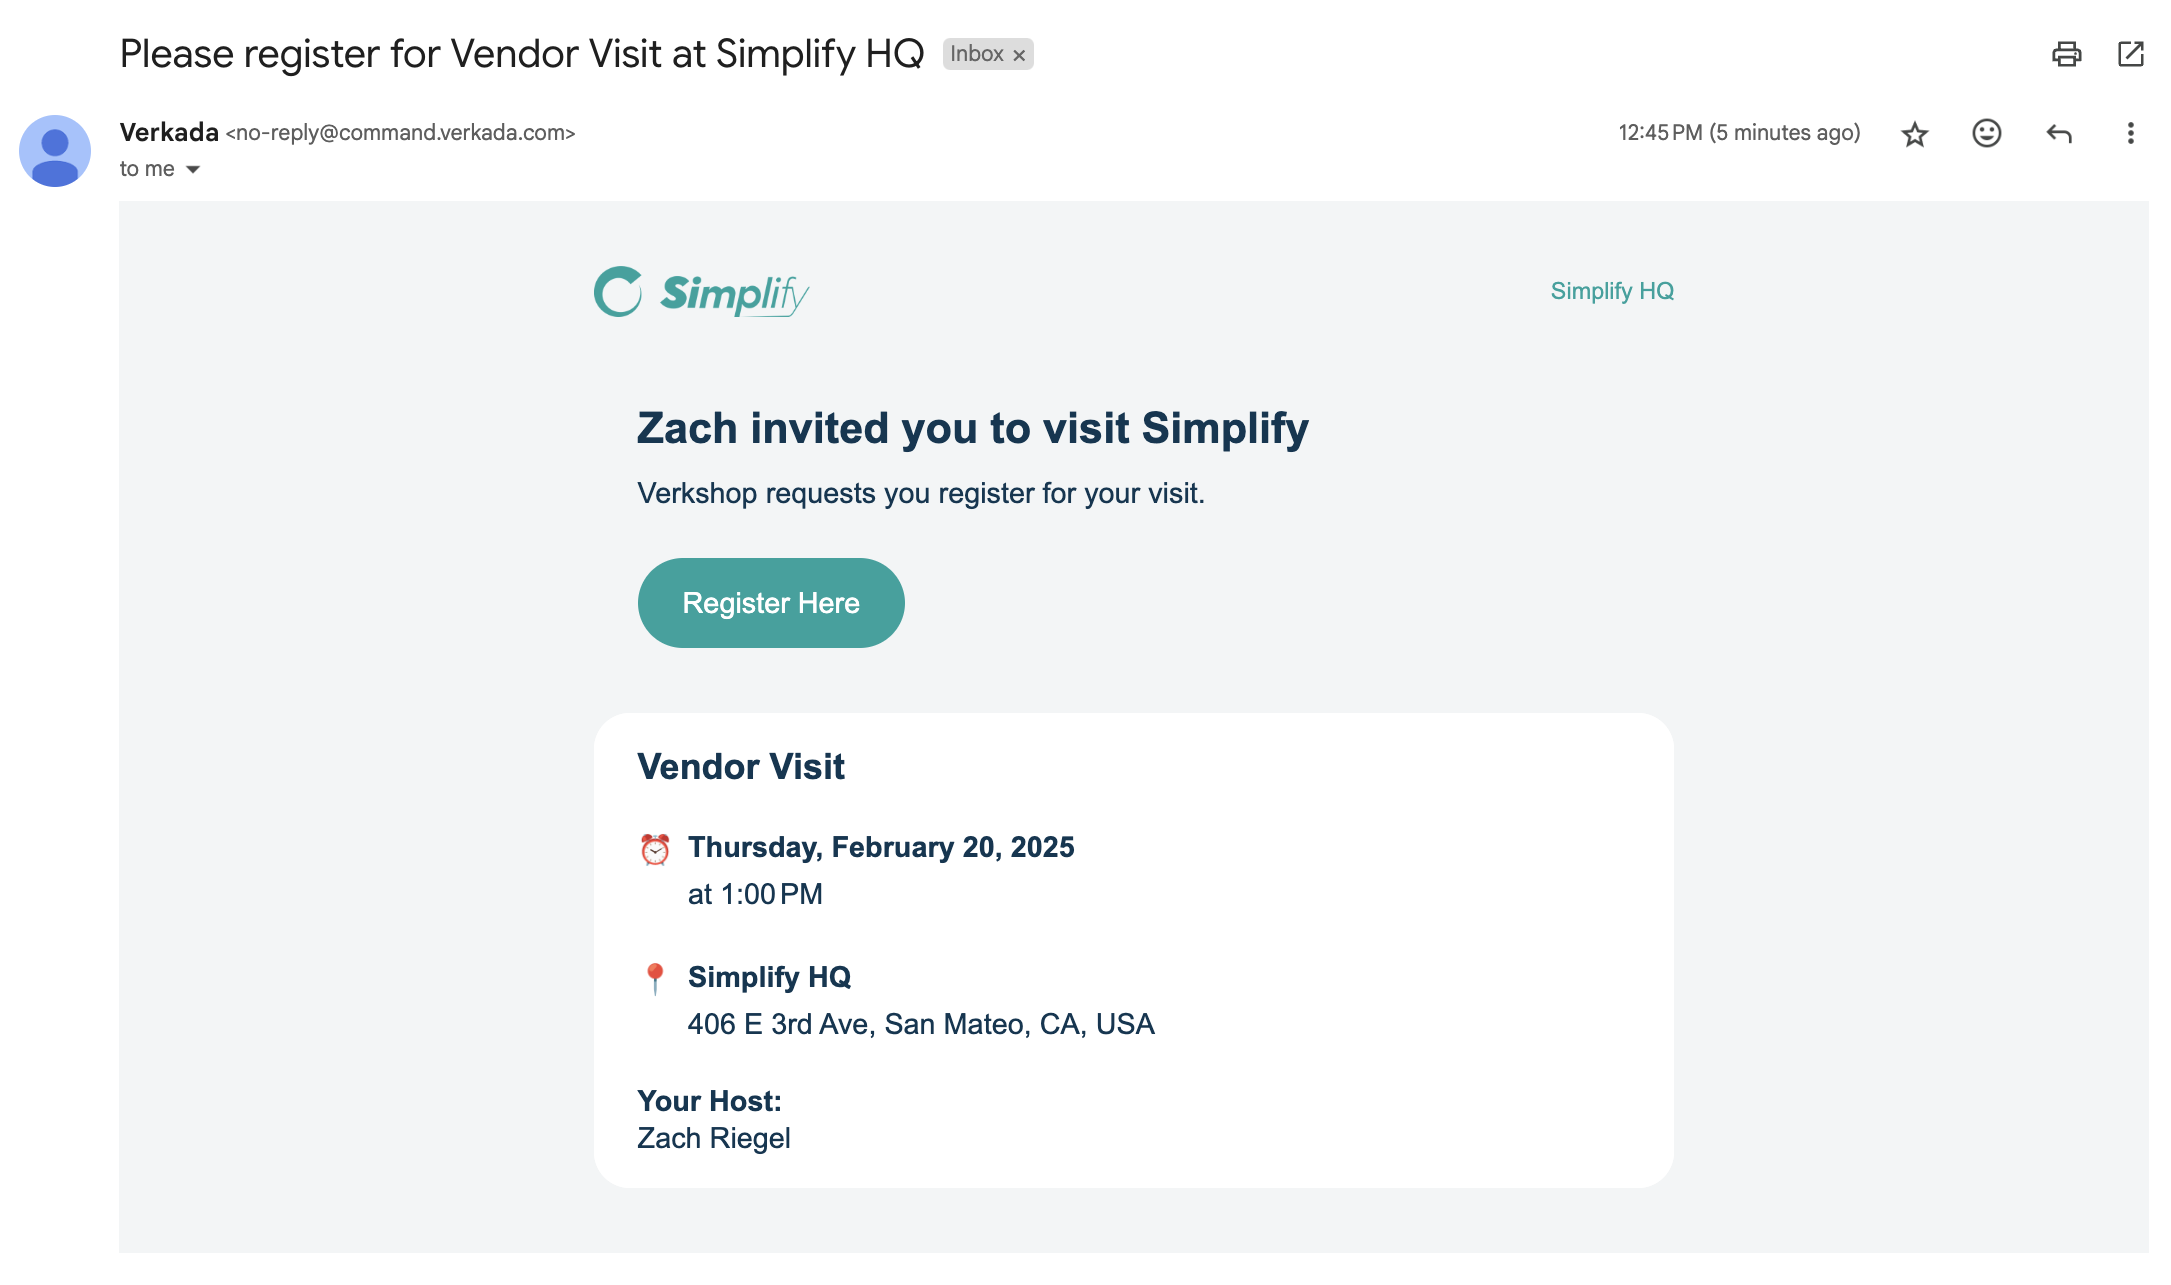
Verkada Guest は、ゲストイベントが作成されると、招待先にすぐに登録リンクを送信します。
{% hint style="warning" %}
招待メールアドレスは同じままで、従業員同士で共有して追加のゲストを招待できます。
{% endhint %}
***
## ゲストイベントを管理する
ホストは、 [従業員ポータル](https://my.verkada.com/#login)から、カレンダーアプリから作成されたものを含むすべてのイベントを表示できます。
イベントのホストは、招待済みメールアドレスの一覧を含むイベント設定を、カレンダーアプリ内で直接変更できます。
{% hint style="danger" %}
* Verkada Guest は、会議のメモを更新するなど、会議の招待状に別の変更が加えられた場合にのみ、招待リストの更新を検出します。
* イベントを再スケジュールすると、すべての登録が無効になります。新しい登録メールがすべての招待先にすぐ送信されます。
{% endhint %}
***
## FAQ
**Guest。**
{% endstep %}
{% step %}
**左側のナビゲーションで、[Events]を選択します。**
{% endstep %}
{% step %}
**右上で、[カレンダー経由で招待]をクリックします。**
{% endstep %}
{% step %}
**[招待するゲストタイプを選択]ドロップダウンをクリックし、このイベントのゲストタイプを選択します。**
{% endstep %}
{% step %}
**[招待アドレスをコピー]をクリックし、そのアドレスをカレンダーイベントの招待先の 1 つとして貼り付けます。**
{% endstep %}
{% endstepper %}
### 従業員ポータル
{% stepper %}
{% step %}
**ご利用の** [**my.verkada.com**](https://my.verkada.com) **アカウントにログインします。**
{% endstep %}
{% step %}
**右上で、[> ゲストを招待]をクリックします。**
{% endstep %}
{% step %}
**左側で、[ゲストを招待]をクリックします。**
{% endstep %}
{% step %}
**[カレンダーショートカット]をクリックします。**
{% endstep %}
{% step %}
**左側で、ゲストサイトを選択します。**
{% endstep %}
{% step %}
**右側で、[変更]をクリックしてゲストタイプを選択します。**
{% endstep %}
{% endstepper %}
Verkada Guest は、ゲストイベントが作成されると、招待先にすぐに登録リンクを送信します。
{% hint style="warning" %}
招待メールアドレスは同じままで、従業員同士で共有して追加のゲストを招待できます。
{% endhint %}
***
## ゲストイベントを管理する
ホストは、 [従業員ポータル](https://my.verkada.com/#login)から、カレンダーアプリから作成されたものを含むすべてのイベントを表示できます。
イベントのホストは、招待済みメールアドレスの一覧を含むイベント設定を、カレンダーアプリ内で直接変更できます。
{% hint style="danger" %}
* Verkada Guest は、会議のメモを更新するなど、会議の招待状に別の変更が加えられた場合にのみ、招待リストの更新を検出します。
* イベントを再スケジュールすると、すべての登録が無効になります。新しい登録メールがすべての招待先にすぐ送信されます。
{% endhint %}
***
## FAQ
招待送信後にゲストを追加または削除できますか?
はい。ただし、Verkada Guest は、会議のメモを更新するなど、会議の招待状に別の変更が加えられた場合にのみ、更新を検出します。
ゲストに歓迎情報や案内を送れますか?
はい。サイト設定で、ゲストタイプごとにウェルカムメッセージをカスタマイズできます。招待されたゲストは登録後にそれを受け取り、駐車案内、Wi-Fi の認証情報、その他役立つリンクを含められます。
招待されたゲストはどのようにサインインしますか?
* イベント当日、登録済みの参加者はサインイン用リンク付きのメールを受け取ります。
* 登録済み・未登録のどちらの参加者も、タブレットでサインインするか、モバイルデバイスでタブレットの QR コードをスキャンしてブラウザー経由でサインインできます。
---
# Agent Instructions
This documentation is published with GitBook. GitBook is the documentation platform designed so that both humans and AI agents can read, navigate, and reason over technical content effectively. Learn more at gitbook.com.
## Querying This Documentation
If you need additional information that is not directly available in this page, you can query the documentation by asking a question.
Perform an HTTP GET request on the following URL with the `ask` and `goal` query parameters:
```
GET https://help.verkada.com/guest/ja/she-ding/guest-events/create-guest-events-with-calendar-shortcuts.md?ask=&goal=
```
`ask` is the immediate question: it should be specific, self-contained, and written in natural language.
`goal` is what the user is ultimately trying to achieve, the reason they need the answer. Sharing it helps GitBook give you a better, more relevant answer. A goal is most helpful when it describes the outcome the user wants rather than restating the question. For example, with `ask=how do I create an API token`, a goal like `automate deployments from our CI pipeline` lets GitBook tailor the answer to that use case.
The response will contain a direct answer to the question and relevant excerpts and sources from the documentation.
Use this mechanism when the answer is not explicitly present in the current page, you need clarification or additional context, or you want to retrieve related documentation sections.