> For the complete documentation index, see [llms.txt](https://help.verkada.com/llms.txt). Markdown versions of documentation pages are available by appending `.md` to page URLs; this page is available as [Markdown](https://help.verkada.com/command/ja/ganaizshon/buildings-and-floors/create-a-floorplan.md).
# フロアプランを作成
Verkada Commandでフロアプランを設定する方法を学ぶ
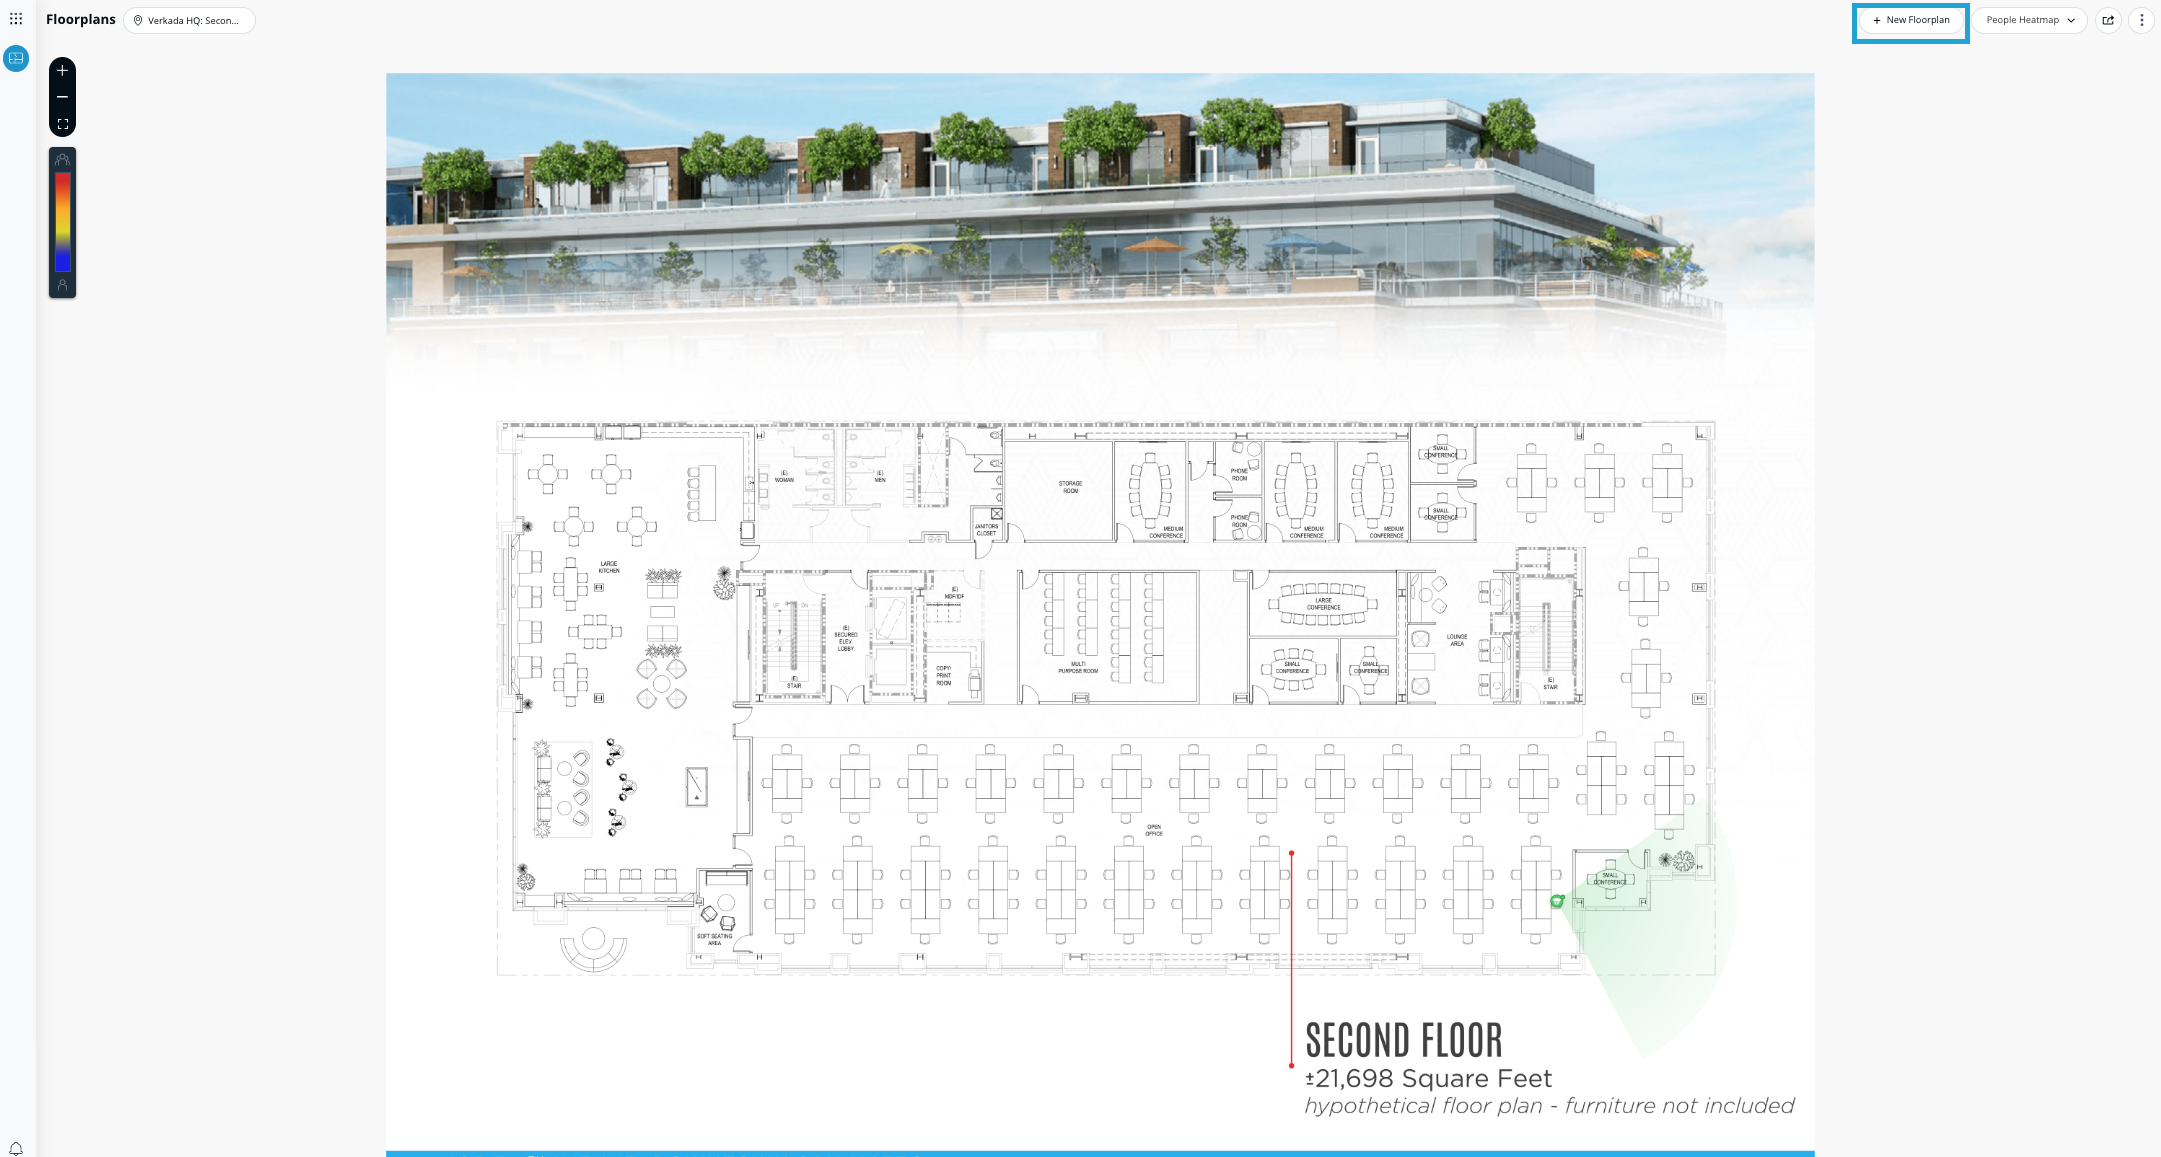
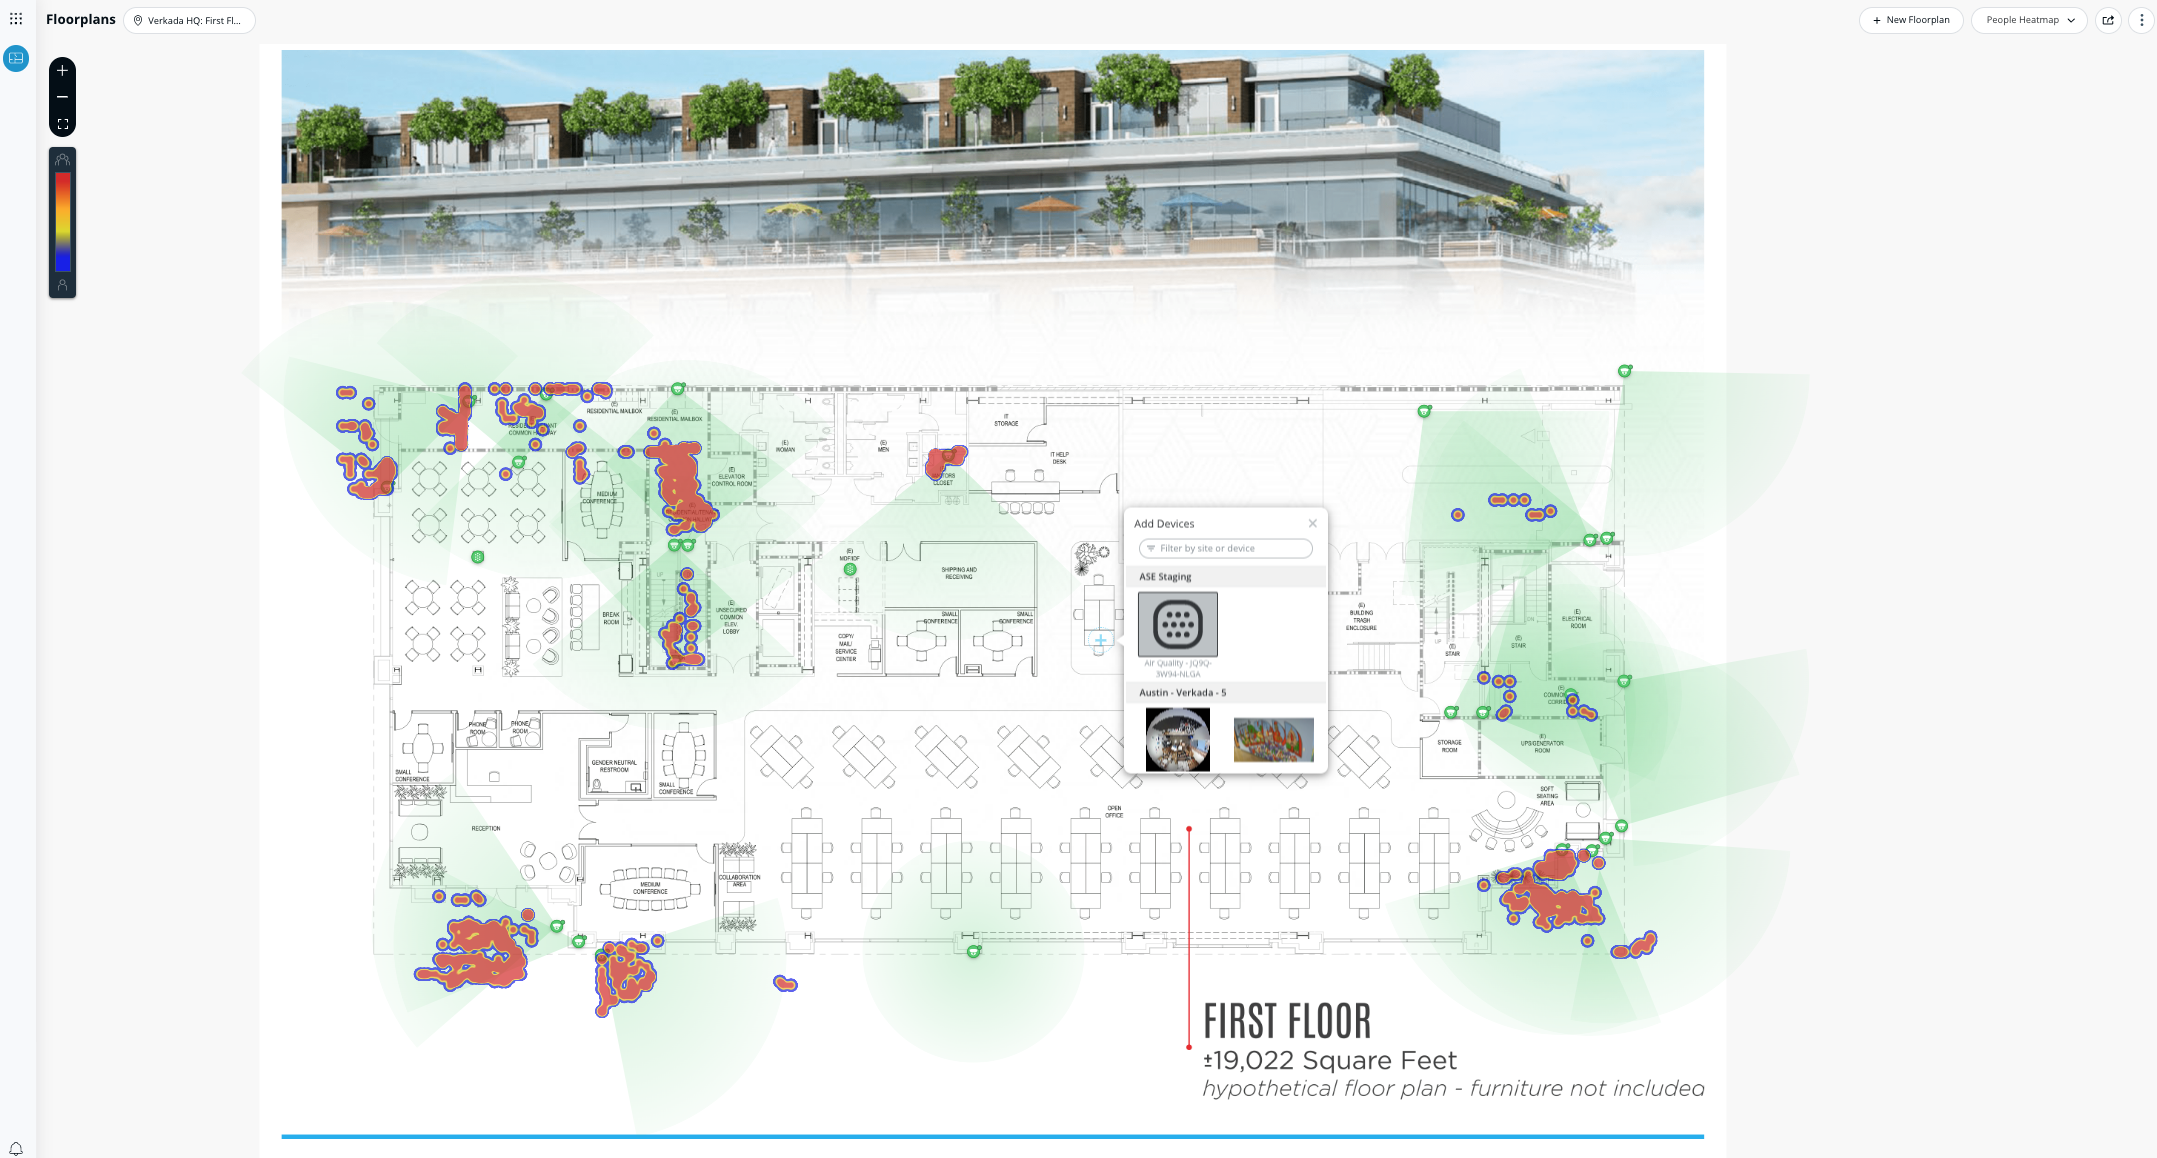
[フロアプラン](https://www.verkada.com/blog/new-and-improved-floorplans-experience) Verkada システムの計画と可視化に役立ちます。この機能では、ヒートマップを使用して、アクティブな動きや過去のアクティビティのホットスポットを検出できます。カメラ、空気質センサー、アクセス制御されたドアを接続して、フロアプランからデバイスをすばやく直接確認できます。
***
## フロアプランを作成する
{% hint style="danger" %}
オーガナイゼーション' 管理者である必要があります [オーガナイゼーション' 管理者](/command/ja/yzto/roles-and-permissions-for-command.md) フロアプランを追加するには。
{% endhint %}
### 建物と階を作成する
{% stepper %}
{% step %}
**Verkada Command で、[All Products]>[フロアプラン]に移動します。**
{% endstep %}
{% step %}
**右上で、**  **をクリックし、[フロアプランを作成]を選択します。**
{% endstep %}
{% step %}
**右上で、[ビルを追加]をクリックします。**
a. 一意の名前を入力します。\
b. 建物の住所を入力します。\
c. 階の名前を入力します。\
d. **作成** して完了します。
{% endstep %}
{% endstepper %}
{% hint style="warning" %}
複数の階を作成するには、各階をカンマで区切ります。たとえば、 **1, 2, 3** を階 1、2、3 に入力します。
{% endhint %}
### フロアプランを作成する
{% hint style="danger" %}
フロアプランファイルは次の条件を満たしている必要があります。
* .svg または .pdf ファイル
* サイズが 5 MB 未満
* 512 メガピクセル未満
{% endhint %}
{% stepper %}
{% step %}
**Verkada Command で、[All Products]>[フロアプラン]に移動します。**
{% endstep %}
{% step %}
**右上で、**  **をクリックし、[フロアプランを作成]を選択します。**
{% endstep %}
{% step %}
**[建物と階を選択]で:**
a. 建物と階を選択します。\
b. **[次へ]をクリックします。**
{% endstep %}
{% step %}
**[ファイルをアップロード]で:**
a. **[参照]** をクリックし、コンピューターからフロアプランファイルを選択します。\
b. **[次へ]をクリックします。**
{% endstep %}
{% step %}
**[住所を入力]で:**
a. フロアプランに関連付けられた住所を入力します。\
b. **[次へ]をクリックします。**
{% endstep %}
{% step %}
**[場所を設定]で:**
a. 地図上で、建物に合うようにフロアプランの向きとサイズを調整します。\
b. **[保存]をクリックします。**
{% endstep %}
{% endstepper %}
***
## フロアプランを管理する
### デバイスを追加する
{% stepper %}
{% step %}
**Verkada Command で、[All Products]>[フロアプラン]に移動します。**
{% endstep %}
{% step %}
**左上のドロップダウンからフロアプランを選択します。**
{% endstep %}
{% step %}
**右上で、[追加]をクリックします。**
{% endstep %}
{% step %}
**追加するデバイスの種類を選択します。**
{% hint style="warning" %}
フロアプランでサポートされているのは、カメラ、(空気質)センサー、ドアのみです。
{% endhint %}
{% endstep %}
{% step %}
**フロアプラン上の希望の場所にデバイスをドラッグして配置します。**
{% endstep %}
{% endstepper %}
{% hint style="warning" %}
フロアプラン上に配置したデバイスは、基になる Google マップの GPS 座標を継承します。フロアプランの場所を編集すると、Command はそのフロアプラン上に配置されたすべてのデバイスも移動するよう求めます。デバイスには、フロアプランの新しい位置に基づいて新しい GPS 座標が割り当てられます。 **カメラの設定ページからカメラの場所を変更すると、そのカメラはフロアプランから削除されます。**
{% endhint %}
### デバイスを削除する
{% stepper %}
{% step %}
**Verkada Command で、[All Products]>[フロアプラン]に移動します。**
{% endstep %}
{% step %}
**左上のドロップダウンからフロアプランを選択します。**
{% endstep %}
{% step %}
**右上で、[デバイス一覧]をクリックします。**
{% endstep %}
{% step %}
**デバイスにカーソルを合わせて、** **.**
a. **[削除]**をクリックし、\
b. **[削除]** をクリックして確認します。
{% endstep %}
{% endstepper %}
### 建物の設定を編集する
{% stepper %}
{% step %}
**Verkada Command で、[All Products]>[フロアプラン]に移動します。**
{% endstep %}
{% step %}
**左上のドロップダウンからフロアプランを選択します。**
{% endstep %}
{% step %}
**右上で、をクリックし、[フロア設定]を選択します。**
{% endstep %}
{% step %}
**[フロアプラン]で、[編集]をクリックし、必要に応じてフロアプラン設定を編集します。**
{% endstep %}
{% endstepper %}
### デバイスの位置を変更する
{% stepper %}
{% step %}
**Verkada Command で、[All Products]>[フロアプラン]に移動します。**
{% endstep %}
{% step %}
**左上のドロップダウンからフロアプランを選択します。**
{% endstep %}
{% step %}
**右上で、[デバイス一覧]をクリックします。**
{% endstep %}
{% step %}
**デバイスにカーソルを合わせて、をクリックします。**
{% endstep %}
{% step %}
**デバイスのアイコンが青色に変わったら、デバイスをクリックして目的の位置までドラッグします。**
{% endstep %}
{% endstepper %}
### カメラビューを回転する
カメラの視野方向は、フロアプラン上に表示される方向と必ずしも一致しません。フロアプランでこれが当てはまる場合は、精度を高めるためにカメラアイコンの向きを手動で設定できます。
{% stepper %}
{% step %}
**Verkada Command で、[All Products]>[フロアプラン]に移動します。**
{% endstep %}
{% step %}
**左上のドロップダウンからフロアプランを選択します。**
{% endstep %}
{% step %}
**右上で、[デバイス一覧]をクリックします。**
{% endstep %}
{% step %}
**回転したいカメラの横のをクリックします。**
{% endstep %}
{% step %}
**カメラの視野を表す円錐をドラッグし、希望の方向に調整します。**
{% endstep %}
{% endstepper %}
### フロアプランにラベルを付ける
{% stepper %}
{% step %}
**Verkada Command で、[All Products]>[フロアプラン]に移動します。**
{% endstep %}
{% step %}
**左上のドロップダウンからフロアプランを選択します。**
{% endstep %}
{% step %}
**右上で、をクリックし、[フロア設定]を選択します。**
{% endstep %}
{% step %}
**[新しいラベルを追加]で:**
a. **Abc** を太字ラベルに選択します。\
b. Abc を通常ラベルに選択します。
{% endstep %}
{% step %}
**[ラベル設定]で:**
a. **テキスト** フィールドに、ラベルのテキストを入力します。\
b. ラベルをフロアプラン上の希望の場所にドラッグ&ドロップします。
{% endstep %}
{% endstepper %}
### フロアプランのアイコンの色
* 青: デバイスが選択済み
* 緑: オンライン
* オレンジ: オフライン
### フロアプランを削除する
{% stepper %}
{% step %}
**Verkada Command で、[All Products]>[フロアプラン]に移動します。**
{% endstep %}
{% step %}
**左上のドロップダウンからフロアプランを選択します。**
{% endstep %}
{% step %}
**右上で、をクリックし、[フロア設定]を選択します。**
{% endstep %}
{% step %}
**[フロアプラン]で、[削除]をクリックします。**
{% endstep %}
{% step %}
**[確認]をクリックして削除します。**
{% endstep %}
{% endstepper %}
---
# Agent Instructions
This documentation is published with GitBook. GitBook is the documentation platform designed so that both humans and AI agents can read, navigate, and reason over technical content effectively. Learn more at gitbook.com.
## Querying This Documentation
If you need additional information that is not directly available in this page, you can query the documentation by asking a question.
Perform an HTTP GET request on the following URL with the `ask` and `goal` query parameters:
```
GET https://help.verkada.com/command/ja/ganaizshon/buildings-and-floors/create-a-floorplan.md?ask=&goal=
```
`ask` is the immediate question: it should be specific, self-contained, and written in natural language.
`goal` is what the user is ultimately trying to achieve, the reason they need the answer. Sharing it helps GitBook give you a better, more relevant answer. A goal is most helpful when it describes the outcome the user wants rather than restating the question. For example, with `ask=how do I create an API token`, a goal like `automate deployments from our CI pipeline` lets GitBook tailor the answer to that use case.
The response will contain a direct answer to the question and relevant excerpts and sources from the documentation.
Use this mechanism when the answer is not explicitly present in the current page, you need clarification or additional context, or you want to retrieve related documentation sections.