> For the complete documentation index, see [llms.txt](https://help.verkada.com/llms.txt). Markdown versions of documentation pages are available by appending `.md` to page URLs; this page is available as [Markdown](https://help.verkada.com/command/de/sicherheit/identity-providers/onelogin.md).

# OneLogin

Verkada unterstützt die Authentifizierung mit Security Assertion Markup Language (SAML) unter Verwendung von OneLogin als Ihrem Identity Provider (IdP).

| Funktion            | Unterstützt |
| ------------------- | :---------: |
| OIDC SSO            |      —      |
| SAML-SSO            |      Ja     |
| SCIM-Bereitstellung |      —      |
| ECE-Support         |      —      |

***

## Verkada SSO mit OneLogin konfigurieren

{% hint style="warning" %}
Bevor Sie OneLogin SAML aktivieren können, müssen Sie **müssen** [Ihre Client-ID generieren](/command/de/sicherheit/identity-providers.md#generate-client-id).
{% endhint %}

{% stepper %}
{% step %}
**Starten Sie OneLogin und wählen Sie in der Menüleiste Anwendungen > App hinzufügen.**


<div align="left" data-with-frame="true"><img src="/files/c11b241f960db1bf6f37fe344815c807d60beef0" alt="" width="948"></div>
{% endstep %}

{% step %}
**Suchen Sie nach SAML Custom Connector (Advanced).**

<div align="left" data-with-frame="true"><img src="/files/a2e48c7a478f5dc4abdd5ce49ff31d4a29ccf9a3" alt="" width="1143"></div>
{% endstep %}

{% step %}
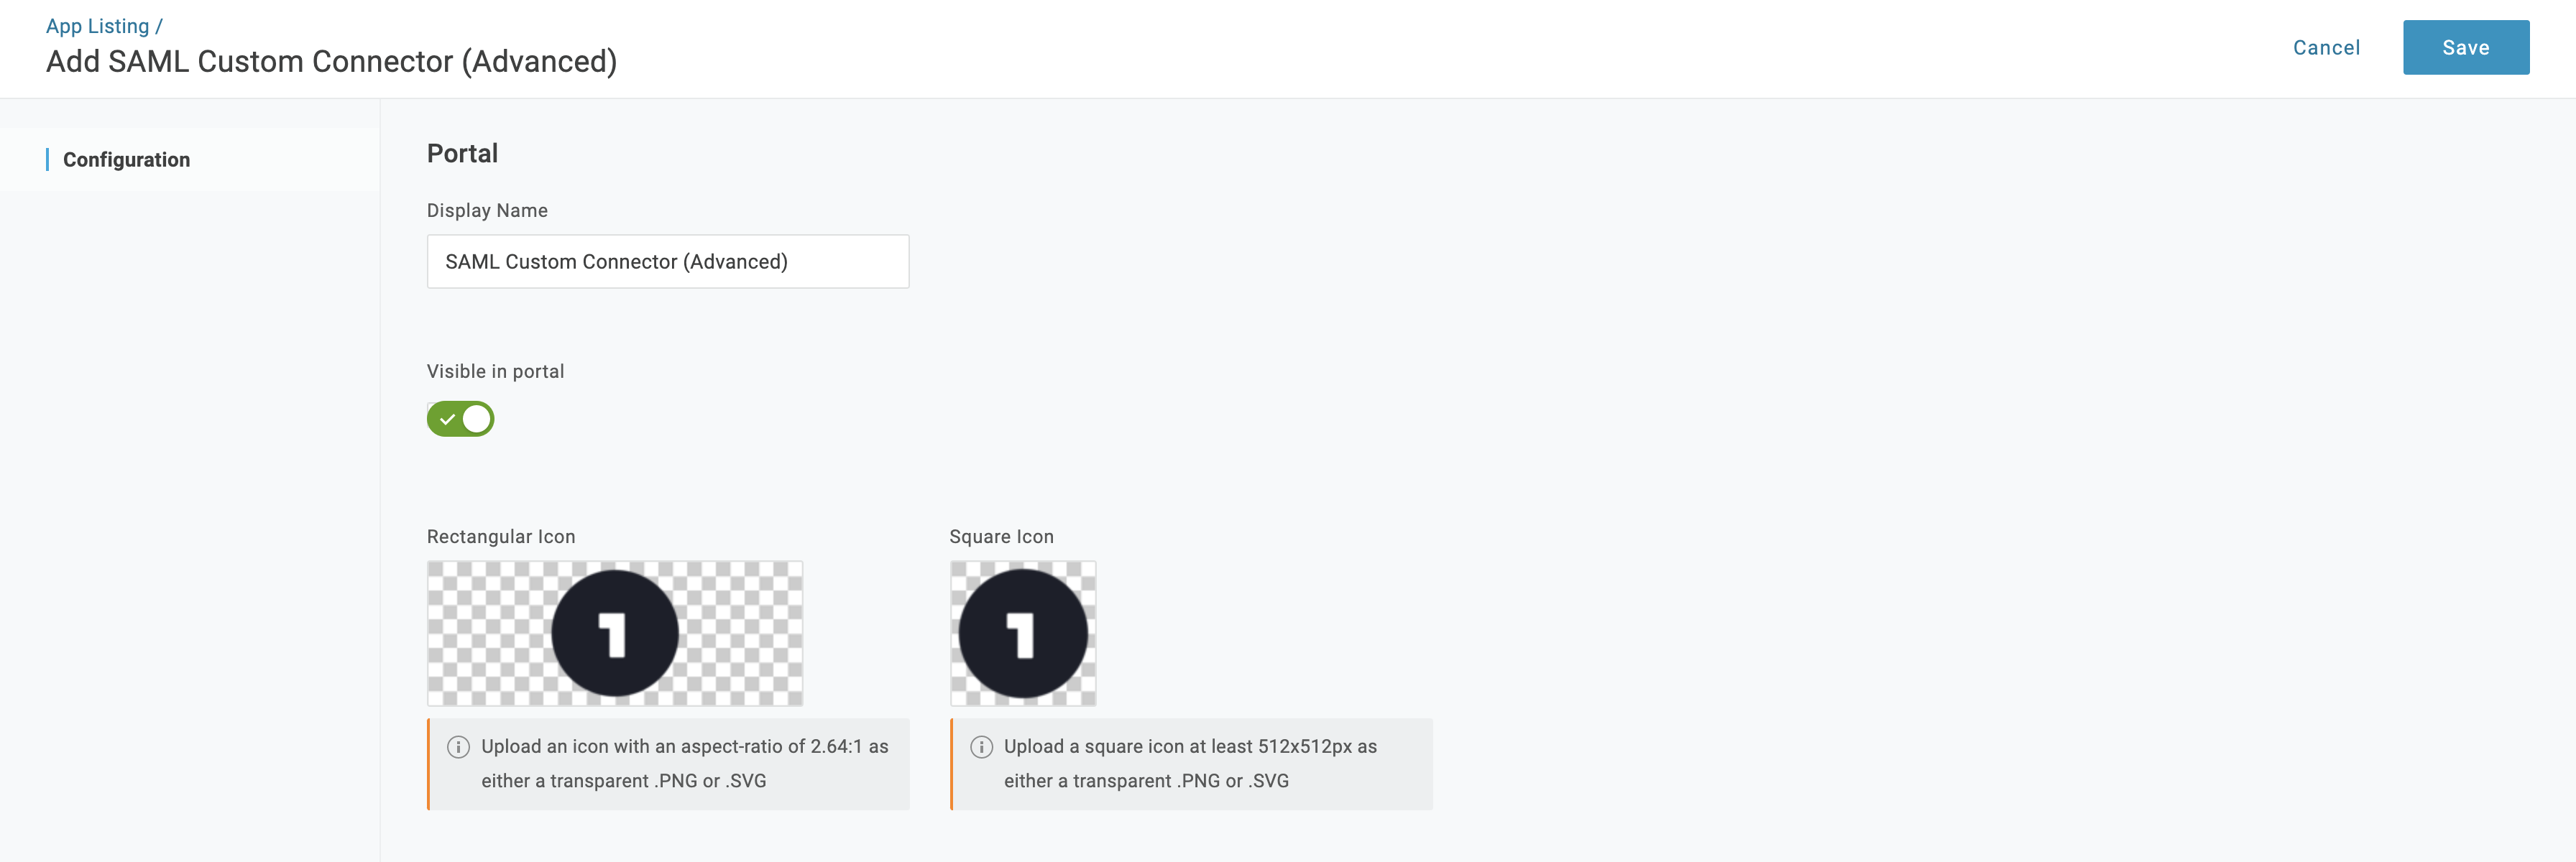
**Wählen Sie einen Anzeigenamen aus und klicken Sie auf Speichern.**

<div align="left" data-with-frame="true"><img src="/files/d2206ed79ea8fd92c2c83674f5a8b74f0f6ba273" alt="" width="1792"></div>
{% endstep %}

{% step %}
**Gehen Sie zu Anwendungen > SAML Custom Connector (Advanced), wählen Sie Konfiguration aus und verwenden Sie diese Werte zum Kopieren und Einfügen, wobei Sie `CLIENT-ID` durch die zuvor generierte Client-ID ersetzen.**

a. Für **Audience (EntityID)** und **Empfänger**:

* Für US-Organisationen: <https://vauth.command.verkada.com/saml/sso/%3Cclient-ID%3E>
* Für EU-Organisationen: [https://saml.prod2.verkada.com/saml/sso/](https://saml.prod2.verkada.com/saml/sso/%3CclientID%3E)
* Für AU-Organisationen: <https://saml.prod-ap-syd.verkada.com/saml/sso/%3Cclient-ID%3E>

e. **Erforderlich**. Für **ACS (Consumer) URL-Validator**:

* Für US-Organisationen: [https://vauth.command.verkada.com/saml/sso/](https://vauth.command.verkada.com/saml/sso/%3CclientID%3E)
* Für EU-Organisationen: [https://saml.prod2.verkada.com/saml/sso/](https://saml.prod2.verkada.com/saml/sso/%3CclientID%3E)
* Für AU-Organisationen: <https://saml.prod-ap-syd.verkada.com/saml/sso/%3Cclient-ID%3E>

i. **Erforderlich**. Für **ACS (Consumer) URL**:

* Für US-Organisationen: [https://vauth.command.verkada.com/saml/sso/](https://vauth.command.verkada.com/saml/sso/%3CclientID%3E)
* Für EU-Organisationen: [https://saml.prod2.verkada.com/saml/sso/](https://saml.prod2.verkada.com/saml/sso/%3CclientID%3E)
* Für AU-Organisationen: <https://saml.prod-ap-syd.verkada.com/saml/sso/%3Cclient-ID%3E>

m. Für **SAML-Signatur-Element**, klicken Sie auf das Dropdown-Menü und wählen Sie **Beides**.

{% hint style="warning" %}
Um zu bestätigen, in welcher Region Sie sich befinden, [sehen Sie nach, wo Ihre Organisation für Verkada erstellt wurde](/command/de/erste-schritte/get-started-with-verkada-command.md).
{% endhint %}
{% endstep %}

{% step %}
**Wählen Sie unter Anwendungen > SAML Custom Connector (Advanced) Parameter aus.**
{% endstep %}

{% step %}
**Klicken Sie auf das Plus-(+)-Symbol und konfigurieren Sie die Parameter:**

a. Für **Name**, geben Sie den Vor- und Nachnamen ein.\
b. Klicken Sie auf das **Wert** Dropdown-Menü und wählen Sie **E-Mail** > **Vorname**.\
c. Unter **Flags**, aktivieren Sie **In SAML-Assertion einbeziehen**, und klicken Sie auf **Speichern**.
{% endstep %}

{% step %}
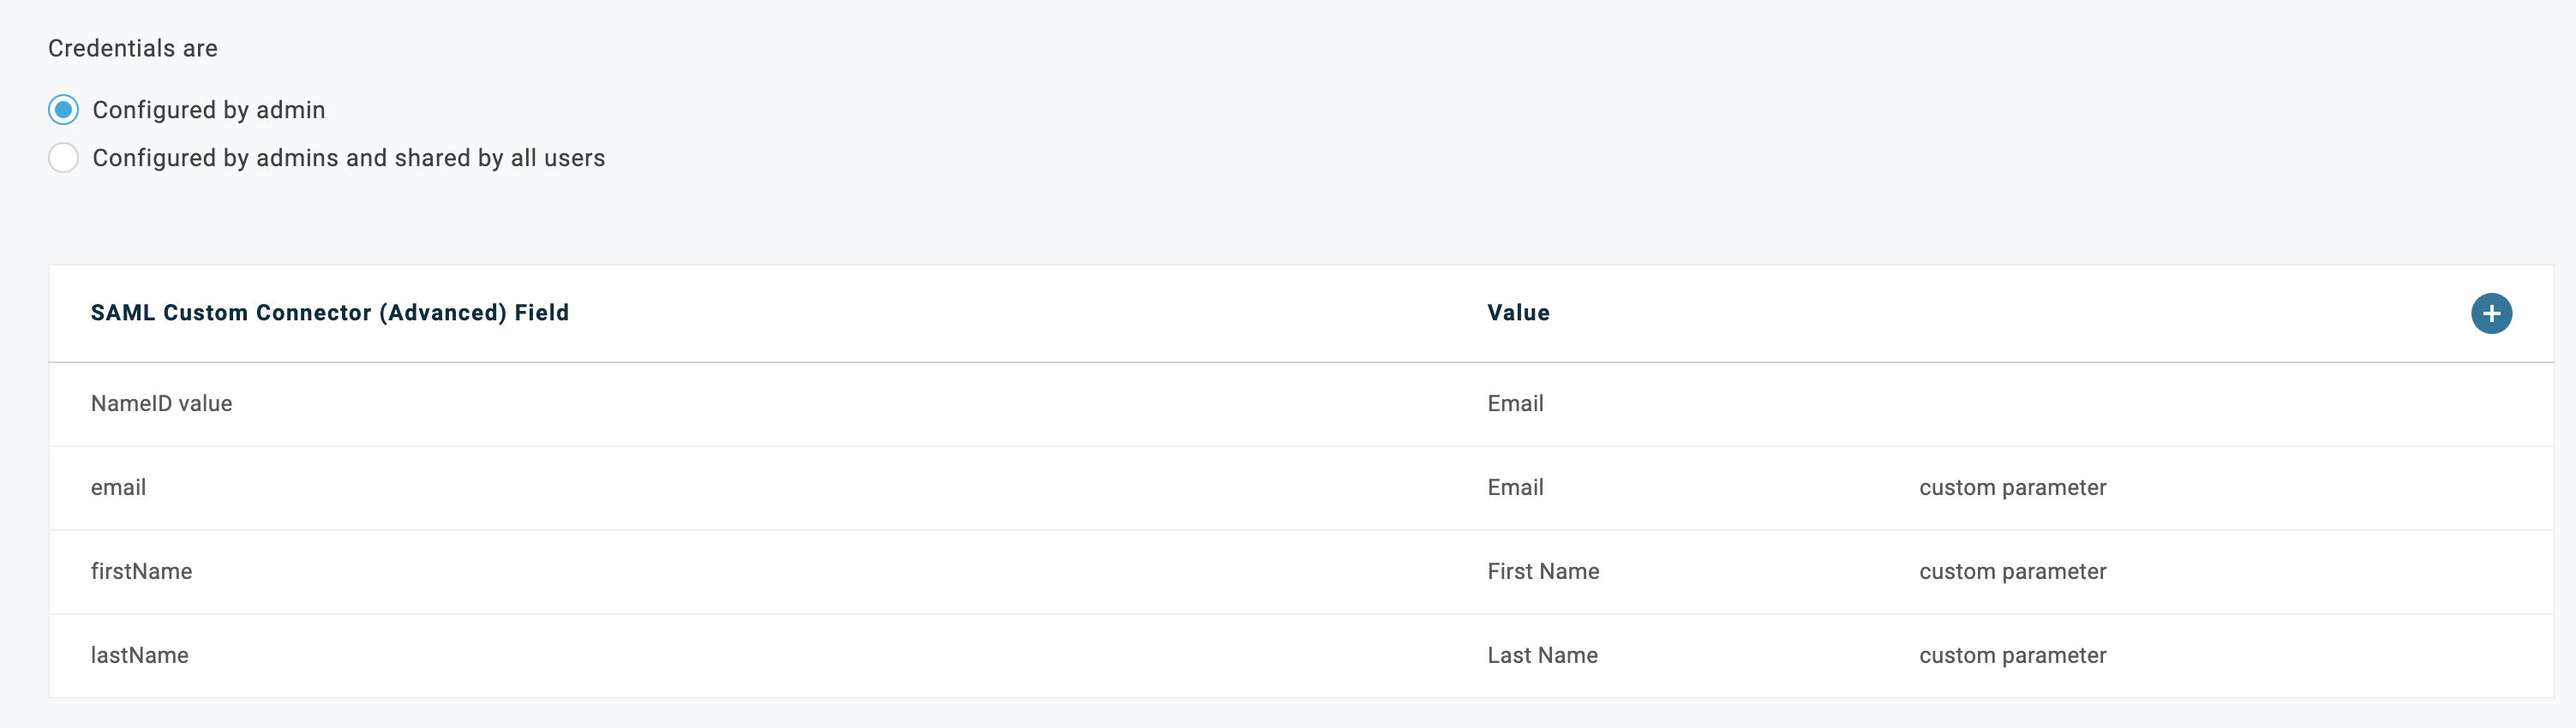
**Klicken Sie auf das Plus-(+)-Symbol und wählen Sie im nächsten geöffneten Dialogfeld Von Admin konfiguriert aus.**

Ihre Parameter sollten so aussehen:

<div align="left" data-with-frame="true"><img src="/files/ecbbebc0be4163306cf621116ffdbb0ca03a293d" alt="" width="1503"></div>
{% endstep %}

{% step %}
**Kehren Sie zu Anwendungen > SAML Custom Connector (Advanced) zurück und wählen Sie SSO aus.**
{% endstep %}

{% step %}
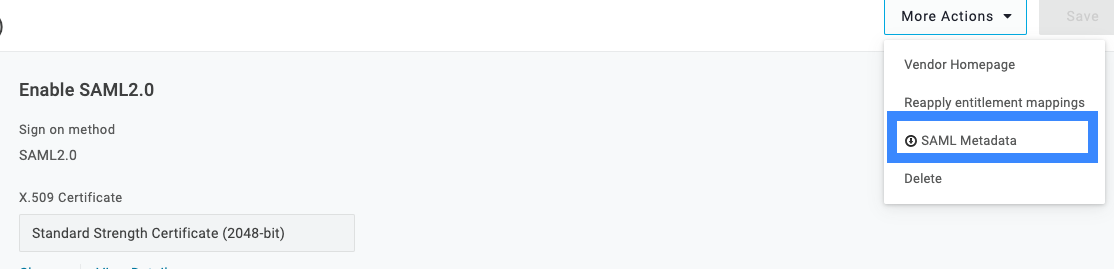
**Klicken Sie auf das Dropdown-Menü Weitere Aktionen und wählen Sie SAML-Metadaten aus, um die Metadaten herunterzuladen.**

<div align="left" data-with-frame="true"><img src="/files/b8d28131bbc4813d2c50a9c5fb564fc0a30cecf4" alt="" width="557"></div>
{% endstep %}

{% step %}
**Erforderlich. Um den Einrichtungsprozess abzuschließen, müssen Sie** [**die Metadaten in Command hochladen**](/command/de/sicherheit/identity-providers.md#upload-saml-xml-metadata)**.**
{% endstep %}

{% step %}
**Melden Sie sich mit der SAML-Anmelde-URL an.**
{% endstep %}
{% endstepper %}


---

# Agent Instructions
This documentation is published with GitBook. GitBook is the documentation platform designed so that both humans and AI agents can read, navigate, and reason over technical content effectively. Learn more at gitbook.com.

## Querying This Documentation
If you need additional information that is not directly available in this page, you can query the documentation dynamically by asking a question.

Perform an HTTP GET request on the current page URL with the `ask` query parameter, and the optional `goal` query parameter:

```
GET https://help.verkada.com/command/de/sicherheit/identity-providers/onelogin.md?ask=<question>&goal=<endgoal>
```

`ask` is the immediate question: it should be specific, self-contained, and written in natural language.
`goal` is optional and describes the broader end goal you are ultimately trying to accomplish on behalf of the user. GitBook uses it to tailor the answer towards what is most useful for that goal.

The response will contain a direct answer to the question and relevant excerpts and sources from the documentation.

Use this mechanism when the answer is not explicitly present in the current page, you need clarification or additional context, or you want to retrieve related documentation sections.