> For the complete documentation index, see [llms.txt](https://help.verkada.com/llms.txt). Markdown versions of documentation pages are available by appending `.md` to page URLs; this page is available as [Markdown](https://help.verkada.com/classic-alarms/ja/she-zhi/set-up-the-bk11bk21-alarm-keypad.md).
# BK11/BK21 アラームキーパッドを設定する
BK11/BK21 アラームキーパッドを設置・取り付ける
{% hint style="success" %}
Verkadaは、Classic Alarmsの全世界での販売終了日(2026年8月1日)および製品終了日(2027年8月1日)を発表しました。対象のお客様は、2027年1月31日まで追加費用なしでNew Alarmsにアップグレードできます。アクセス [Verkada.com/alarms/upgrade](https://www.verkada.com/alarms/upgrade) 開始するには。
{% endhint %}
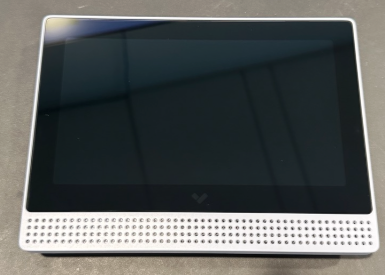
Verkadaの [BK11/BK21 アラームキーパッド](https://docs.verkada.com/docs/alarm-keypad-overview.pdf) キーパッドコードで警戒設定/警戒解除でき、ライブカメラ映像とデバイスのステータスを確認し、無線侵入センサーを接続できる多機能デバイスです(**BK21のみ**)。追加のハードウェアは不要です。
### 要件
* BK11/BK21 には、電源とネットワーク接続のために Power over Ethernet(PoE)(IEEE 802.3af)が必要です。
* BK11/BK21 には、簡単に設置できるよう、取り付けブラケットと関連する取り付け金具が付属しています。これは **必ず** 横向き(横長モード)で取り付ける必要があります。
{% hint style="info" %}
取り付け前に、アラームキーパッドを設置して機能をテストしてください。
{% endhint %}
***
### 始める前に
テスト目的で、システムを **テストモード**.
### 内容物
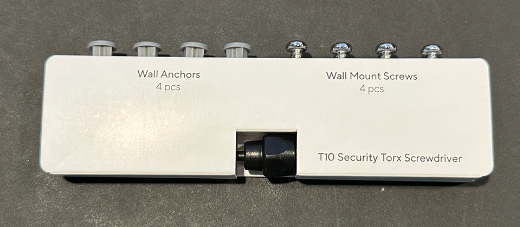
* **BK11/21 アラームキーパッド**
* **取り付けネジ**
***
## 設置
{% stepper %}
{% step %}
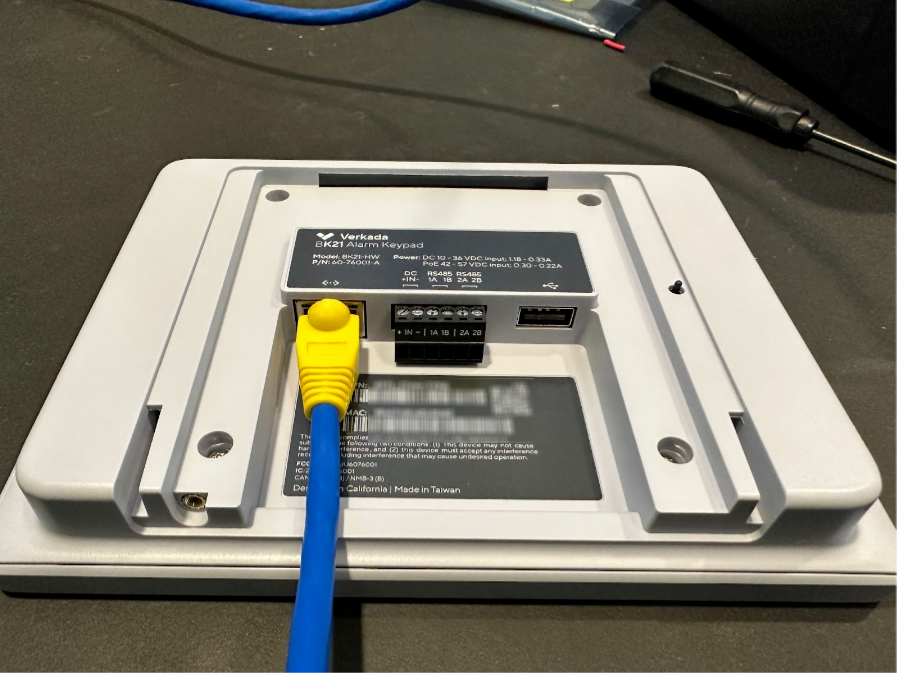
**BK11/BK21(背面)にイーサネットケーブルを接続します。**
{% endstep %}
{% step %}
**Verkada Command で、BK11/BK21 のシリアル番号または注文番号を追加します。この番号はアラームサイトに追加するために使用されます。方法の詳細はこちら:** [**Command アカウントにデバイスを追加する**](/command/ja/ganaizshon/add-a-device-to-your-command-organization.md)**.**
{% endstep %}
{% step %}
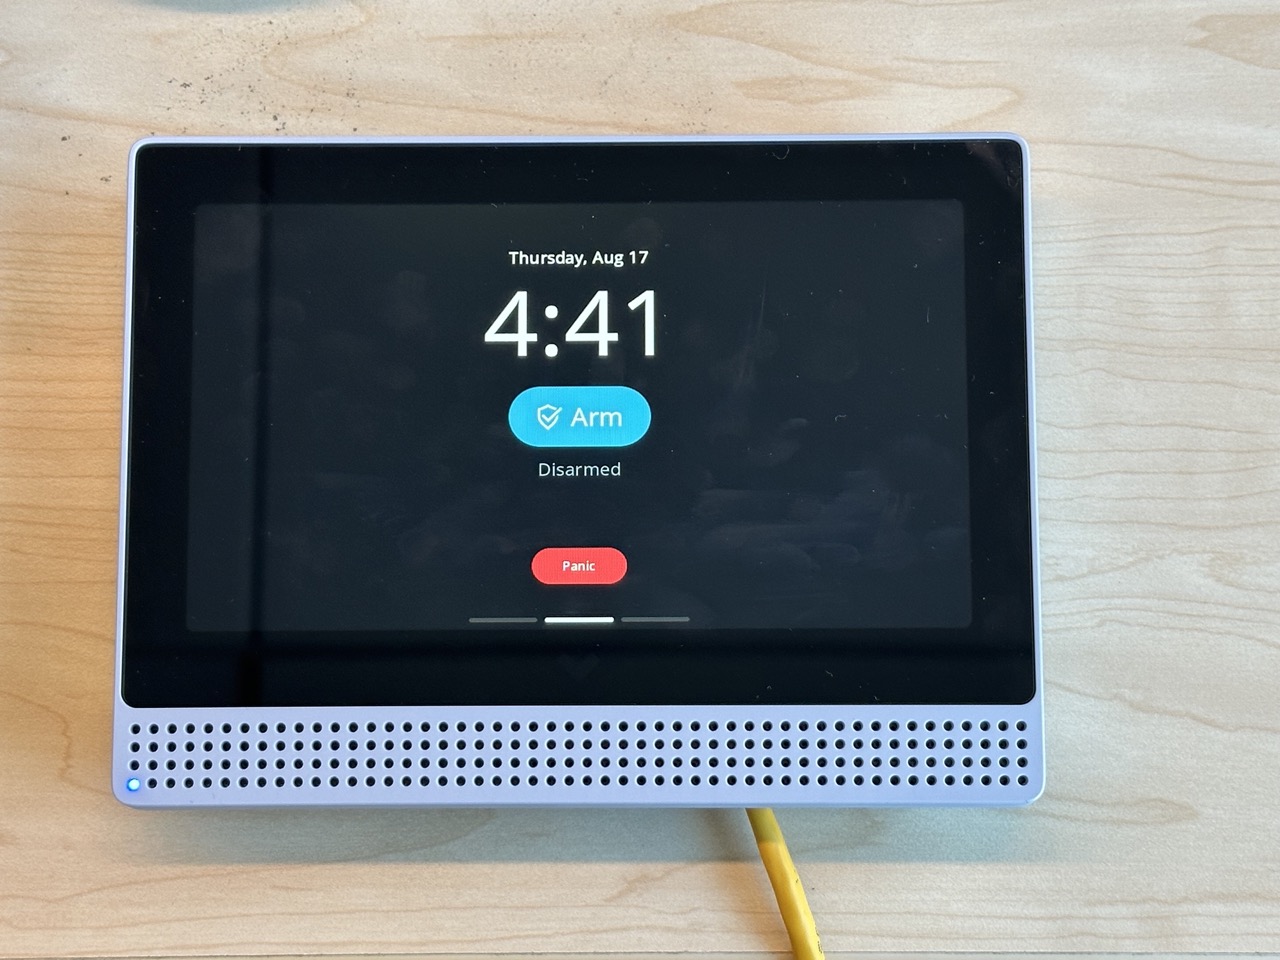
**アラームキーパッドの電源が入っており、Command でオンラインになっていることを確認してください。**
\
下の画像は、BK11/BK21 のデフォルトのランディング(ホーム)画面を示しています。この画面では、次を表示/変更します。 **警戒設定/警戒解除** ステータス、日付と時刻を確認し、また次を使用できます。 **パニック** 機能。\
{% endstep %}
{% step %}
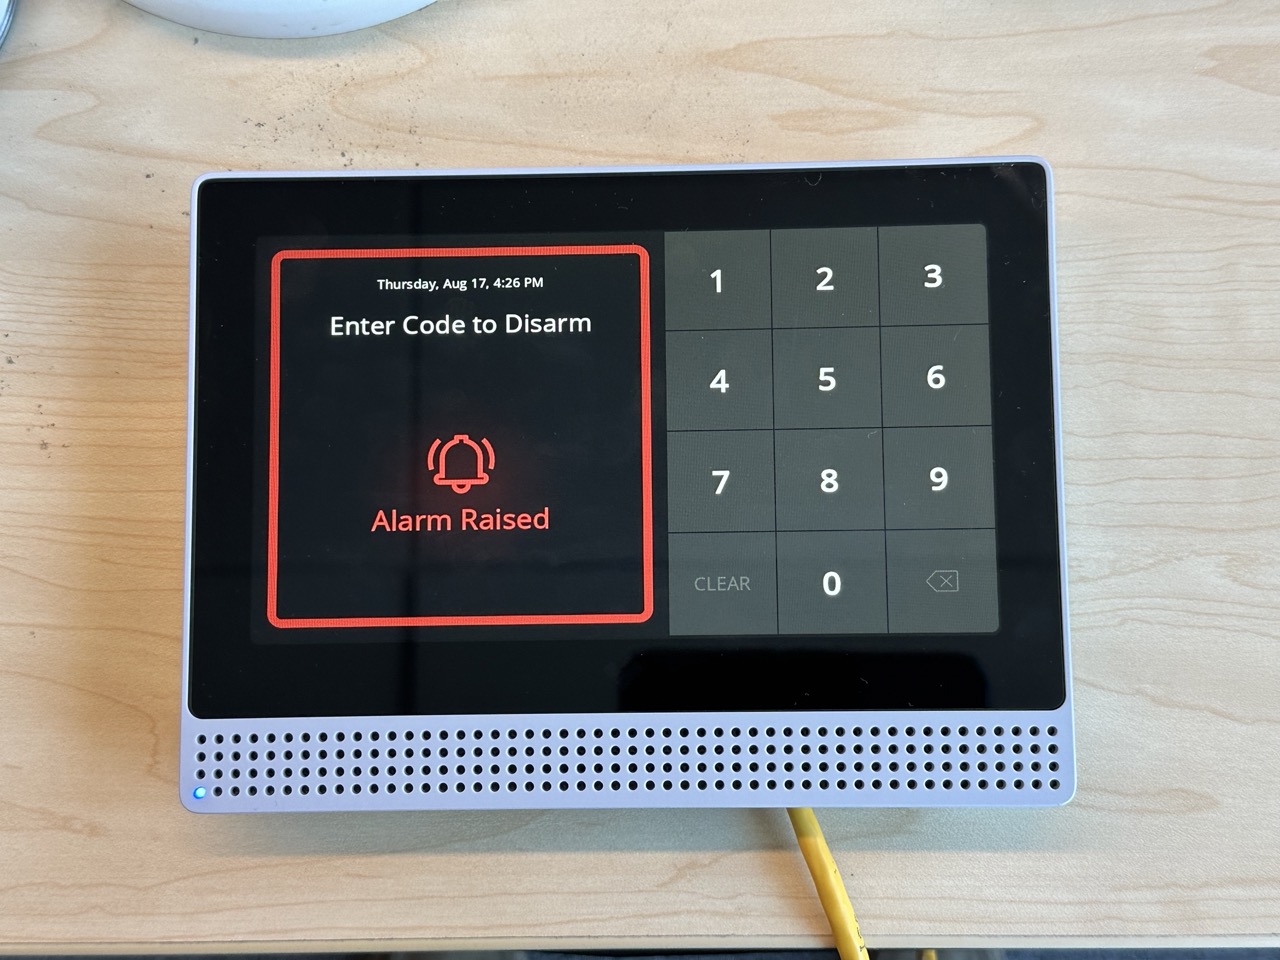
**キーパッドと Web Command の両方にアラームステータスが表示されているはずです。このステータスは無視してください: *****キーコードを入力するか、Web Command で手動で解決してください*****.**
{% endstep %}
{% step %}
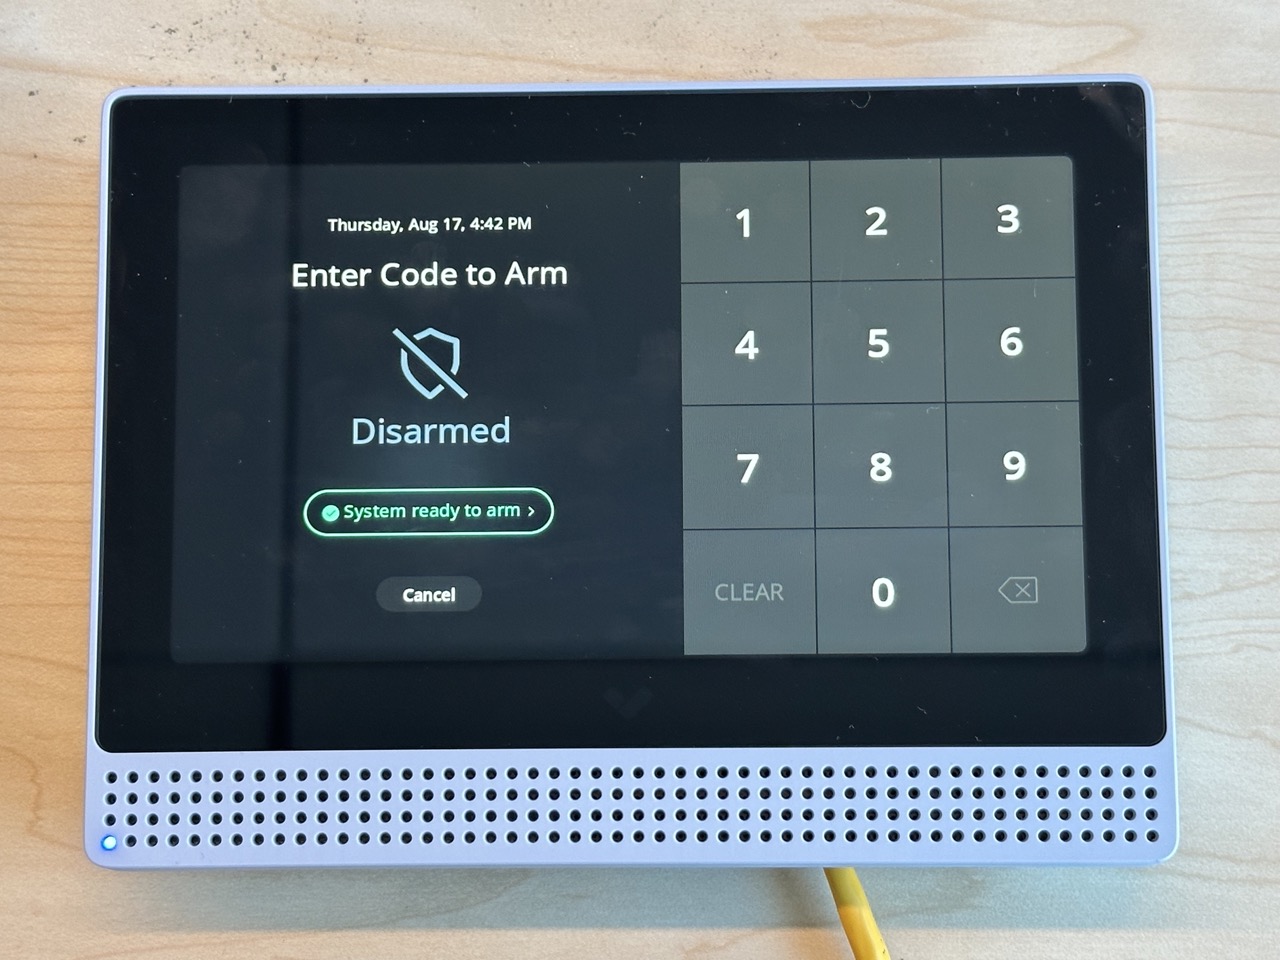
**警戒設定 を押して、警戒設定/警戒解除機能をテストします。ユーザー生成(ランダム)コード、または一般コードで汎用コードを使用できます。**
\
下の最初の画像は、押したときに遷移するキーパッド画面を示しています。 **警戒設定** ホーム画面で。さらにこの画面を使用して、コードを入力し、サイトを警戒設定/警戒解除できます(2枚目の画像)。
{% endstep %}
{% step %}
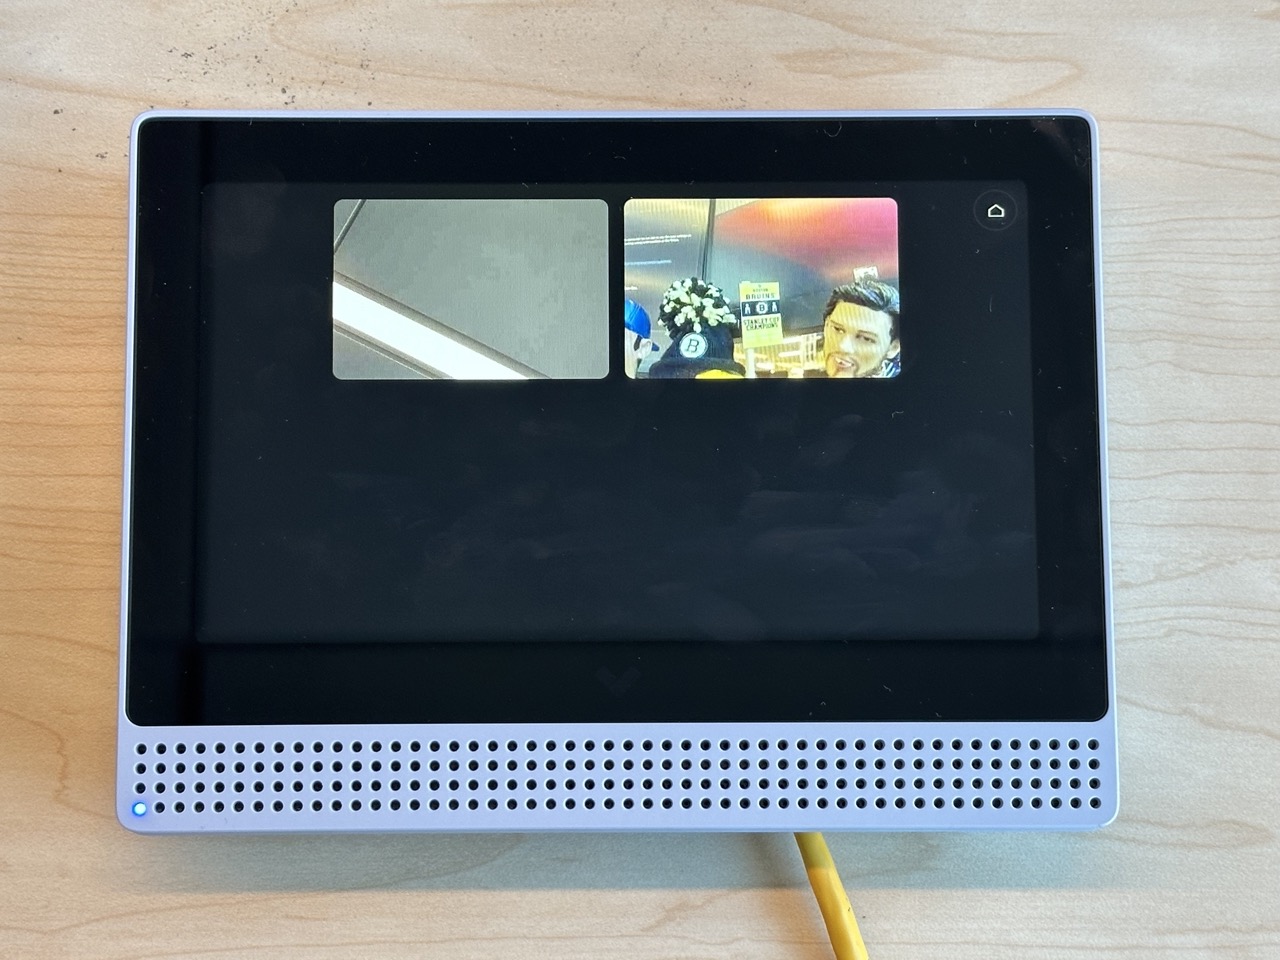
**同じサイトにライブカメラがある場合は、ホーム画面 > 左にスワイプして利用可能なカメラのライブ ストリーミングする映像を表示し、タップします。デバイス上でのカメラのストリーミングするを有効にするトグルがオンになっていることを確認してください(この画面を表示するには、アラームサイト設定で)。**
{% endstep %}
{% step %}
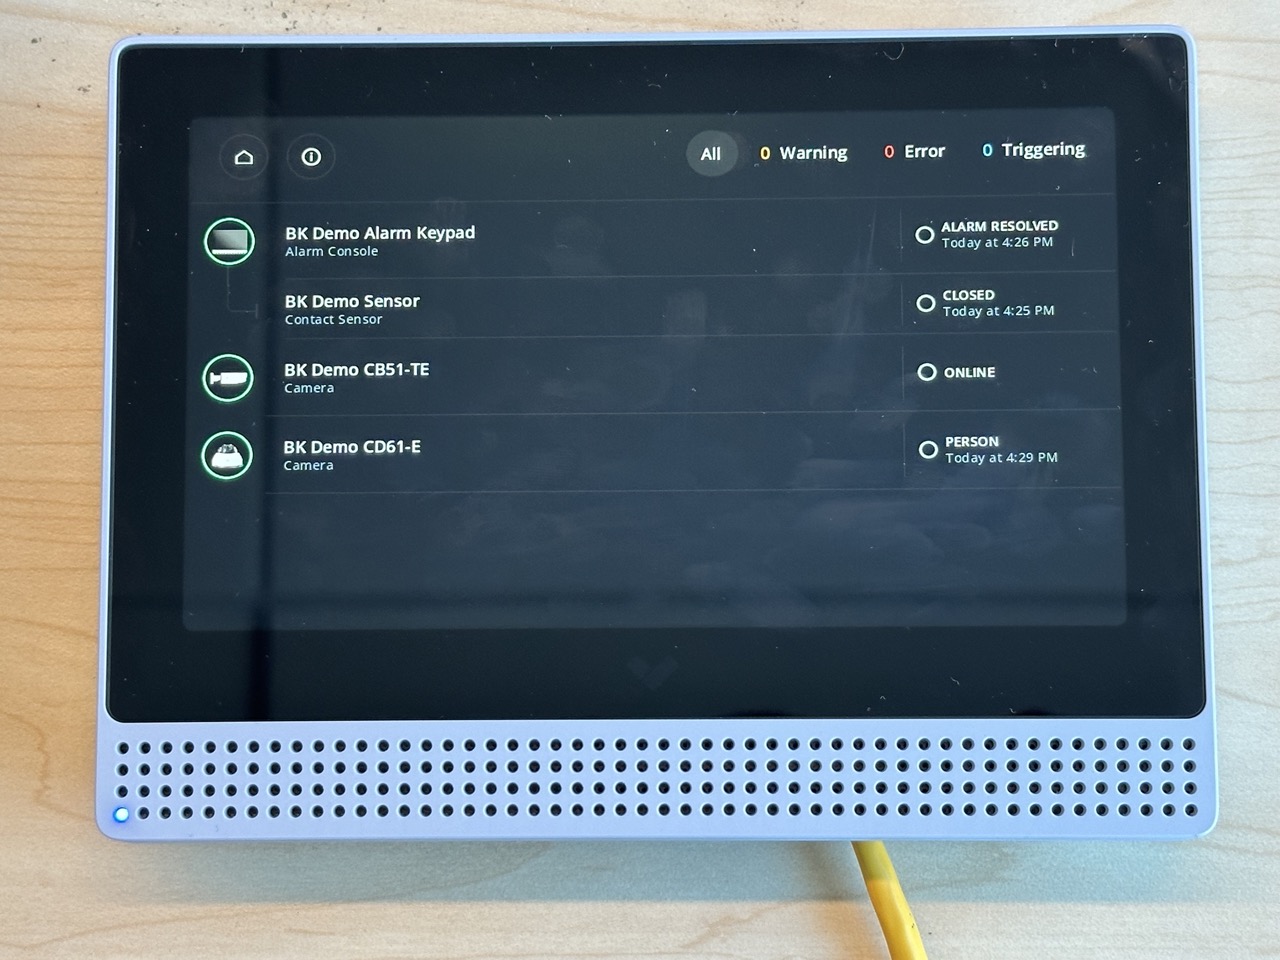
**アラームサイトに他のデバイスがある場合は、ホーム画面 > 右にスワイプして次を行います:**
a. 現在のステータスでデバイス一覧を表示します。(BK21 の場合、キーパッドに接続された無線センサーが表示されるはずです)。\
b. 右上で、デバイスを次でフィルタできます。 **すべて**, **警告**, **エラー**、または **トリガー中**。\
c. 次を押します: **情報** (i)アイコンを押して、次のような追加情報を表示します: **名前**, **シリアル番号**, **MACアドレス**、および現在の **IPアドレス**。\
d. デバイスをタップすると展開され、そのデバイスの過去のイベントログを表示できます。
{% endstep %}
{% endstepper %}
{% hint style="warning" %}
次に従ってください: [インストールガイド](https://docs.verkada.com/docs/bk11-bk21-quick-start-guide.pdf) 機能のテスト後にキーパッドを取り付けます。
{% endhint %}
***
## Command の設定
{% stepper %}
{% step %}
**Verkada Command で、BK11/BK21 のシリアル番号または注文番号を追加します。この番号はアラームサイトへの追加に使用されます。方法の詳細はこちら:** [**Command アカウントにデバイスを追加する**](/command/ja/ganaizshon/add-a-device-to-your-command-organization.md)**.**
{% endstep %}
{% step %}
**アラームサイト設定 > 警戒設定/警戒解除設定を選択し、必要なキーコードを追加します。ユーザー生成(ランダム)コード、または一般コードで汎用コードを使用できます。**
{% endstep %}
{% step %}
**アラームサイト設定 > コンソール & キーパッド > ビデオで。**
オンにするトグル **デバイス上の他のカメラのストリーミングするを有効にする** BK11/BK21 デバイスでカメラのライブ ストリーミングする映像を表示するには。
{% endstep %}
{% step %}
**アラームサイト設定 > コンソール & キーパッド > オーディオで。**
オンにするトグル **警戒設定/警戒解除アナウンス**, **アラームトリガーアナウンス**, **アラーム発生アナウンス**、または **ドアチャイム** BK11/BK21 デバイスでそれらの機能を使用するには。
{% endstep %}
{% step %}
**Command では、画面の音量と明るさを調整し、デバイスの詳細を表示することもできます。**
{% endstep %}
{% endstepper %}
---
# Agent Instructions
This documentation is published with GitBook. GitBook is the documentation platform designed so that both humans and AI agents can read, navigate, and reason over technical content effectively. Learn more at gitbook.com.
## Querying This Documentation
If you need additional information that is not directly available in this page, you can query the documentation by asking a question.
Perform an HTTP GET request on the following URL with the `ask` and `goal` query parameters:
```
GET https://help.verkada.com/classic-alarms/ja/she-zhi/set-up-the-bk11bk21-alarm-keypad.md?ask=&goal=
```
`ask` is the immediate question: it should be specific, self-contained, and written in natural language.
`goal` is what the user is ultimately trying to achieve, the reason they need the answer. Sharing it helps GitBook give you a better, more relevant answer. A goal is most helpful when it describes the outcome the user wants rather than restating the question. For example, with `ask=how do I create an API token`, a goal like `automate deployments from our CI pipeline` lets GitBook tailor the answer to that use case.
The response will contain a direct answer to the question and relevant excerpts and sources from the documentation.
Use this mechanism when the answer is not explicitly present in the current page, you need clarification or additional context, or you want to retrieve related documentation sections.