> For the complete documentation index, see [llms.txt](https://help.verkada.com/llms.txt). Markdown versions of documentation pages are available by appending `.md` to page URLs; this page is available as [Markdown](https://help.verkada.com/air-quality/ja/ibento-arto/air-quality-sensor-zones.md).
# 空気質センサーゾーン
空気質センサーをグループ化してセンサーゾーンを作成する方法を学ぶ
Verkada [センサーゾーン](https://www.verkada.com/blog/adding-more-control-to-environmental-monitoring-with-audio-alert-and-device/) センサーのグループを1つの仮想センサーとして扱えるようにします。センサーゾーンは、1つのトリガー要因(たとえば、生徒のベイピング)が、同じエリア内の複数のデバイスに重複アラートを作成しないように設計されています。
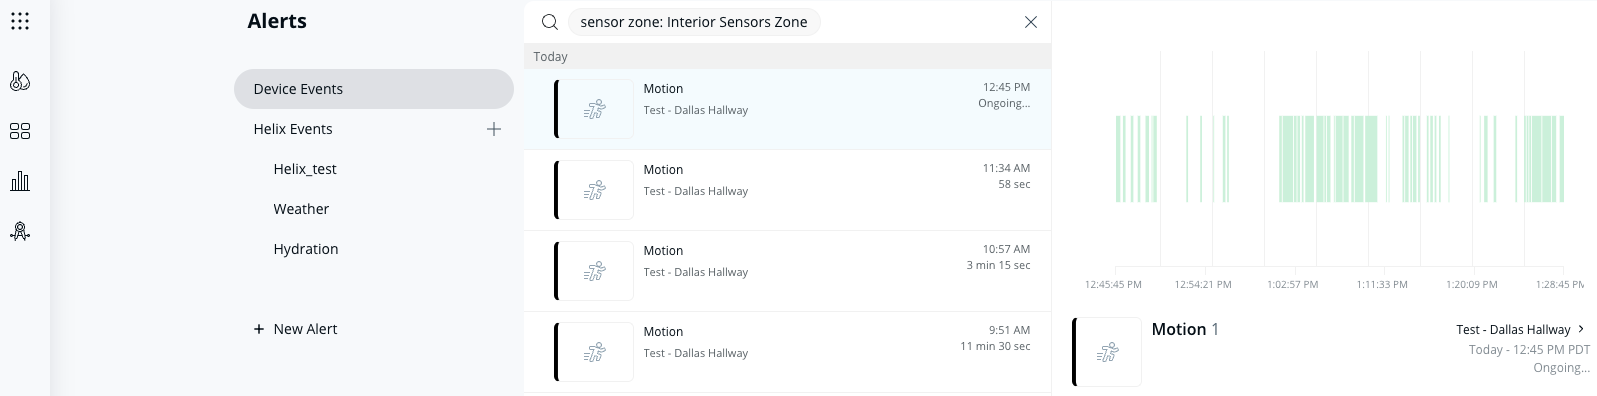
ゾーンからのアラートは個別のセンサーからのアラートと似ていますが、ゾーン名に続いて、アラートをトリガーした最初のセンサーの名前も表示されます。
ゾーンを効果的に使用するには、少なくとも2台のデバイスを選択しておく必要があります。デバイスレベルでアラートを設定したい場合は、 [デバイスレベルのアラート](/air-quality/ja/ibento-arto/configure-air-quality-event-alerts.md) の代わりにゾーン機能の使用を推奨します。
{% hint style="warning" %}
継続中のアラートは、その特定のセンサー値について、ゾーンイベントが少なくとも10分間解決されるまで、ゾーン内の他のデバイスからの追加アラートを防止します。
{% endhint %}
### 始める前に
センサーゾーンを作成する前に、次のガイドラインを確認することを推奨します。
* ゾーン内のすべてのセンサーは、同じサイトまたはサブサイト上にある必要があります。
* 1つのサイトに、任意の数のセンサーで、いくつでもゾーンを作成できます。
* ゾーンはサブサイトとは別に扱われます。
* センサーが同じ物理的な場所にある必要はありません。ただし、各センサーは1つのゾーンにのみ属することができます。ゾーン内のセンサーは、同じ部屋または空間にあることを推奨します。
***
## センサーゾーン
### ゾーンを作成する
ゾーンを作成すると、センサーが左上にゾーンラベルの付いたボックス内に表示されます。ゾーンに含まれないセンサーは通常どおり表示されます。
{% stepper %}
{% step %}
**Verkada Commandで、All Products > 空気質に移動します。**
{% endstep %}
{% step %}
**ページ中央の右側で、[Sensors Zone]をクリックします。**
{% endstep %}
{% step %}
**[センサーゾーンの作成]で:**
a. ゾーンに一意の **名前**。\
b. サイトからそのゾーンにデバイスを追加します。1つのサイトのデバイスのみを1つのゾーンにグループ化できます。\
c. クリックして **適用** ゾーンを作成します。
{% endstep %}
{% endstepper %}
### ゾーンを編集する
{% hint style="warning" %}
センサーイベントのトリガーは、引き続きデバイスレベルで設定できます。デバイスレベルでセンサートリガーを変更すると、ゾーン用に設定された内容より優先されます。ゾーンを編集するときには、 **混在** がそのトリガー値として表示されます。
{% endhint %}
{% stepper %}
{% step %}
**Verkada Commandで、All Products > 空気質に移動します。**
{% endstep %}
{% step %}
**[概要]セクションでゾーンを見つけます。**
{% endstep %}
{% step %}
**ゾーンの右上で[編集]をクリックし、次のオプションを編集します:**
a. ゾーン名。\
b. 選択済みセンサー。\
c. 通知。\
d. ゾーンを削除する。
{% endstep %}
{% endstepper %}
### センサーゾーンをミュートする
{% stepper %}
{% step %}
**Verkada Commandで、All Products > 空気質に移動します。**
{% endstep %}
{% step %}
**[概要]セクションでゾーンを見つけます。**
{% endstep %}
{% step %}
**ゾーンの右上で[編集]をクリックします。**
{% endstep %}
{% step %}
**下にスクロールして[通知]に移動し、ミュートしたいアラートの横にあるものをクリックします。**
{% endstep %}
{% step %}
**[アラートをミュート]をクリック:**
a. アラートをミュートする期間を選択します: **1日、1週間、常に、またはカスタム。**\
b. を選択した場合 **カスタム**、期間を設定して、 **[ミュート]をクリックします**.
{% endstep %}
{% endstepper %}
### センサーゾーンを削除する
{% stepper %}
{% step %}
**Verkada Commandで、All Products > 空気質に移動します。**
{% endstep %}
{% step %}
**[概要]セクションでゾーンを見つけます。**
{% endstep %}
{% step %}
**ゾーンの右上で[編集]をクリックします。**
{% endstep %}
{% step %}
**下にスクロールして[通知]に移動し、削除したいアラートの横にあるものをクリックします。**
{% endstep %}
{% step %}
**[アラートを削除]をクリックし、次に[はい]をクリックして確認します。**
{% endstep %}
{% endstepper %}
***
## センサーゾーンのアラート
### ゾーンアラートを作成する
{% stepper %}
{% step %}
**Verkada Commandで、All Products > 空気質に移動します。**
{% endstep %}
{% step %}
**[概要]セクションでゾーンを見つけます。**
{% endstep %}
{% step %}
**ゾーンの右上で[編集]をクリックします。**
{% endstep %}
{% step %}
**下にスクロールして[通知]に移動し、[アラートを作成]をクリックします。**
{% endstep %}
{% step %}
**[アラートを作成]モーダルで設定を続行します。参照** [**センサーアラートとイベント > アラートを作成**](/air-quality/ja/ibento-arto/configure-air-quality-event-alerts.md)**.**
{% endstep %}
{% endstepper %}
### ゾーンアラートを表示する
{% stepper %}
{% step %}
**Verkada Commandで、All Products > 空気質に移動します。**
{% endstep %}
{% step %}
**[概要]セクションでゾーンを見つけます。**
{% endstep %}
{% step %}
**右上で[ゾーンアラート]をクリックします。**
{% endstep %}
{% step %}
**選択したゾーンでフィルターされたアラートが表示された[アラート]ページに自動的にリダイレクトされます。**
{% endstep %}
{% endstepper %}
### センサーゾーンのアラートを編集する
{% stepper %}
{% step %}
**Verkada Commandで、All Products > 空気質に移動します。**
{% endstep %}
{% step %}
**[概要]セクションでゾーンを見つけます。**
{% endstep %}
{% step %}
**ゾーンの右上で[編集]をクリックします。**
{% endstep %}
{% step %}
**下にスクロールして[通知]に移動し、編集したいアラートの横にあるものをクリックします。**
{% endstep %}
{% step %}
**[アラートを編集]をクリック:**
で設定を続行します **[アラートを作成]** モーダル。
参照 [センサーアラートとイベント > アラートを作成](/air-quality/ja/ibento-arto/configure-air-quality-event-alerts.md) 詳細については。
{% endstep %}
{% endstepper %}
---
# Agent Instructions
This documentation is published with GitBook. GitBook is the documentation platform designed so that both humans and AI agents can read, navigate, and reason over technical content effectively. Learn more at gitbook.com.
## Querying This Documentation
If you need additional information that is not directly available in this page, you can query the documentation by asking a question.
Perform an HTTP GET request on the following URL with the `ask` and `goal` query parameters:
```
GET https://help.verkada.com/air-quality/ja/ibento-arto/air-quality-sensor-zones.md?ask=&goal=
```
`ask` is the immediate question: it should be specific, self-contained, and written in natural language.
`goal` is what the user is ultimately trying to achieve, the reason they need the answer. Sharing it helps GitBook give you a better, more relevant answer. A goal is most helpful when it describes the outcome the user wants rather than restating the question. For example, with `ask=how do I create an API token`, a goal like `automate deployments from our CI pipeline` lets GitBook tailor the answer to that use case.
The response will contain a direct answer to the question and relevant excerpts and sources from the documentation.
Use this mechanism when the answer is not explicitly present in the current page, you need clarification or additional context, or you want to retrieve related documentation sections.